How to Draw a Snail: Easy 10-Step Guide for Kids
Ready to bring a garden friend to life? This tutorial is perfect for young artists ages 5 and up. All you need is a pencil, an eraser, and your favorite markers to create a charming snail with a spiral shell.
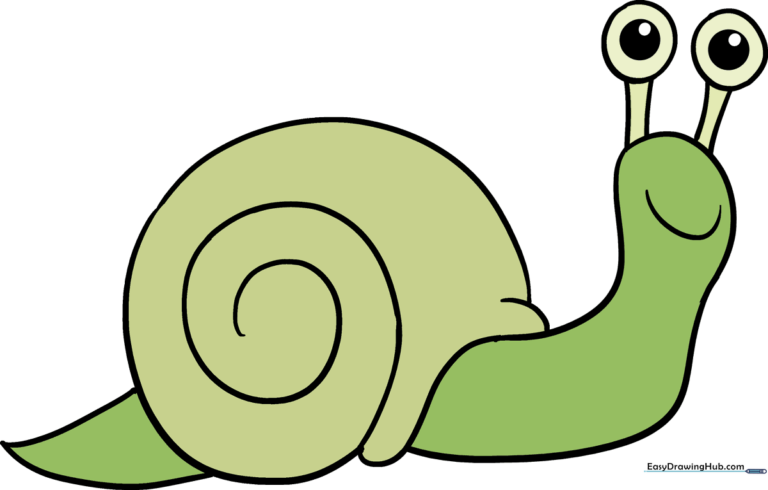
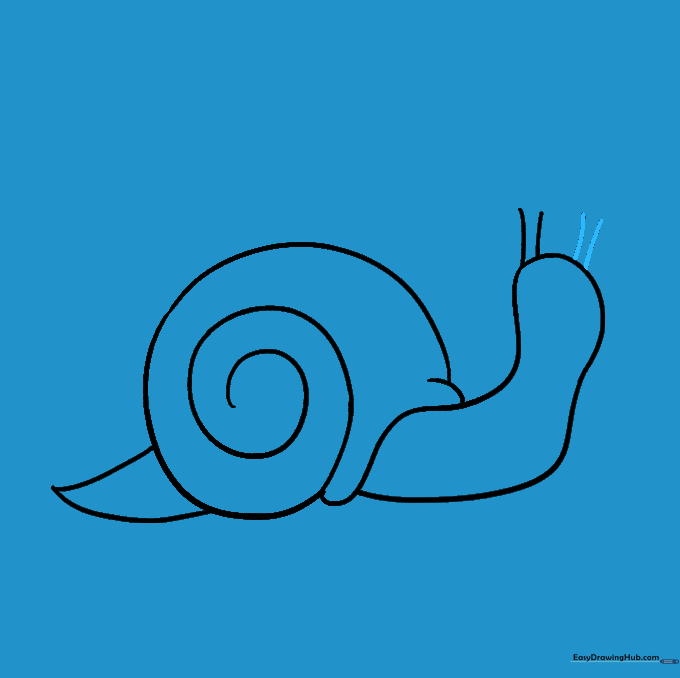
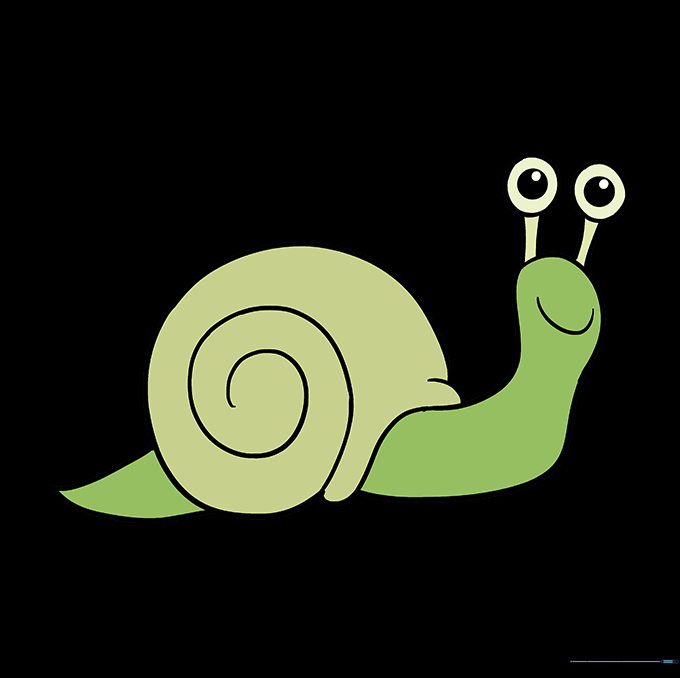
🎯 Final Result
Step-by-Step Instructions
Step 1: Sketching the Head

Start by drawing a long, squiggly line that doubles back on itself to form the snail's head. Teacher's Tip: Keep your pencil pressure light so you can easily adjust the shape if it looks a bit too wobbly!
Step 2: Defining the Body and Shell
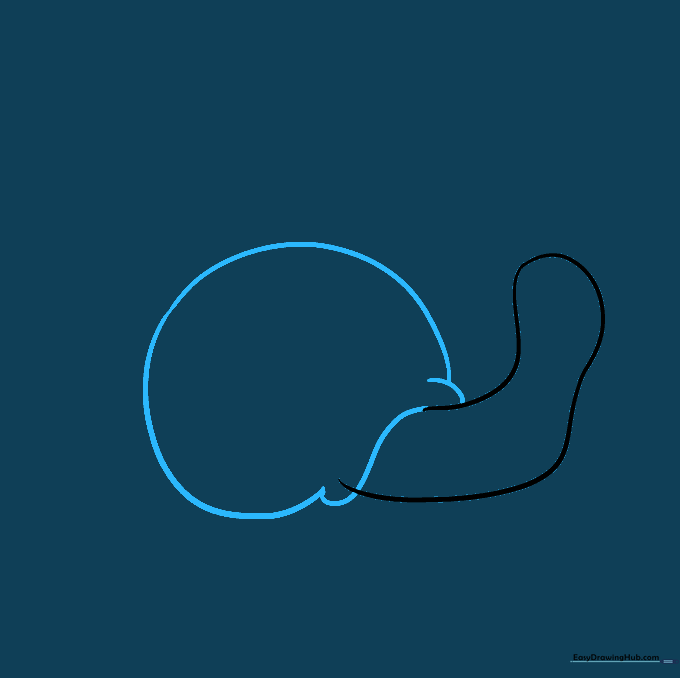
Enclose the head with a curved line, then draw a large, rounded shape behind it for the shell. Teacher's Tip: Think of the shell as a big, cozy backpack for the snail.
Step 3: Adding the Spiral

Draw a continuous spiral line inside the shell. Teacher's Tip: Start from the center and work your way out slowly—it doesn't have to be perfect to look great!
Step 4: Drawing the Tail
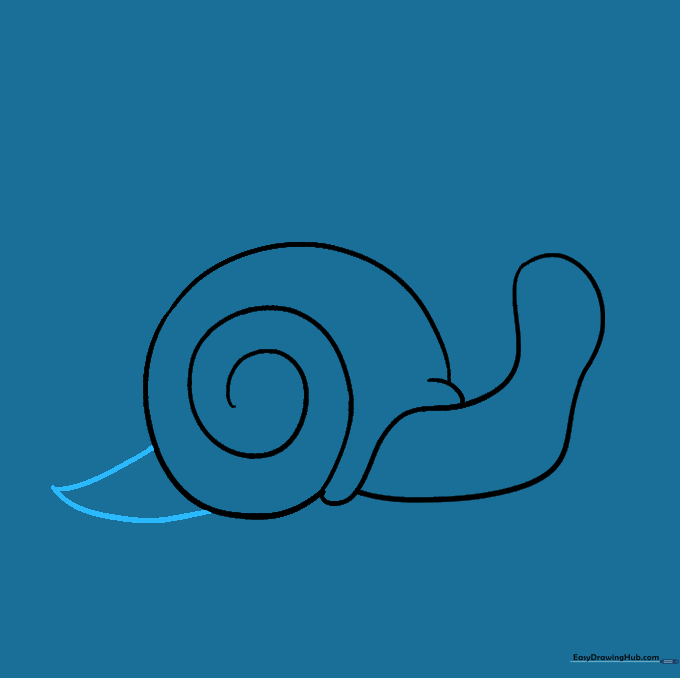
Add a small, triangular shape at the back of the shell to create the tail. Teacher's Tip: Keep this part small so the snail looks balanced.
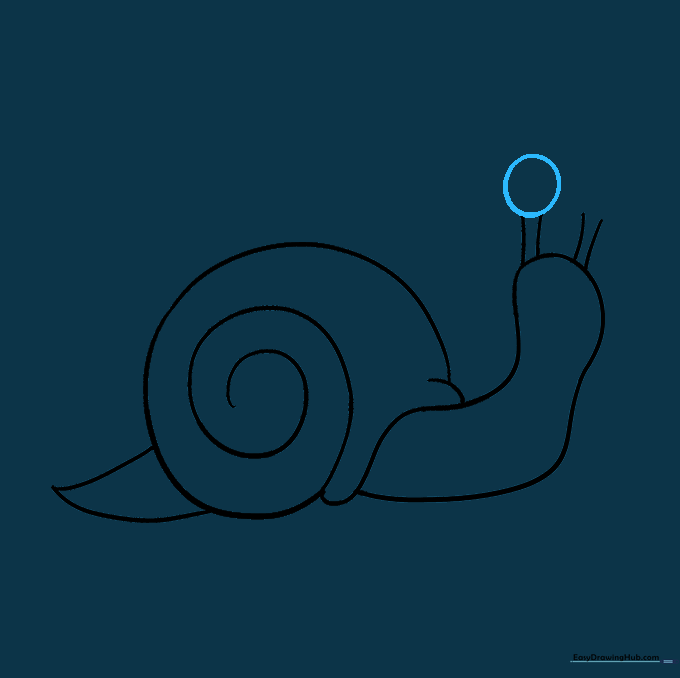
Step 5: First Eye Stalk
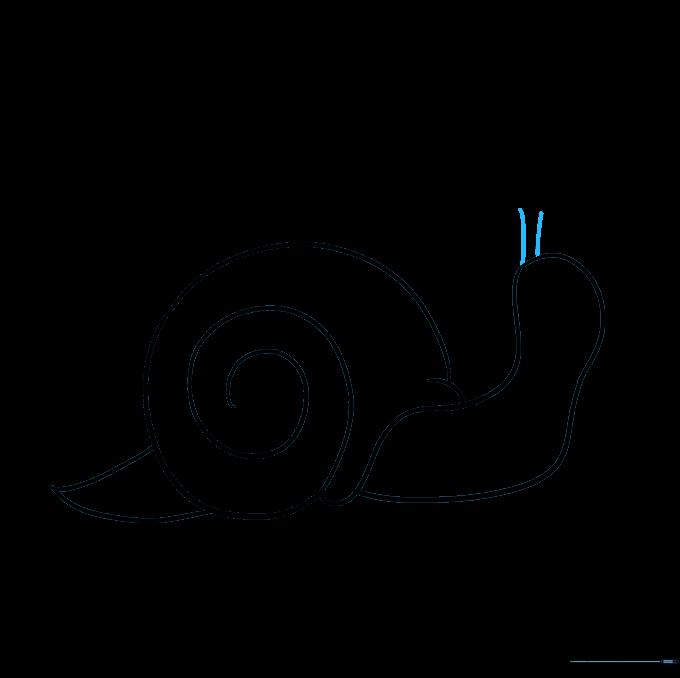
Draw two short, parallel lines reaching up from the head for the first eye stalk. Teacher's Tip: Imagine these are like little antennas sensing the world.
Step 6: Second Eye Stalk
Repeat the process to add a second eye stalk next to the first one. Teacher's Tip: Try to make them similar in height for a symmetrical look.
Step 7: First Eye
Draw a small circle at the top of one stalk. Teacher's Tip: This is where your snail gets its personality—make it nice and round!
Step 8: Second Eye
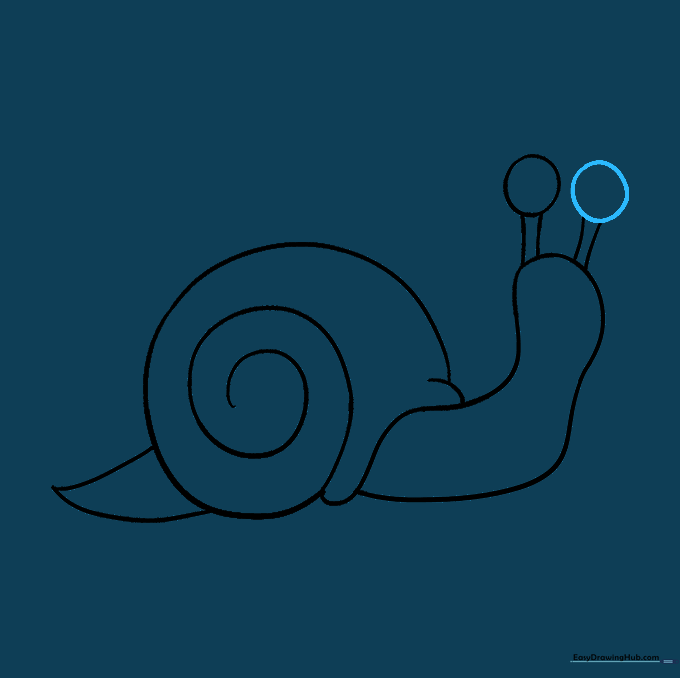
Add a matching circle to the top of the second stalk. Teacher's Tip: Check that your circles are roughly the same size.
Step 9: Final Details
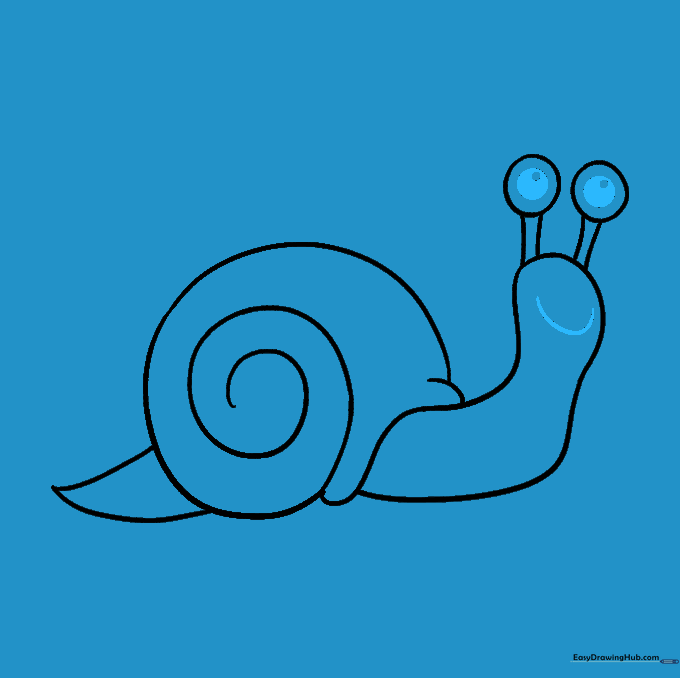
Draw pupils inside the eyes and a happy smile on the face. Teacher's Tip: Shading the pupils makes the snail look like it's really looking at you!
Step 10: Bring it to Life with Color
Time to color! Use browns, greens, or even bright patterns for the shell. Teacher's Tip: Try using a darker color for the outline to make your snail pop off the page.
More Tutorials


