How to Draw a Sloth: Easy 10-Step Guide for Kids
Ready to bring a sleepy sloth to life? This tutorial is perfect for young artists ages 5 and up. You only need a pencil, an eraser, and a piece of paper to practice these simple shapes, helping you build confidence and hand-eye coordination with every stroke.
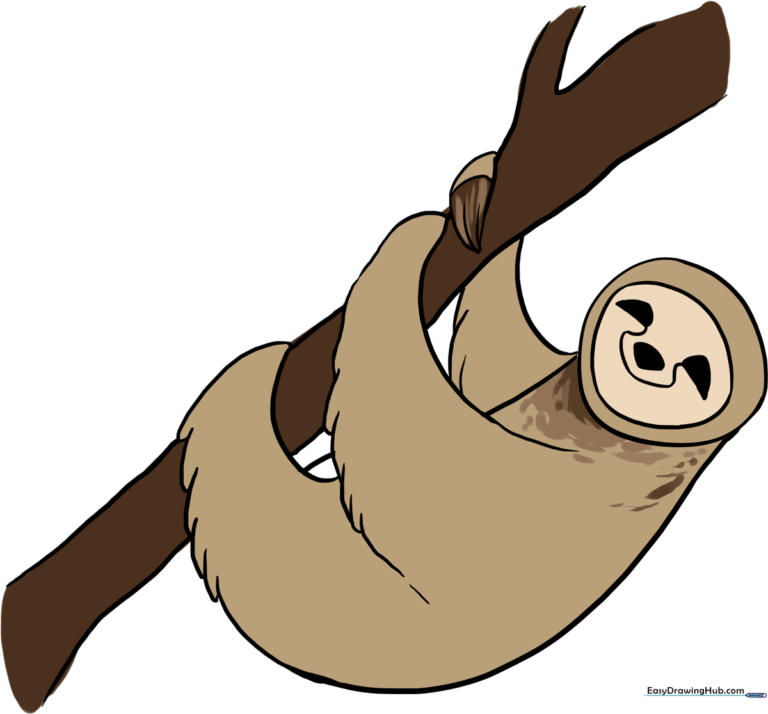
🎯 Final Result
Step-by-Step Instructions
Step 1: Sketching the Head

Draw a light circle for the head. Teacher's Tip: Keep this about the size of a coin; drawing it lightly makes it much easier to erase your construction lines later.
Step 2: Forming the Body

Use a long, curved line to create an irregular, rounded shape attached to the head. This forms the sloth's cozy, hanging body.
Step 3: Sketching the Arm

Draw a 'C' shaped line for the top of the arm, then use short, overlapping strokes underneath to suggest fur texture. Teacher's Tip: Use quick, flicking motions with your pencil to make the arm look fuzzy.
Step 4: Adding the Rear Leg
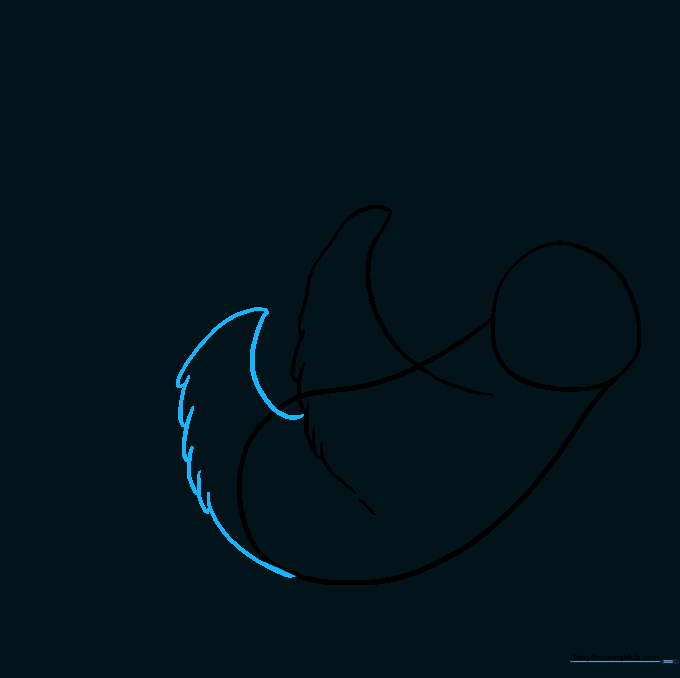
Repeat the process for the rear leg using a 'C' shape and short, overlapping lines. This consistency helps the sloth look like it has a thick, natural coat.
Step 5: Cleaning the Outline

Carefully erase any overlapping guide lines inside the arm and leg. A clean outline makes your drawing look professional and ready for details.
Step 6: Drawing the Branch

Draw two parallel curved lines behind the sloth to create a tree branch. Add a small 'V' shape to show a split in the wood.
Step 7: Adding the Far Arm

Draw the arm reaching over the branch. Use curved lines to show the hand grasping the wood, and add small lines for fingers. Teacher's Tip: Keep the fingers rounded to make them look soft.
Step 8: Facial Features

Draw a rounded shape inside the head for the face, then shade two small, curved ovals for the eyes. This gives your sloth its sleepy, friendly expression.
Step 9: The Snout and Nose

Connect the eyes with a 'C' shaped line to form the snout, and add a small, shaded triangle for the nose. Keep the lines soft to maintain the sloth's gentle look.
Step 10: Bringing it to Life with Color

Time to color! Use tan or grey for the fur. Did you know sloths can look greenish because of algae? Feel free to add a touch of green to your sloth's coat for a realistic touch!
More Tutorials


