How to Draw a Slime: Easy 10-Step Guide for Kids
Ready to bring a squishy character to life? This tutorial is perfect for young artists ages 5 and up. All you need is a pencil, an eraser, and some paper to master this fun, drippy slime design.
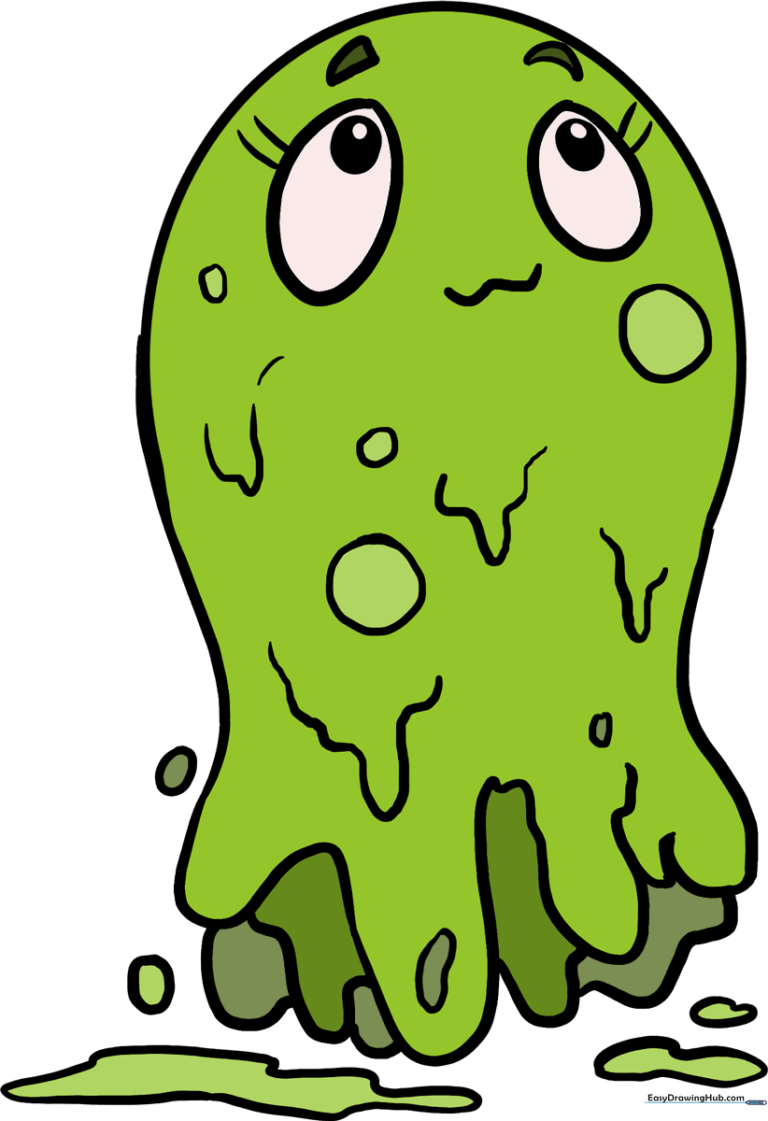
🎯 Final Result
Step-by-Step Instructions
Step 1: Sketching the Base Shape

Draw a light, loose oval in the center of your page. Teacher’s Tip: Keep your pencil strokes very faint here; this is just a guide to help you place your slime, and you’ll erase it later!
Step 2: Creating the Drip Effect
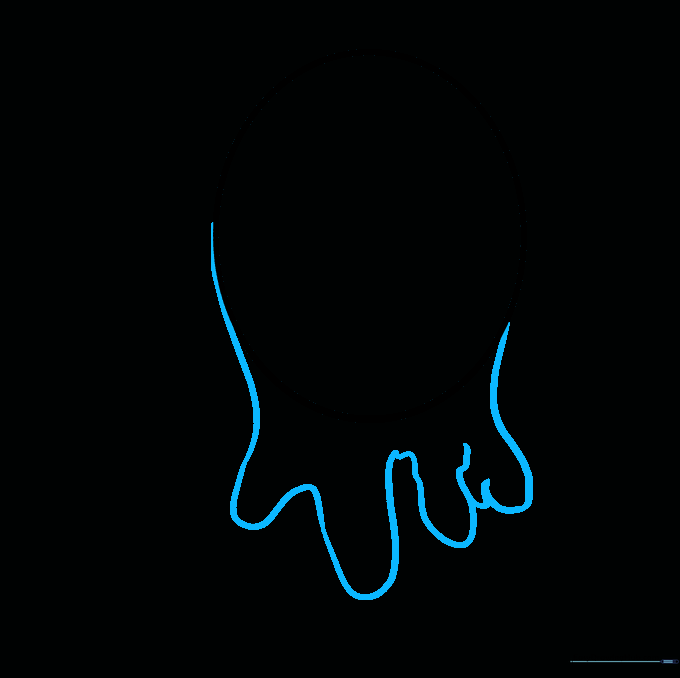
Extend a long, wavy line downward from the oval. Use 'U' shapes to create the drips. Teacher’s Tip: Think of melting ice cream—the more irregular your 'U' shapes are, the more natural the slime will look.
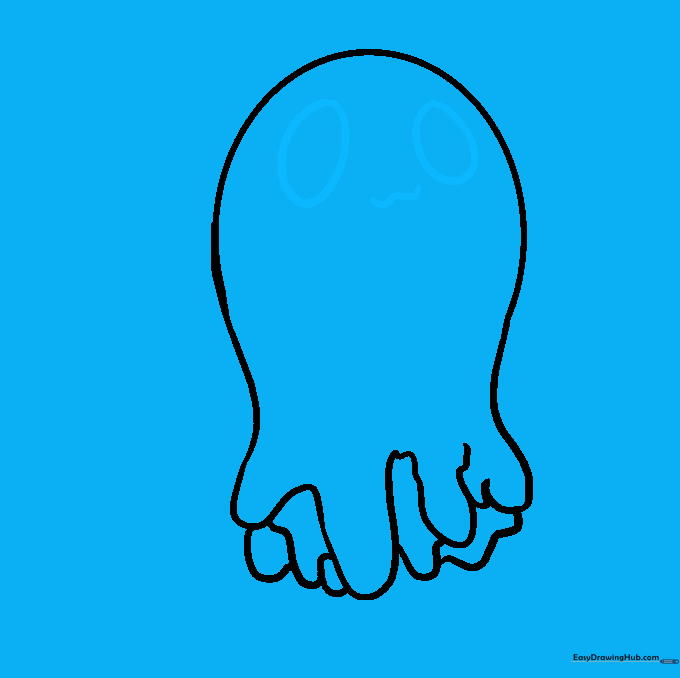
Step 3: Cleaning Your Canvas

Gently erase the original oval guide lines inside your slime shape. Teacher’s Tip: Use a soft eraser and brush away the crumbs so your paper stays clean for the final details.
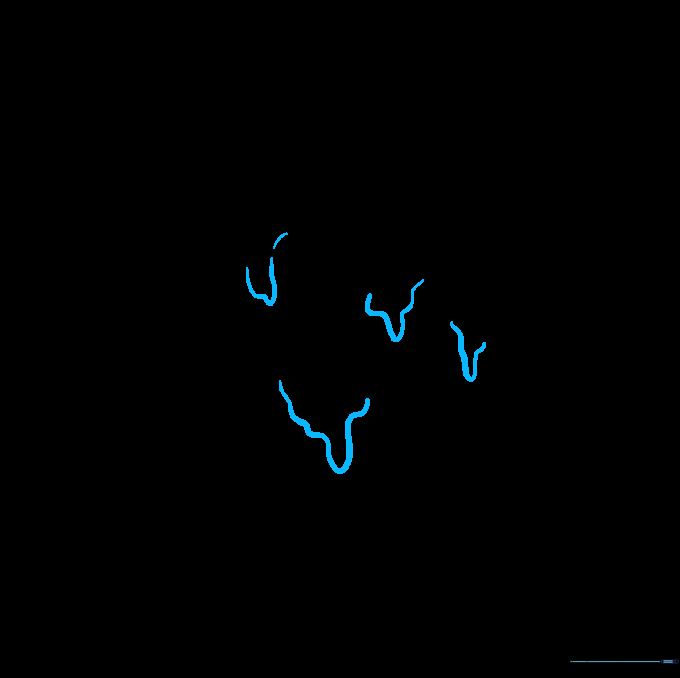
Step 4: Adding Texture Layers

Add more curved lines between the drips to create depth. Teacher’s Tip: Layering these lines makes the slime look thick and gooey rather than flat.
Step 5: Giving the Slime a Face
Draw two large, irregular ovals for eyes and a 'W' shaped line for a silly mouth. Teacher’s Tip: Make the eyes slightly different sizes to give your slime a fun, quirky personality.
Step 6: Refining the Gooey Look
Add wavy lines across the body to emphasize the liquid texture. Teacher’s Tip: Vary the length of your lines so the slime looks like it's constantly moving.
Step 7: Adding Bubbles

Draw small circles and irregular shapes scattered on the body. Teacher’s Tip: These represent air bubbles trapped in the slime, making it look more realistic!
Step 8: Adding Falling Droplets
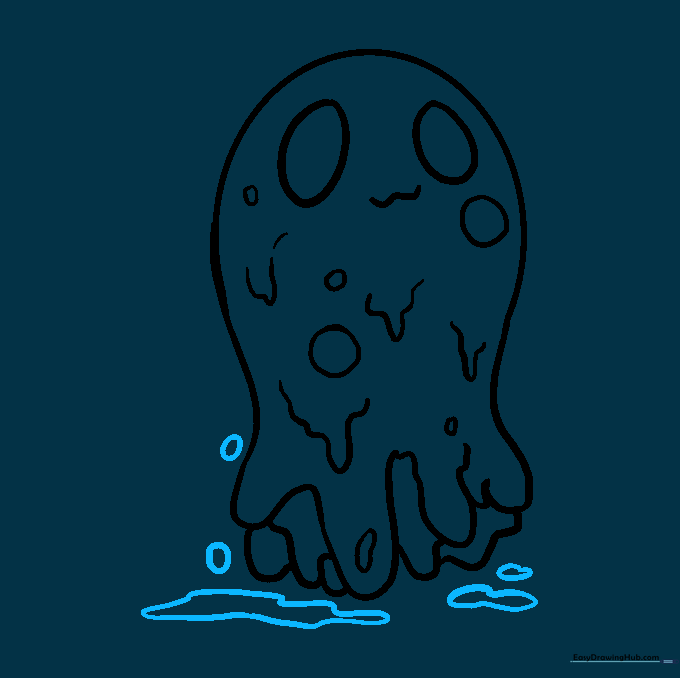
Draw small, detached droplets beneath the main slime. Teacher’s Tip: This creates a sense of action, as if the slime is actively dripping off the page.
Step 9: Final Facial Details

Add pupils to the eyes and draw simple eyebrows and eyelashes. Teacher’s Tip: Adding eyebrows helps show emotion—try making them angled for a grumpy slime or arched for a surprised one!
Step 10: Bring It to Life with Color
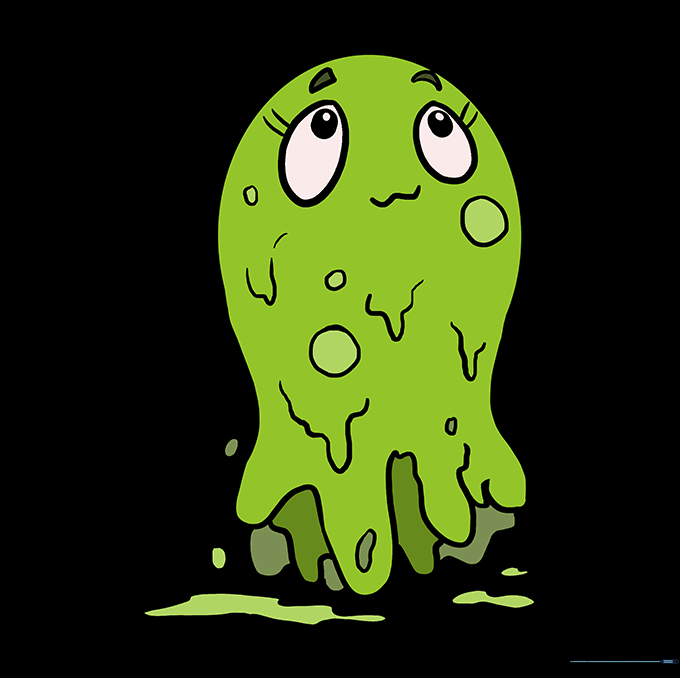
Time to color! Use bright greens, purples, or blues. Teacher’s Tip: Use a darker shade of your main color near the bottom of the drips to create a simple shadow effect.
More Tutorials


