How to Draw a Skull: Easy 3/4 View Tutorial for Beginners
Ready to level up your character design? This 3/4 view skull tutorial is perfect for young artists ages 8+ looking to understand facial structure. Grab a pencil, an eraser, and a sheet of paper to follow along as we break down complex anatomy into simple, manageable shapes.
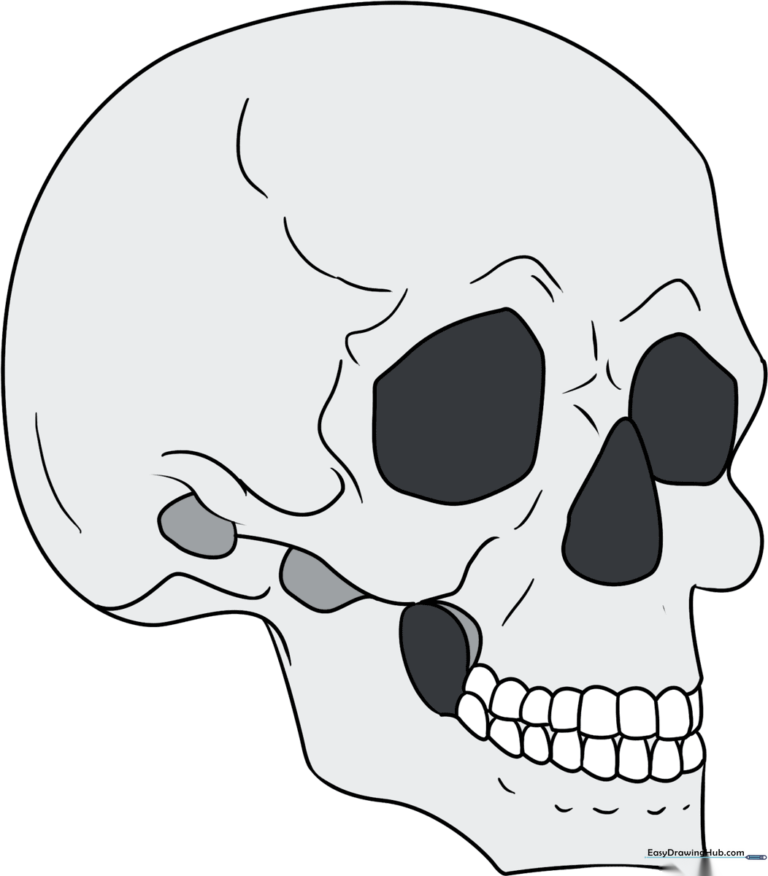
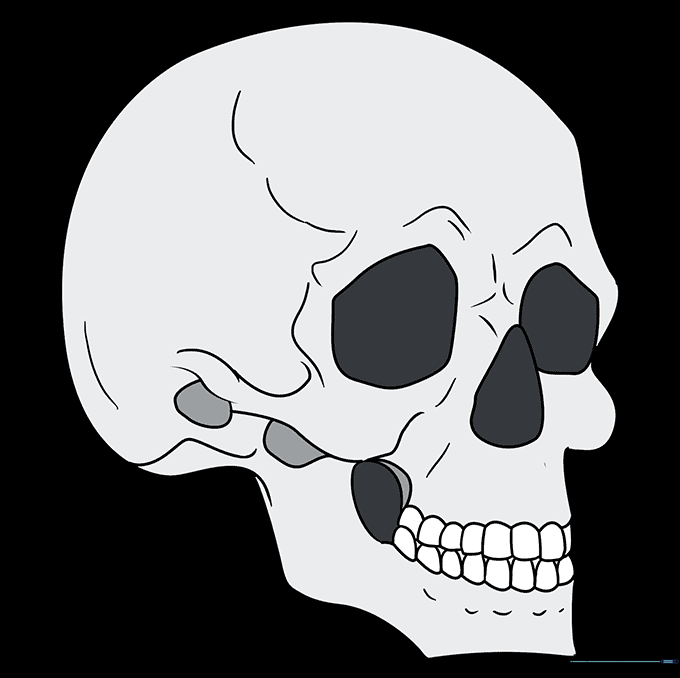
🎯 Final Result
Step-by-Step Instructions
Step 1: Establishing the Foundation

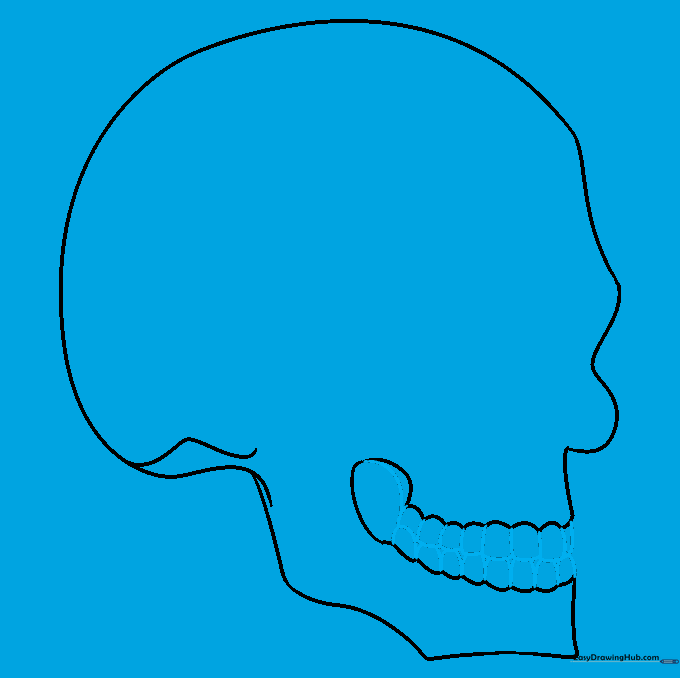
Start by sketching a light circle for the cranium and a four-sided shape for the jaw. Teacher's Tip: Keep your pencil pressure very light here; these are just structural guides that we will erase later, so don't press too hard!
Step 2: Defining the Braincase

Use a long, smooth curved line to define the rounded top of the skull. Tip: Follow the curve of your initial circle, but let the line dip slightly to give the skull a more organic, realistic shape.
Step 3: Shaping the Facial Structure
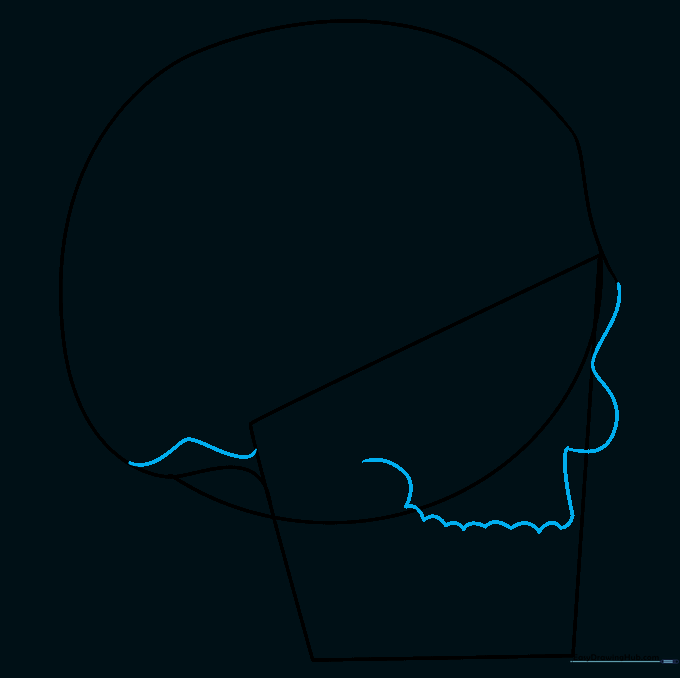
Erase your internal guide lines. Now, draw a curved line connecting the cranium to the jaw area, adding a slight bump for the nasal bridge. Tip: Think of this as the 'profile' of the face—keep the lines fluid rather than jagged.
Step 4: Outlining the Mandible
Draw a long, sweeping line that doubles back to form the lower jaw (mandible). Tip: The jaw is a solid bone, so try to draw this in one confident, continuous motion to keep the shape looking sturdy.
Step 5: Adding the Teeth
Draw a horizontal line between the upper and lower jaw, then add two rows of small, rectangular shapes for teeth. Tip: Don't make the teeth perfectly square; slightly rounded corners make them look more natural and less like a grid.
Step 6: Detailing the Cheekbones
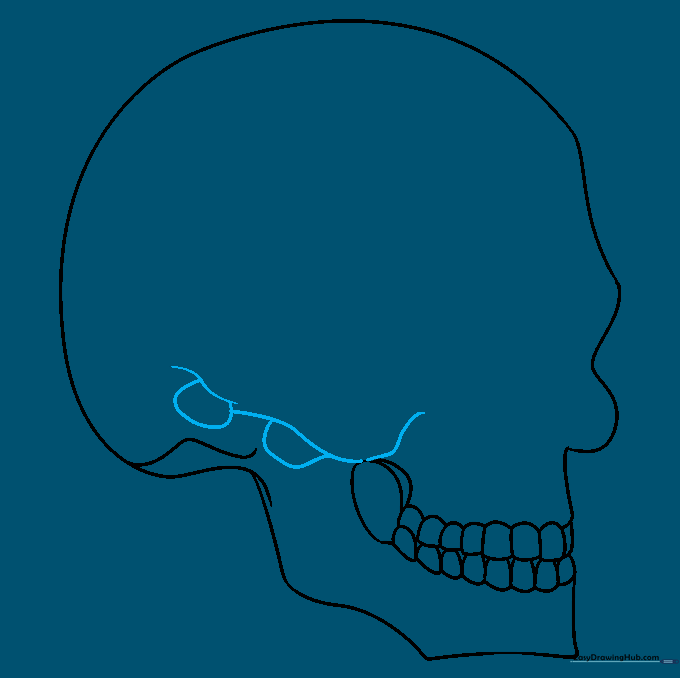
Add the zygomatic process (cheekbone) by drawing two irregular shapes near the side of the jaw. Tip: These bones connect the face to the side of the skull, so make sure they look like they are 'hooking' onto the main structure.
Step 7: Sketching the Eye Orbits
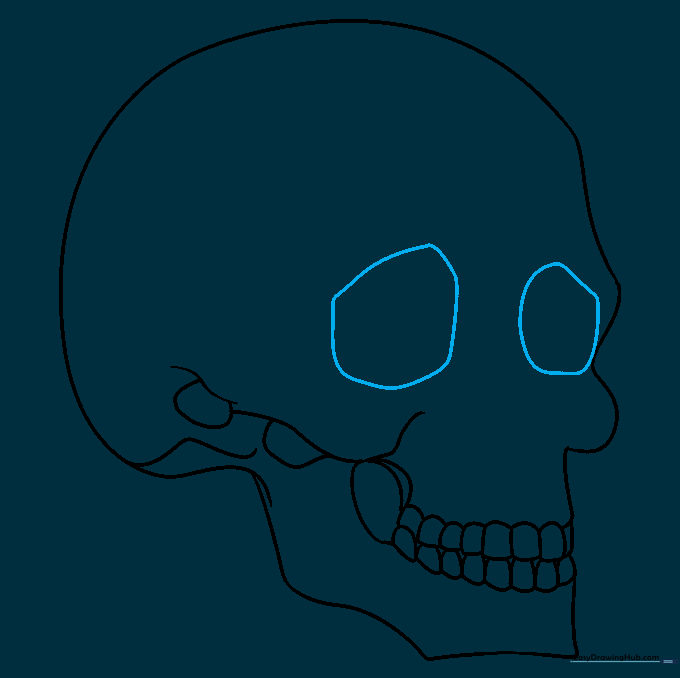
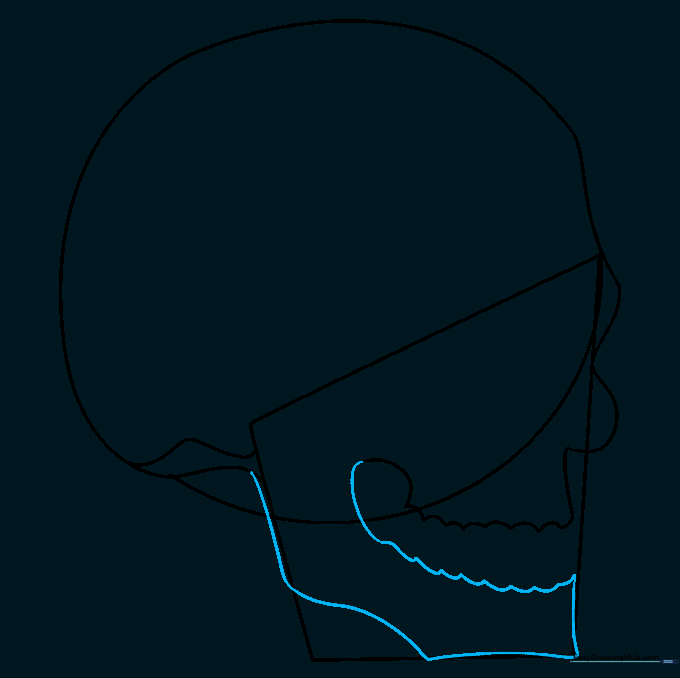
Draw two large, irregular rounded shapes for the eye sockets. Tip: Since we are drawing in 3/4 view, the eye socket closer to the viewer should look slightly wider than the one further away—this creates the illusion of depth.
Step 8: Adding the Nasal Cavity
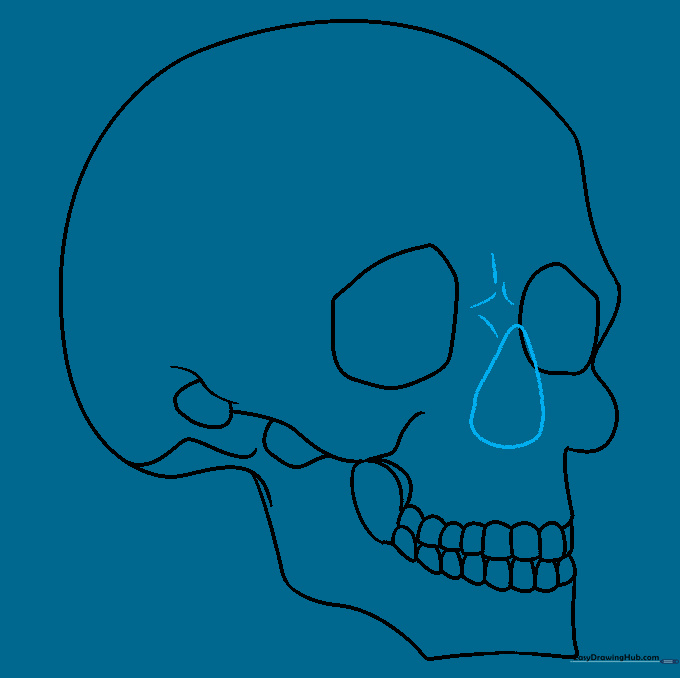
Draw a rounded triangular shape in the center for the nose, and add a few short lines above it to define the nasal bone. Tip: Keep the nasal cavity dark and hollow-looking; this adds a nice sense of realism to your drawing.
Step 9: Final Anatomical Details
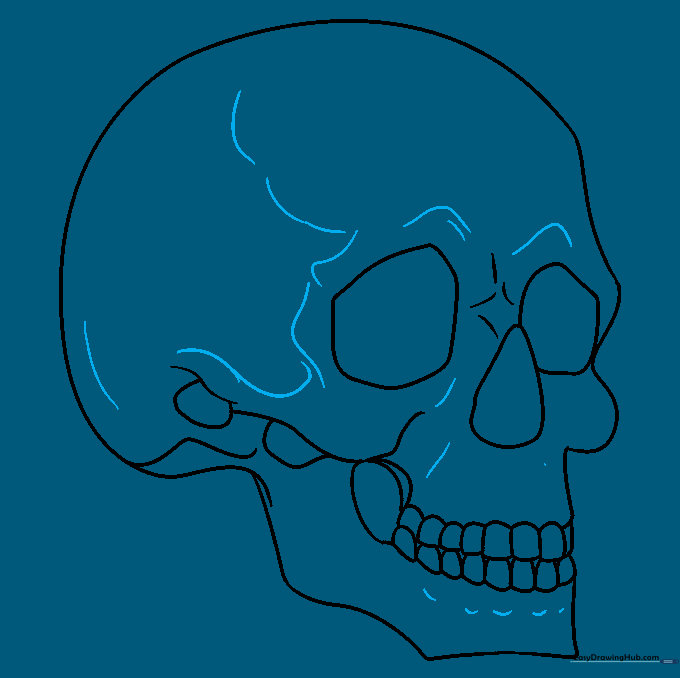
Add small, subtle curves for the supraorbital foramen above the eyes and the mental foramen on the jaw. Tip: These tiny details make your skull look professional and anatomically accurate, so take your time with these small marks.
Step 10: Bringing Your Skull to Life
Time to color! Use shades of off-white, cream, or light gray to give your skull a realistic bone texture. Tip: Add a little bit of shadow under the cheekbones and inside the eye sockets to make your drawing pop off the page.
More Tutorials


