How to Draw a Skier: Easy 10-Step Guide for Kids
Ready to hit the slopes on paper? This tutorial is perfect for young artists ages 5 and up who want to capture the excitement of winter sports. All you need is a pencil, an eraser, and your favorite markers to bring this energetic skier to life.
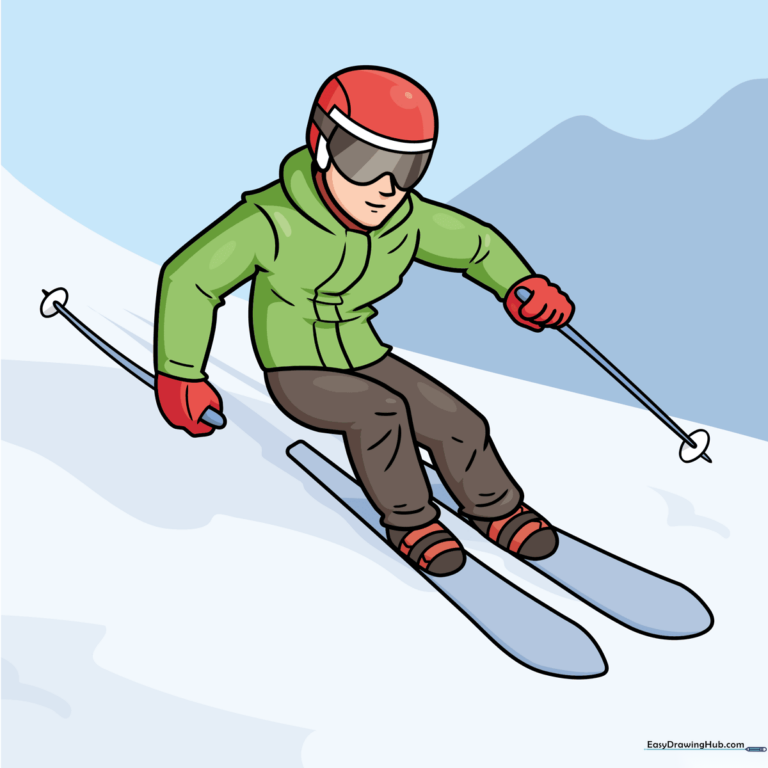
🎯 Final Result
Step-by-Step Instructions
Step 1: Sketching the Face and Goggles
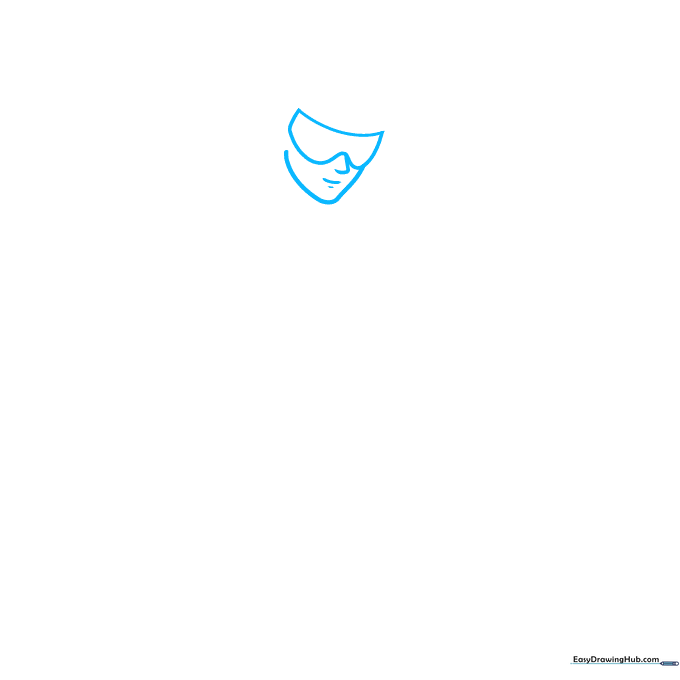
Start by drawing the skier’s face using soft, curved lines for the chin and nose. Add the goggles as a central feature. Teacher's Tip: Keep your pencil pressure light here so you can easily adjust the shape of the face if needed.
Step 2: Adding the Helmet and Collar
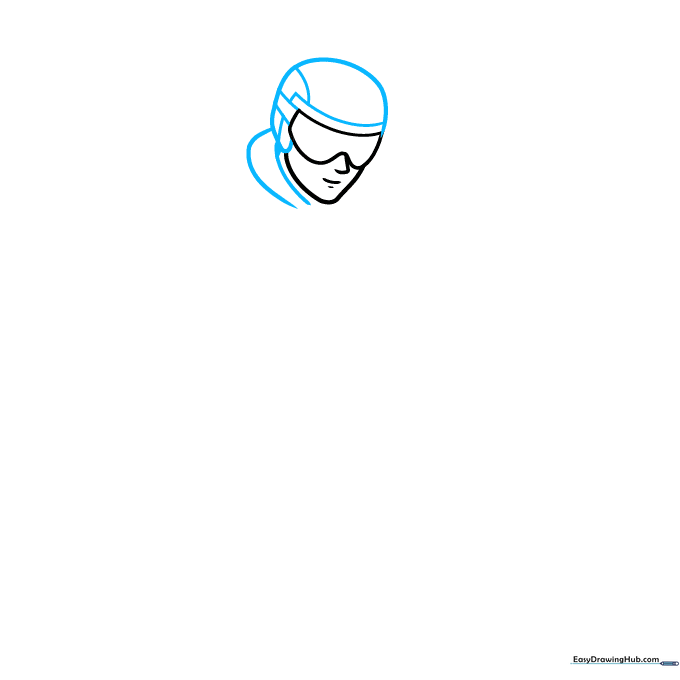
Draw a rounded helmet shape over the top of the head and add a thick collar around the neck. Teacher's Tip: Use parallel lines for the collar to make it look like cozy, thick winter fabric.
Step 3: Sketching the First Arm
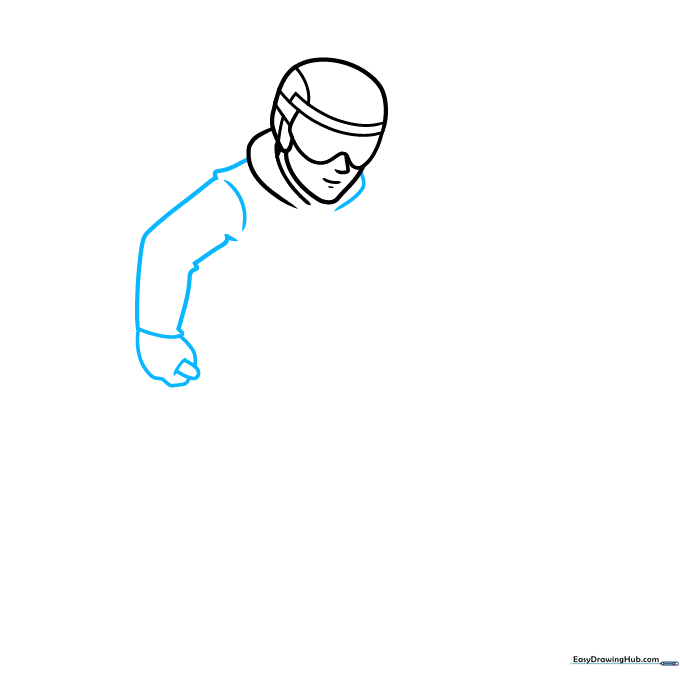
Sketch the shoulder and arm using curved lines, ending with a half-oval shape for the ski pole handle. Teacher's Tip: Add small, jagged lines along the sleeve to represent the texture of a puffy winter jacket.
Step 4: Defining the Ski Pole
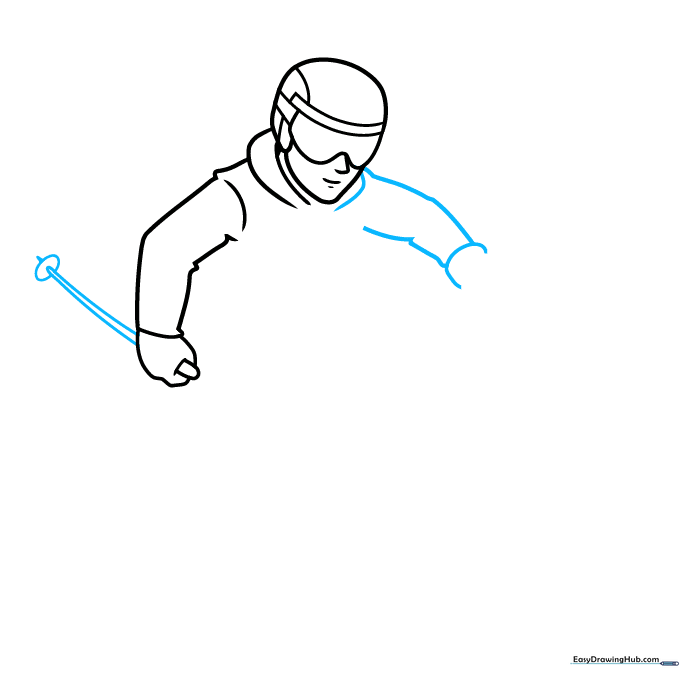
Extend lines from the hand to create the pole shaft, adding an oval 'basket' at the bottom. Teacher's Tip: Make the basket look like a small circle near the bottom of the pole to show it's ready for snow.
Step 5: Drawing the Second Arm

Repeat the process for the second arm, ensuring it looks balanced. Teacher's Tip: Draw the fingers as small, overlapping curves to show the skier is gripping the pole tightly.
Step 6: Creating the Torso and Legs
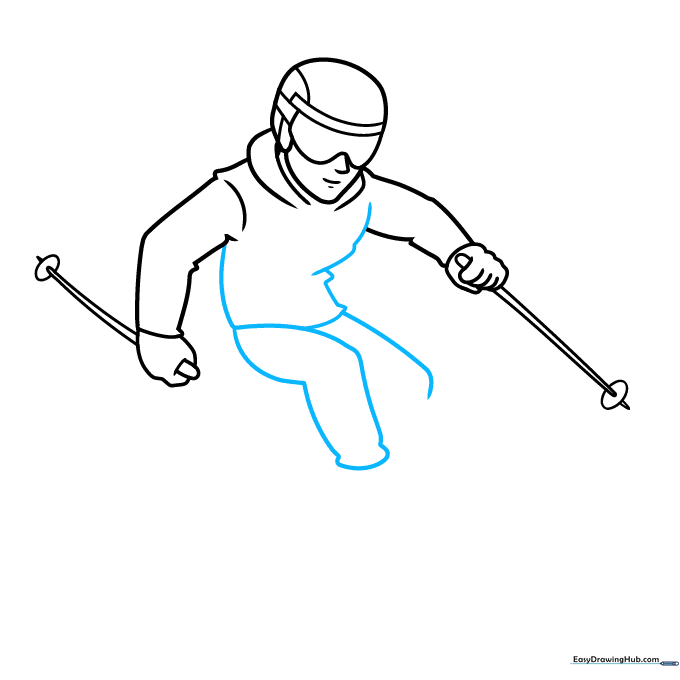
Draw the torso and legs with bent knees to show the skier in motion. Teacher's Tip: Think about the 'S' curve of the body to make the skier look like they are actively moving downhill.
Step 7: Adding the Skis
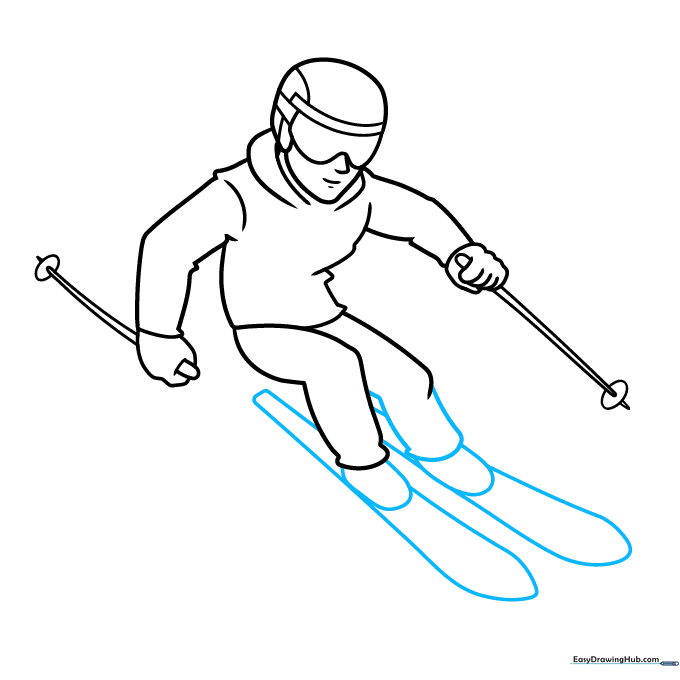
Draw the boots and long, flat skis extending from the feet. Teacher's Tip: Keep the skis parallel to each other to make the drawing look more realistic.
Step 8: Adding Jacket Details
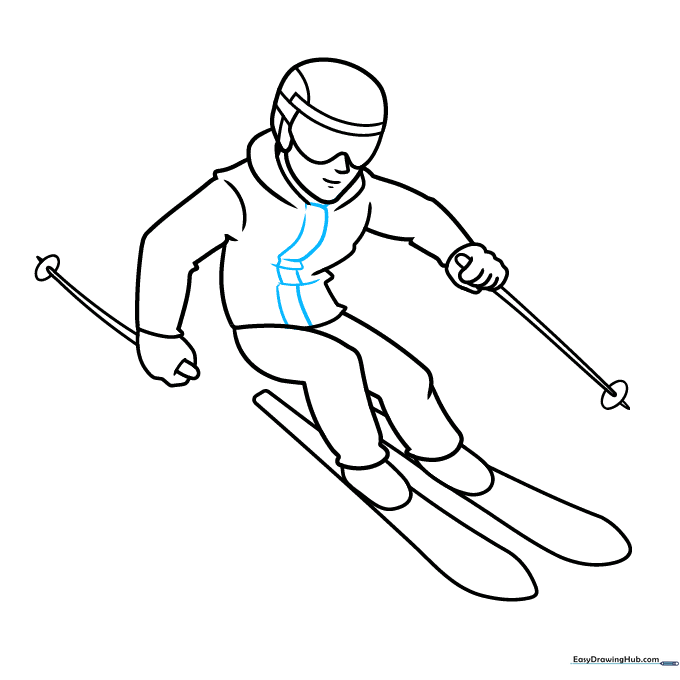
Add horizontal and vertical lines to the jacket to create a quilted look. Teacher's Tip: These lines help show the volume of the winter coat.
Step 9: Final Touches and Straps
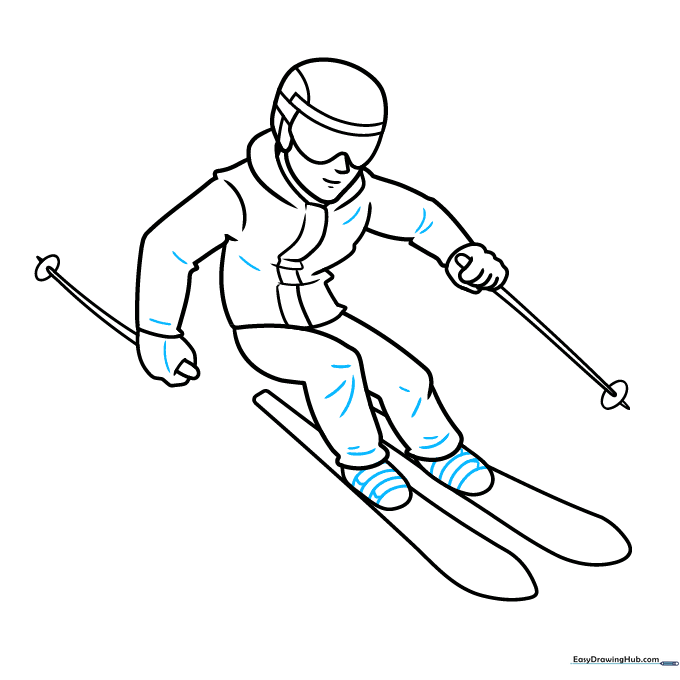
Draw the binding straps across the boots and add small texture lines to the clothing. Teacher's Tip: Small, quick strokes add a sense of movement to the fabric.
Step 10: Bring Your Skier to Life with Color
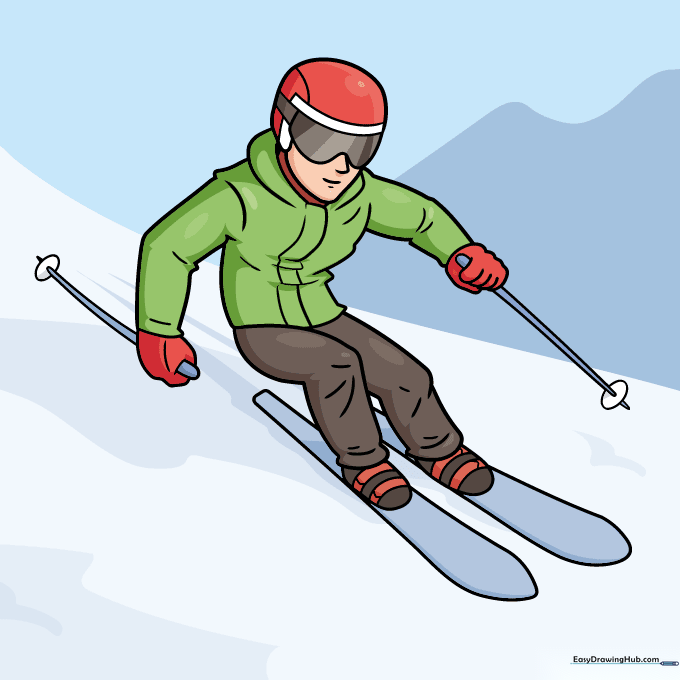
Now for the fun part! Use bright colors for the jacket and goggles. Teacher's Tip: Add a snowy mountain background to complete your winter scene.
More Tutorials


