How to Draw a Skeleton Hand: Easy 10-Step Guide
Ready to add some spooky flair to your art? This step-by-step guide is perfect for artists ages 6 and up to practice anatomy-inspired cartooning. All you need is a pencil, an eraser, and a piece of paper to bring this bony hand to life.
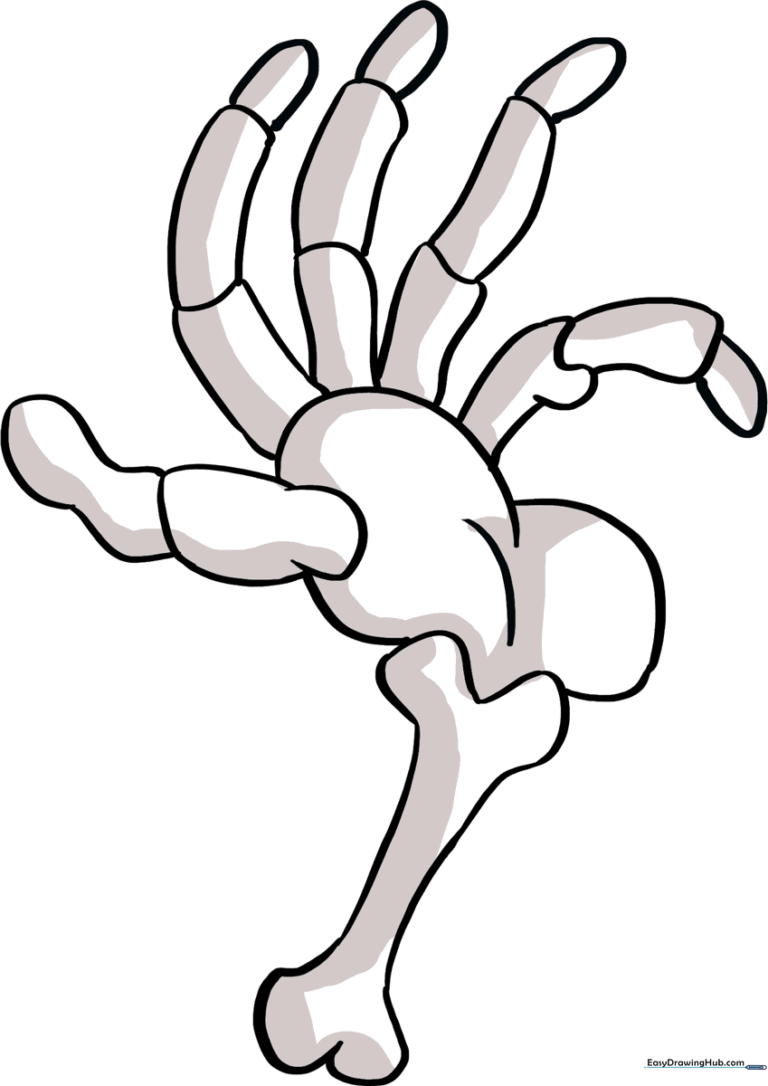
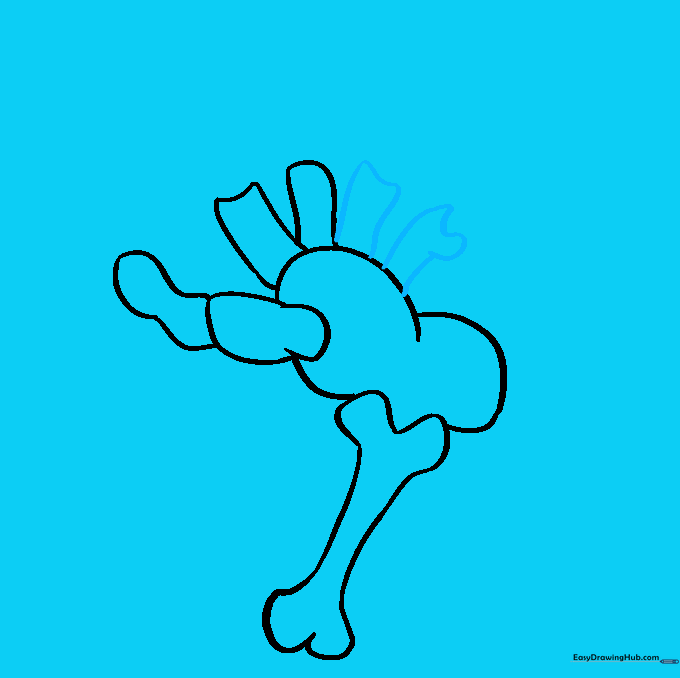
🎯 Final Result
Step-by-Step Instructions
Step 1: Sketching the Forearm Bone
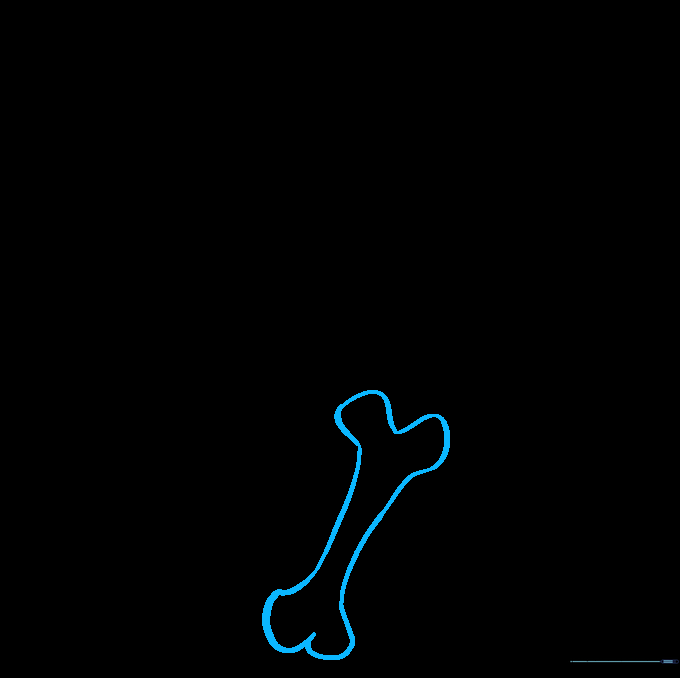
Start by drawing the long bone of the forearm. Use a long, curved line to create the 'W' shaped ends—these are the joints. Teacher's Tip: Keep the lines parallel to ensure the bone looks sturdy.
Step 2: Forming the Palm
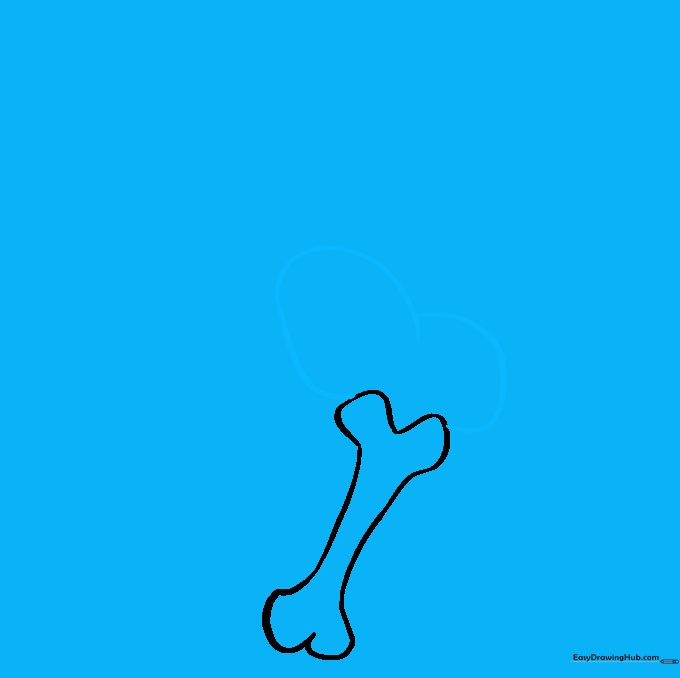
Draw an inverted, rounded 'W' shape that looks like a flattened heart. This represents the cluster of small bones in the palm. Teacher's Tip: Don't worry about perfect symmetry; bones are naturally irregular!
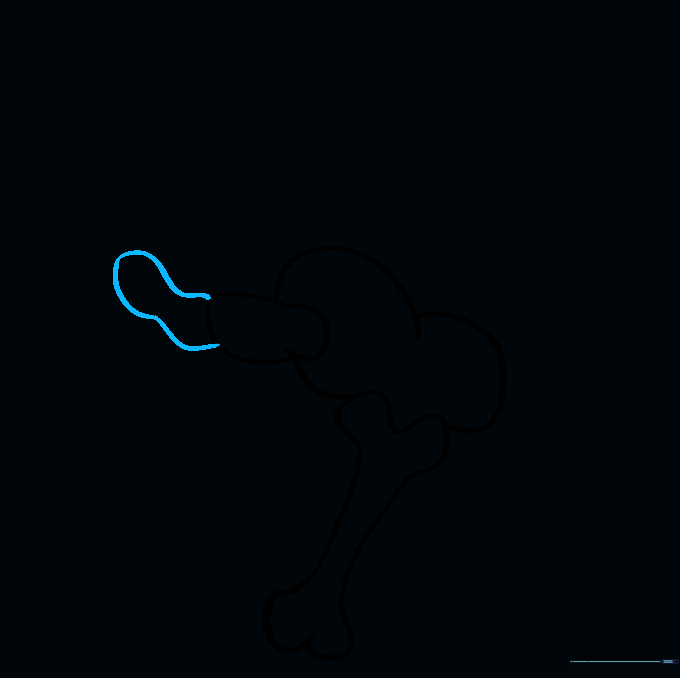
Step 3: The Thumb Base

Add an irregular rounded shape on the side of the palm for the base of the thumb. Teacher's Tip: Use a light touch here so you can erase the line where it overlaps the palm later.
Step 4: Defining the Thumb
Draw a peanut-shaped bone at the end of the thumb base. This represents the thumb's phalanges. Teacher's Tip: Make this shape slightly curved to give the hand a natural, relaxed pose.
Step 5: The First Two Fingers
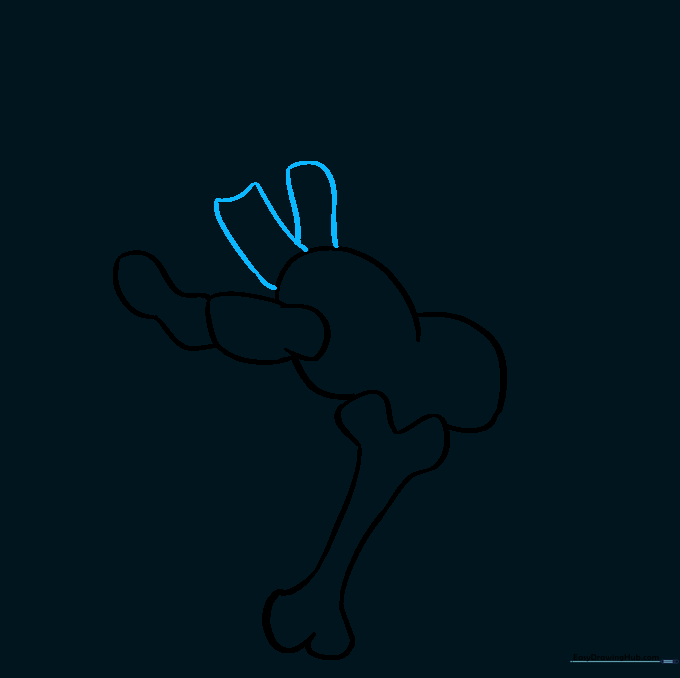
Sketch two curved rectangles emerging from the top of the palm for the pointer and middle finger bones. Teacher's Tip: Keep these parallel to each other to help the hand look anatomically correct.
Step 6: The Remaining Fingers
Add two more rectangular shapes for the ring and pinky fingers. Teacher's Tip: Make these slightly shorter than the middle finger to create a realistic hand shape.
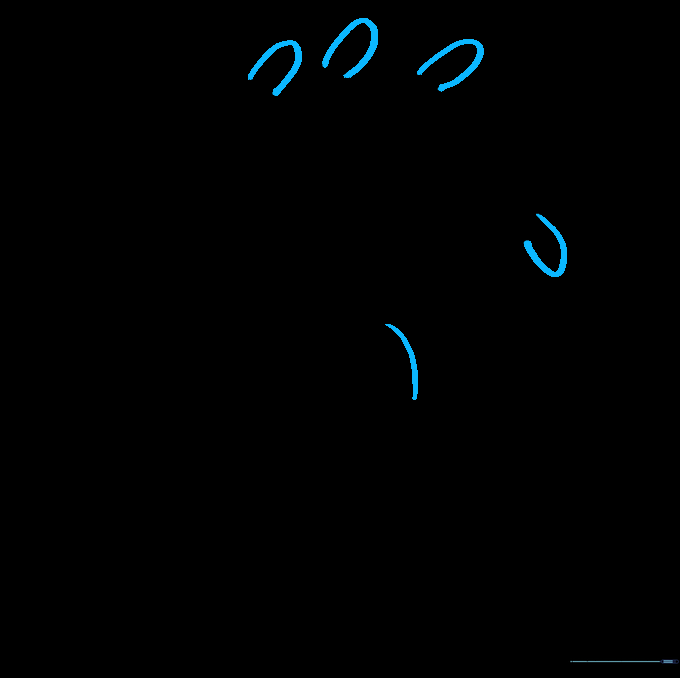
Step 7: Extending the Fingers
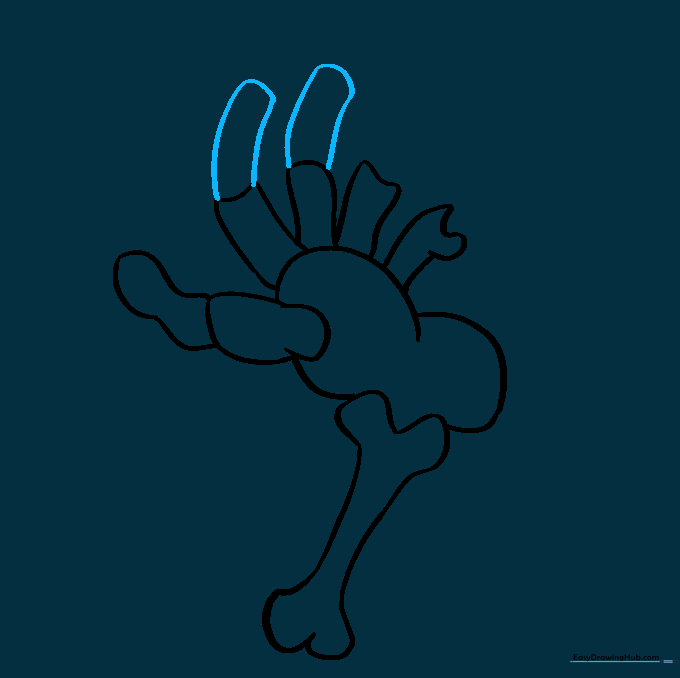
Draw the next set of rectangular bones for the pointer and middle fingers. Teacher's Tip: Ensure the joints look like they are connecting, not just floating.
Step 8: Completing the Finger Length
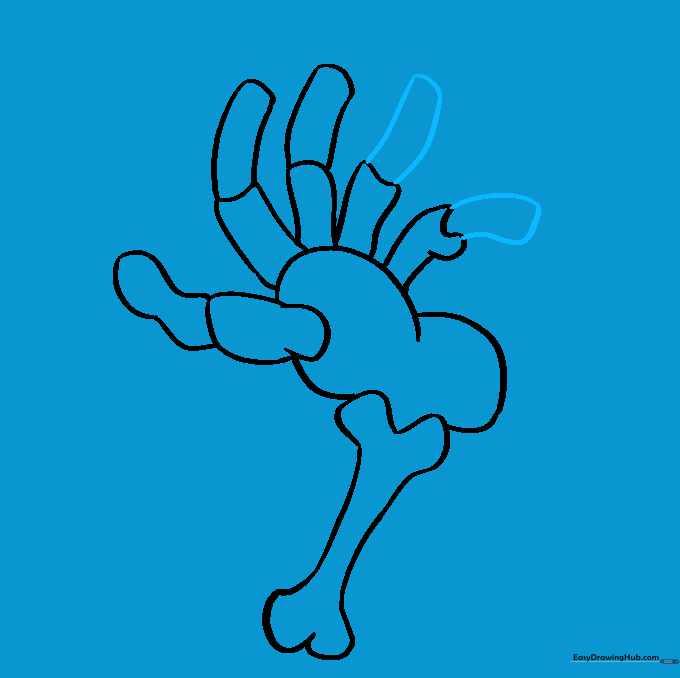
Add the final rectangular segments to the ring and pinky fingers. Teacher's Tip: Check your proportions—the pinky should be the shortest finger!
Step 9: Final Details
Draw small oval tips on each finger for the final bone segments and add a curved line across the palm. Teacher's Tip: Use your eraser now to clean up any overlapping lines for a crisp look.
Step 10: Bring It to Life with Color
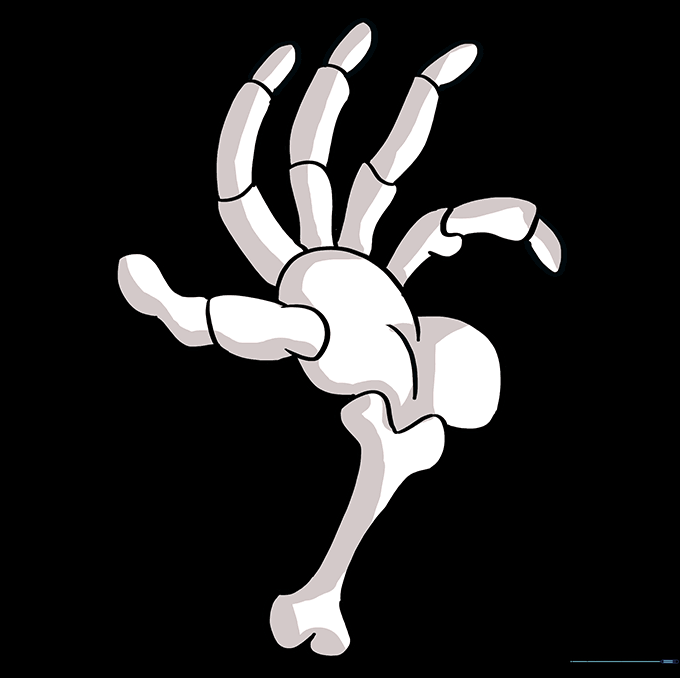
Time to color! Use off-white, cream, or light gray to give your skeleton hand a realistic, aged look. Teacher's Tip: Use a darker gray to shade the edges of the bones to make them look 3D.
More Tutorials


