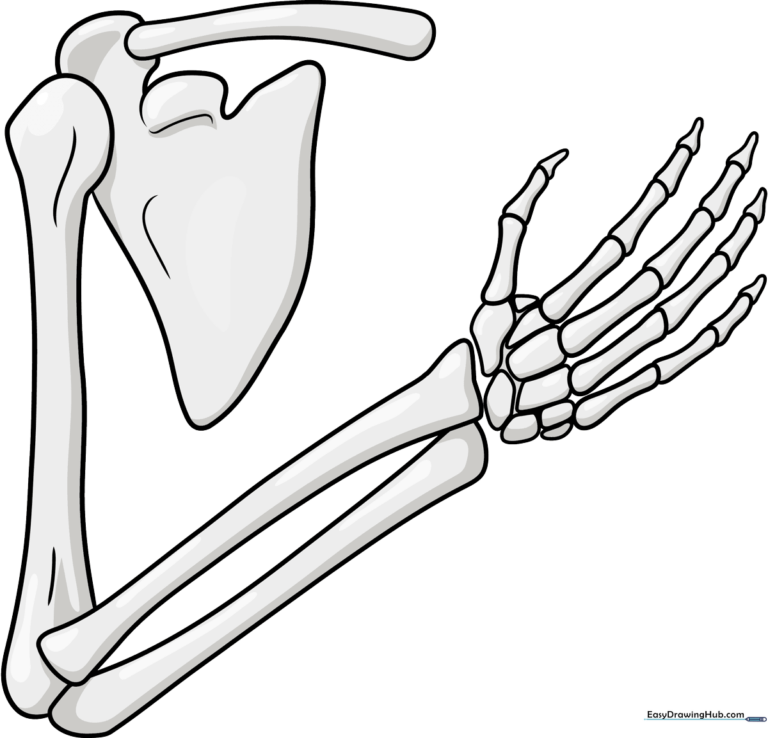
How to Draw a Skeleton Arm: Easy 9-Step Guide
Perfect for young artists ages 7+ and science enthusiasts, this tutorial breaks down the human arm into simple, manageable shapes. You only need a pencil, eraser, and paper to begin. Follow along to build your confidence in drawing organic structures and skeletal anatomy.
🎯 Final Result
Step-by-Step Instructions
Step 1: Establishing the Upper Arm
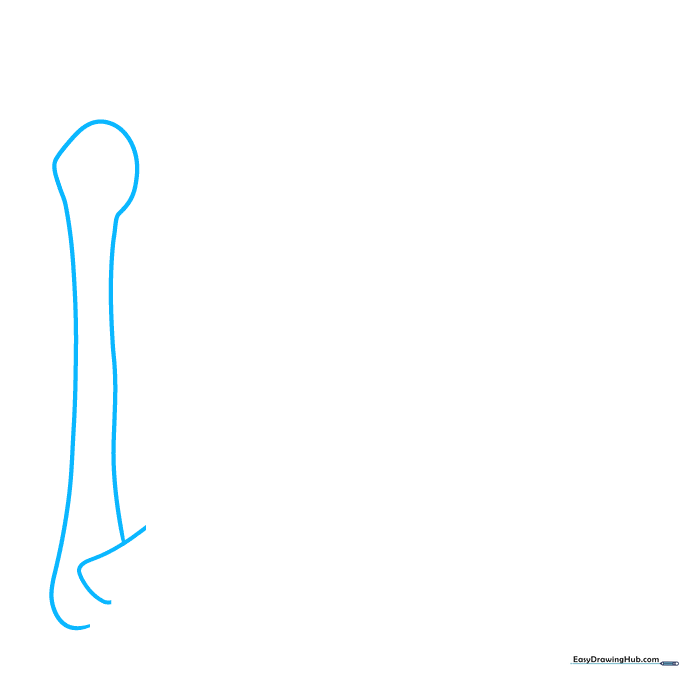
Draw an elongated, uneven oval near the top of your page to represent the humerus. Add two vertical lines curving slightly at the bottom, finishing with a small triangle. Teacher's Tip: Keep your pencil strokes very light here so you can easily adjust the proportions later.
Step 2: The Elbow Joint
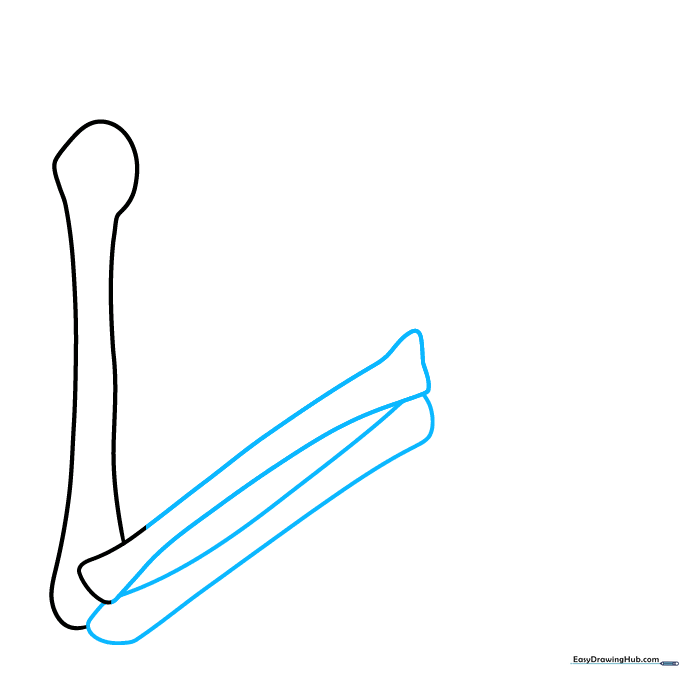
Sketch two rounded triangles near the center to form the elbow hinge. Connect these to your previous lines with diagonal strokes. Add a narrow, rounded rectangle below for the forearm. Tip: Think of the elbow as a pivot point; keep the connection lines smooth.
Step 3: The Wrist Bones
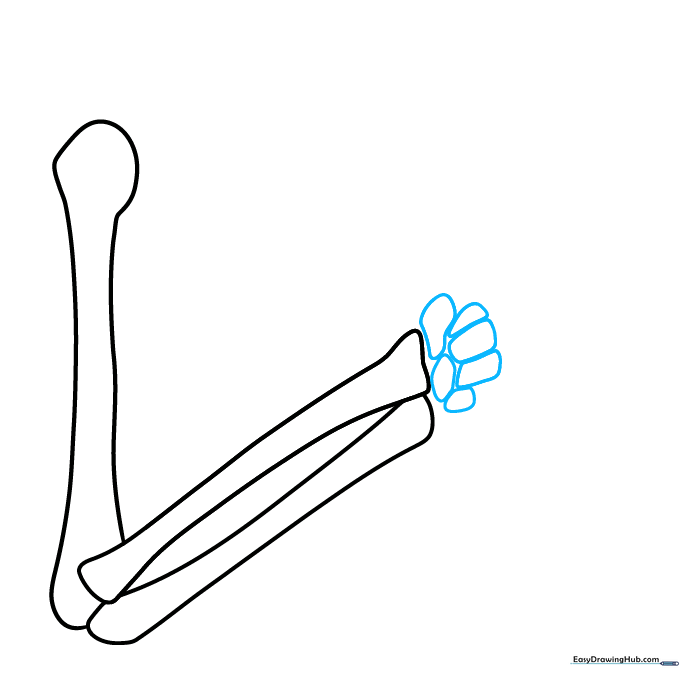
Draw six small, rounded rectangles and oblong shapes clustered together like pebbles. These represent the carpals. Tip: Don't worry about perfect symmetry; wrist bones are naturally irregular and crowded.
Step 4: Starting the Metacarpals
Add a small triangle, rectangle, and semi-oval to the wrist cluster. Then, sketch three rounded rectangles with pinched middles extending outward. Tip: These represent the base of the fingers; keep them slightly spaced apart.
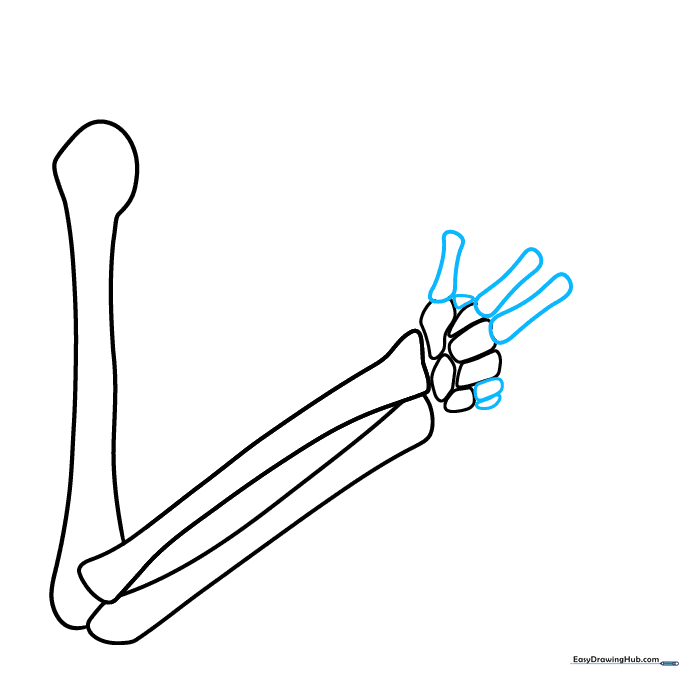
Step 5: Defining the Finger Bones
Outline five more bones of varying sizes. Make the shapes curvy, almost like noodles. Tip: Bones are wider at the joints and narrower in the middle—try to capture that 'dumbbell' shape.
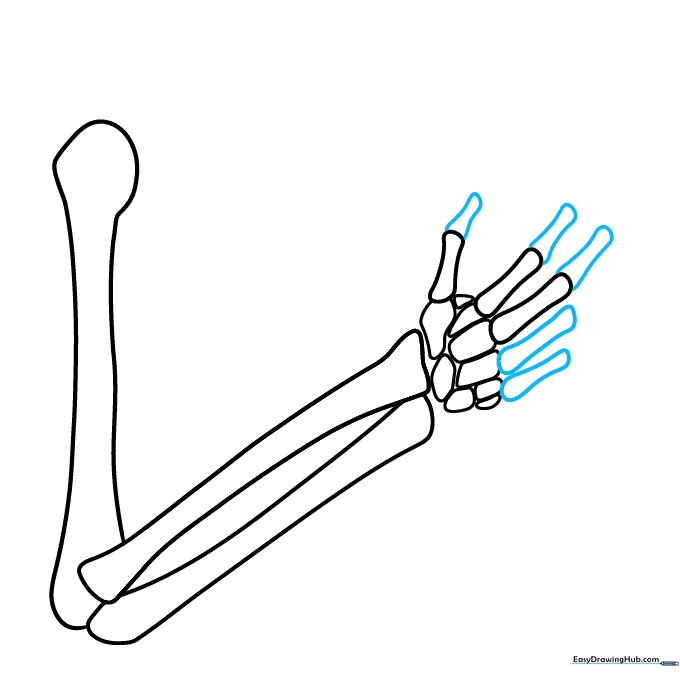
Step 6: Layering the Phalanges
Sketch six more bones, stacking two on top of each other for two of the fingers. The bones furthest from the palm should be the shortest. Tip: Stacking creates the illusion of depth in the finger joints.
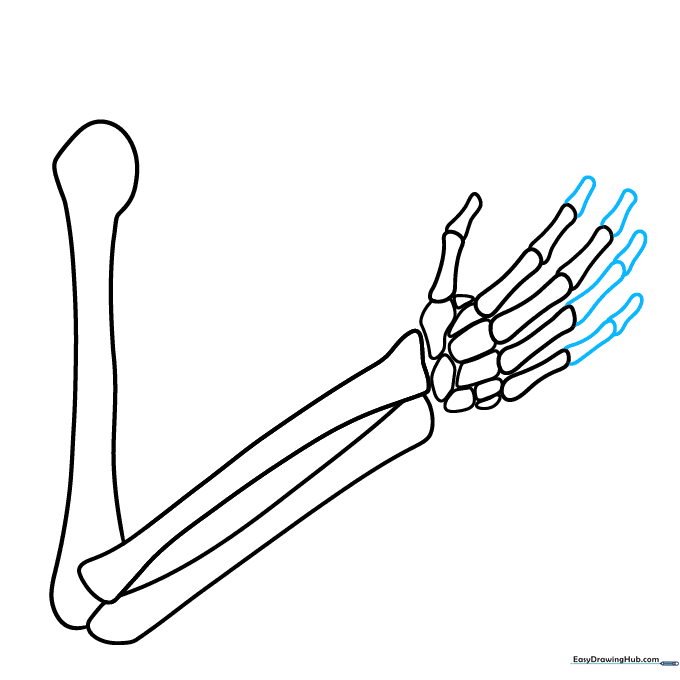
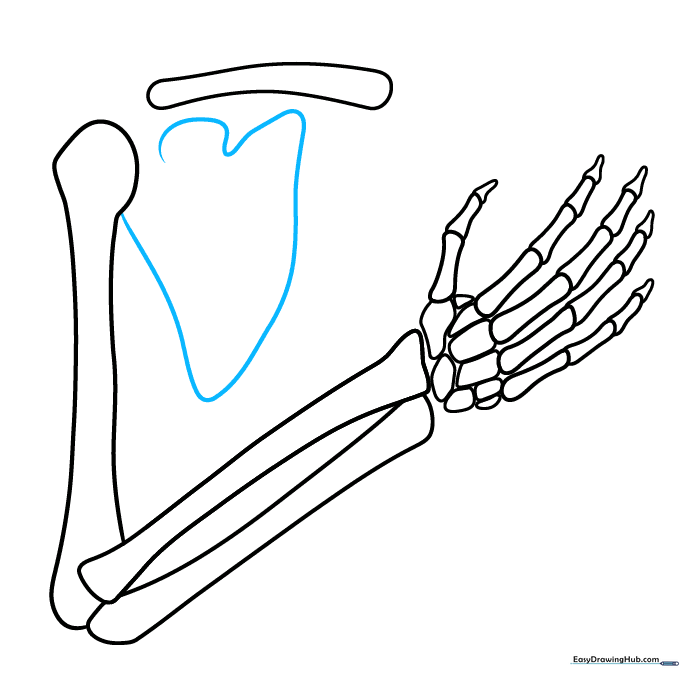
Step 7: Fingertips and Final Touches
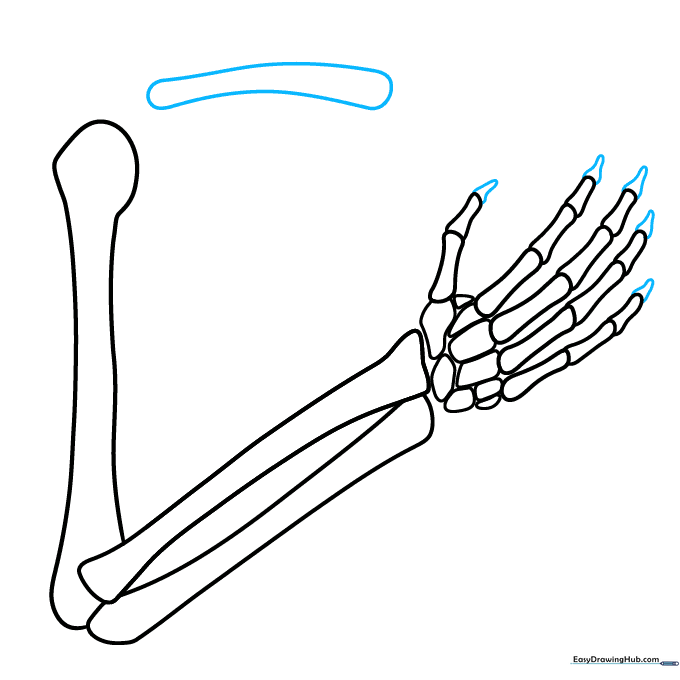
Draw the fingertips using loose teardrop shapes. Sketch a horizontal noodle shape at the top of the page to represent the shoulder connection. Tip: Keep the teardrops rounded to show where the fingernail would typically sit.
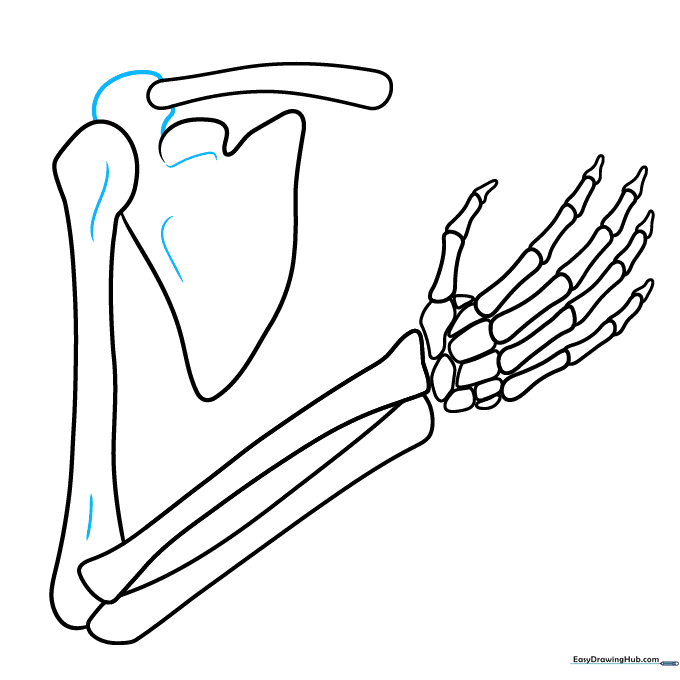
Step 8: Adding Texture and Detail
Sketch a deep curve, then add a small triangle and oblong shape on top to suggest bone density. Keep your lines loose and slightly uneven to mimic the organic texture of real bone.
Step 9: Final Outline and Cleanup
Add an oval behind the bones to create depth. Use a black marker to trace your final lines, then gently erase your pencil marks once the ink is dry. Tip: Use a steady hand for the outline to make the bones pop.
Step 10: Shading for Depth
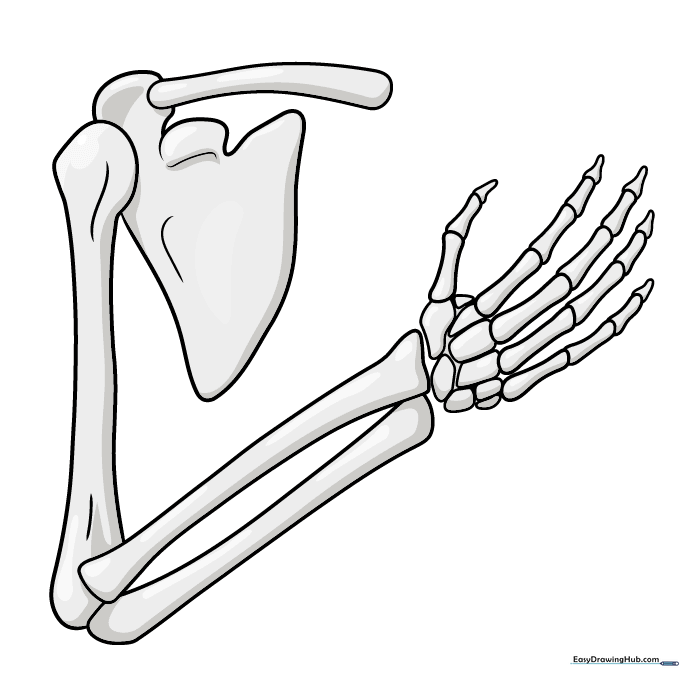
Lightly shade the bones with various grey tones to create an off-white, matte appearance. Imagine a light source coming from the left and shade the right side of each bone to create a 3D effect.
More Tutorials


