How to Draw a Skateboard: Easy 10-Step Guide for Kids
Ready to design your own custom skateboard? This tutorial is perfect for young artists ages 5 and up who want to master basic perspective. Grab a pencil, an eraser, and your favorite markers to bring this street-ready board to life.
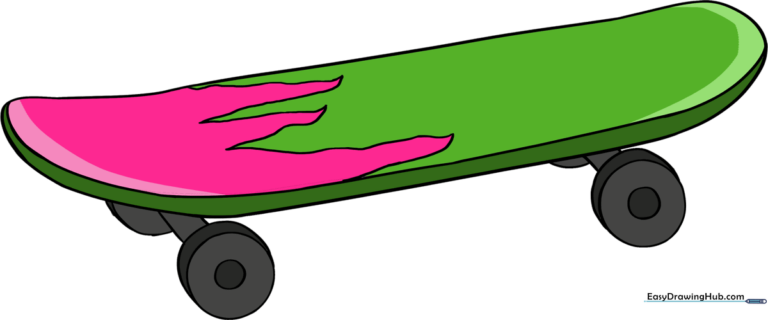
🎯 Final Result
Step-by-Step Instructions
Step 1: Sketching the Deck Base
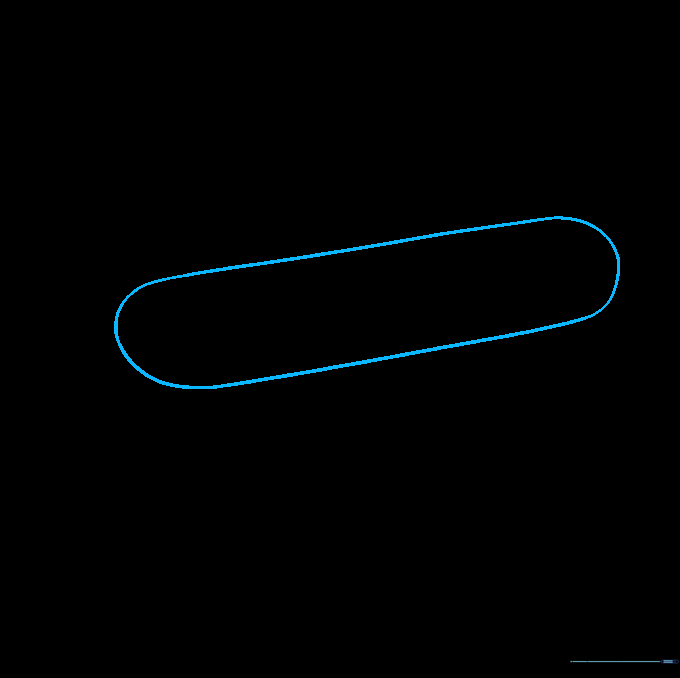
Start by drawing two parallel diagonal lines to create the main body of the deck. Connect the ends with small 'C' curves. Teacher's Tip: Keep your pencil pressure light so you can easily adjust the shape later if needed.
Step 2: Shaping the Front Kicktail
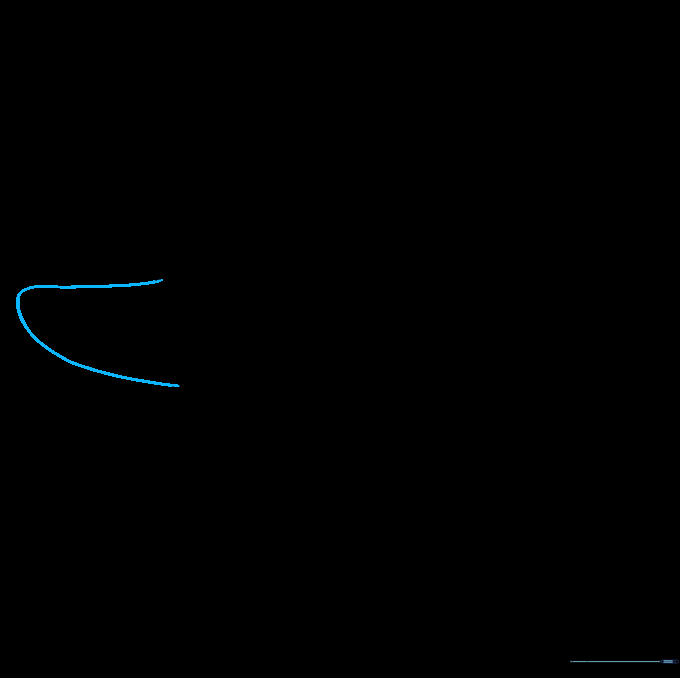
Erase one end of your rectangle and replace it with a gentle upward-curving line. This gives the board its signature 'kicktail' shape. Tip: Think of this as the nose of the board where you'd place your front foot.
Step 3: Defining the Tail

Repeat the process on the opposite side by erasing the end and drawing a curved line that angles upward. Now your board has a symmetrical, professional look. Tip: Try to make both curves match in height for balance.
Step 4: Adding Thickness to the Deck

Draw a curved line parallel to the side of the deck, connecting it to both ends. This adds depth and makes the board look solid. Tip: Imagine the thickness of a real wooden board; keep this line close to the edge.
Step 5: Drawing the First Wheel
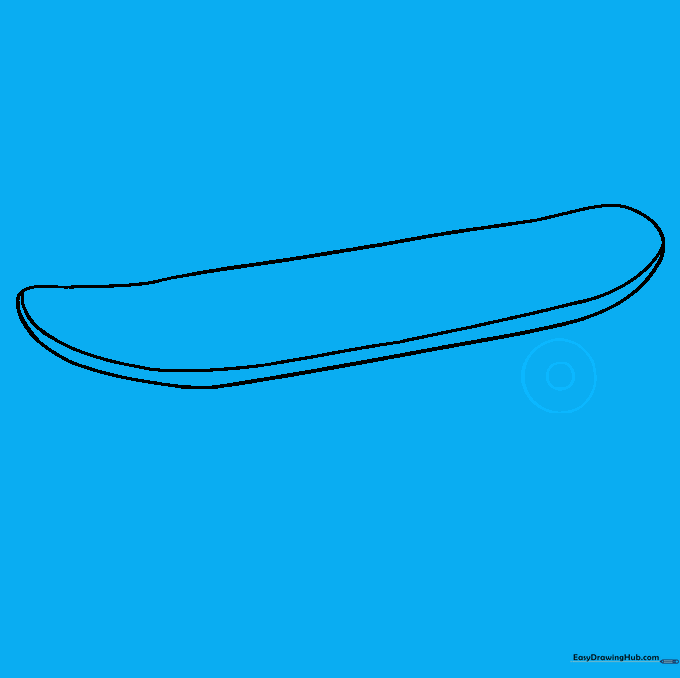
Draw a circle within a circle beneath the deck to create the first wheel. Tip: Use a small circular object to trace if you find freehand circles tricky!
Step 6: Attaching the Truck

Draw a curved line parallel to the top of the wheel and connect it to the deck with two small lines. This represents the 'truck' or the metal axle. Tip: Keep these lines clean to ensure the wheel looks like it's firmly attached.
Step 7: Adding the Second Wheel
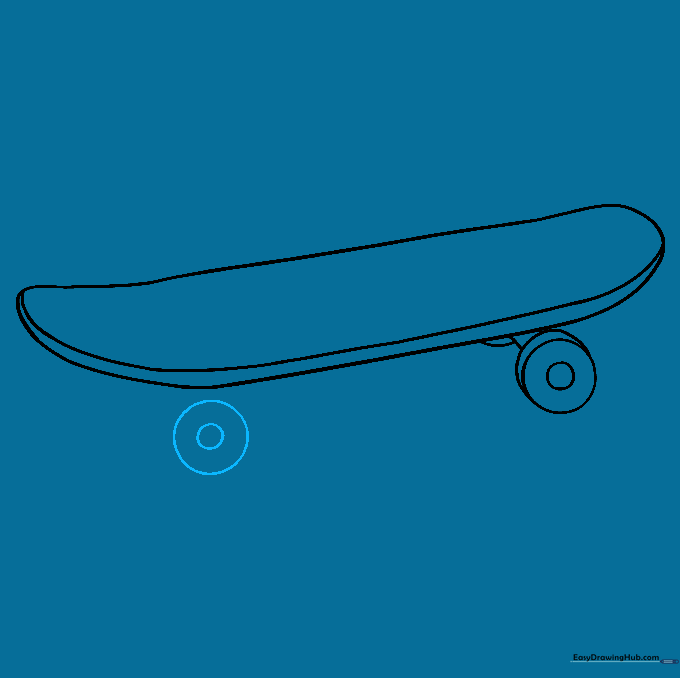
Draw another circle-in-a-circle near the first one to create the second wheel. Tip: Ensure it is aligned with the first wheel so the skateboard looks balanced.
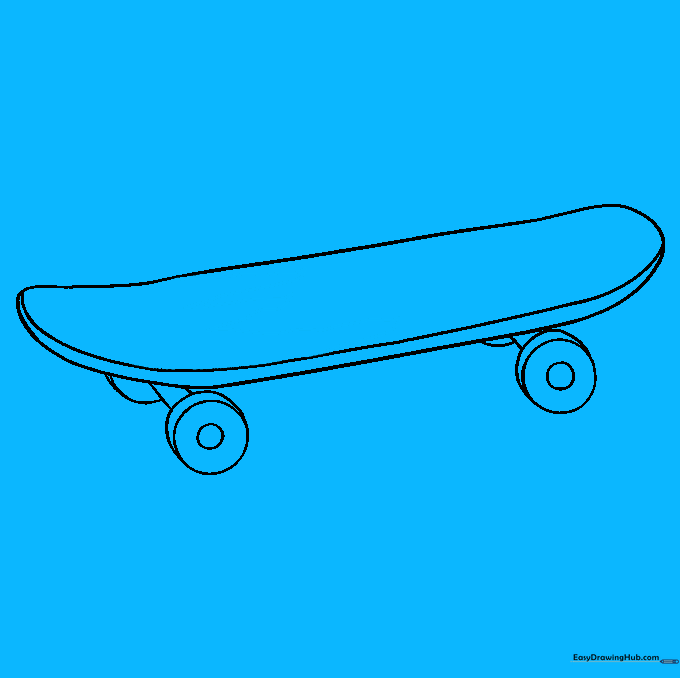
Step 8: Completing the Axle

Add a parallel line to the second wheel and connect it to the deck, just like you did for the first one. Add a small curved shape to represent the axle bolt. Tip: Consistency is key—make the second truck look just like the first!
Step 9: Customizing the Deck Design
Time to get creative! Draw wavy, pointed lines on the deck to create a flame pattern. Tip: Don't worry about making them perfect—flames look great when they are a bit jagged and wild.
Step 10: Adding Color
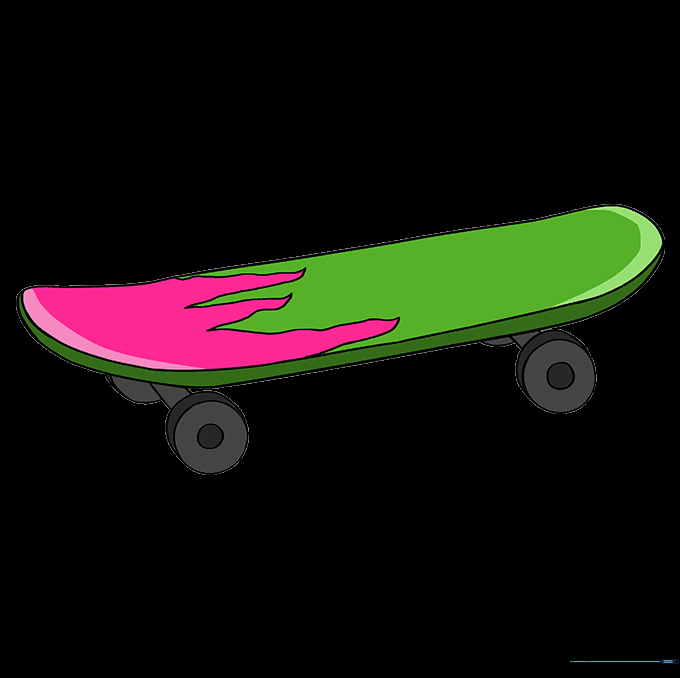
Bring your skateboard to life with color! We used vibrant green and pink, but you can use any colors you like. Tip: Use colored pencils to shade the edges of the wheels to give them a rounded, 3D look.
More Tutorials


