How to Draw Siren Head: Easy Step-by-Step Guide
Ready to bring this iconic urban legend to life? This tutorial is perfect for artists ages 8+ looking to practice character proportions and texture. You will need a pencil, an eraser, and a fine-liner pen to capture those eerie details.
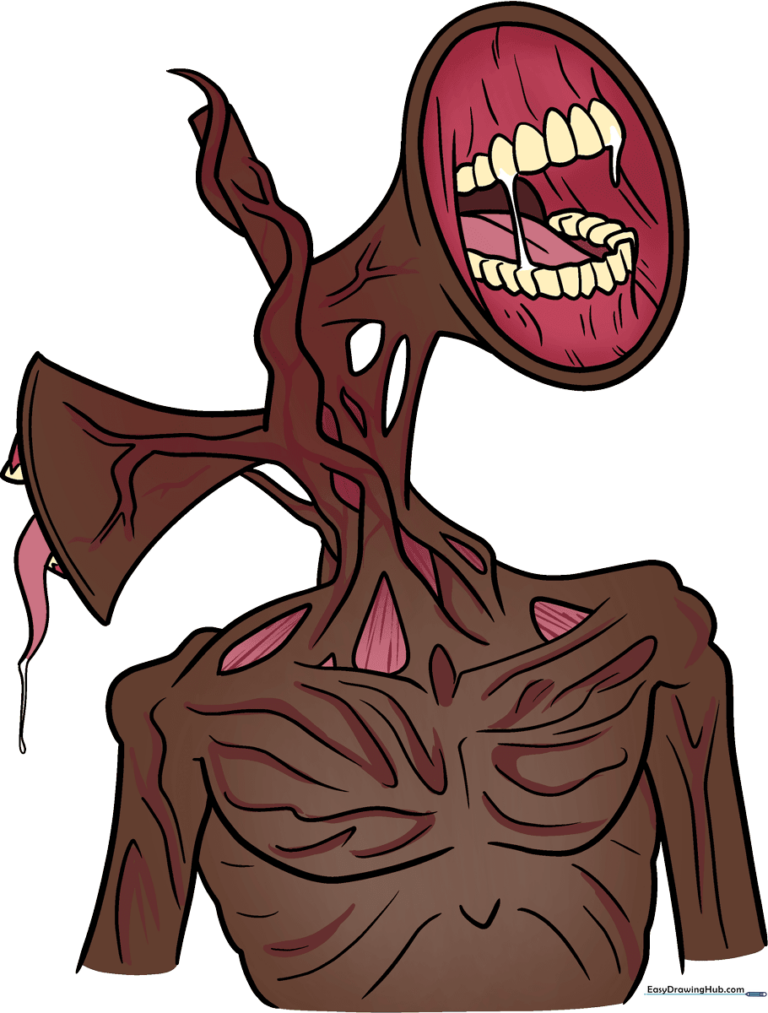
🎯 Final Result
Step-by-Step Instructions
Step 1: Establishing the Head Structure
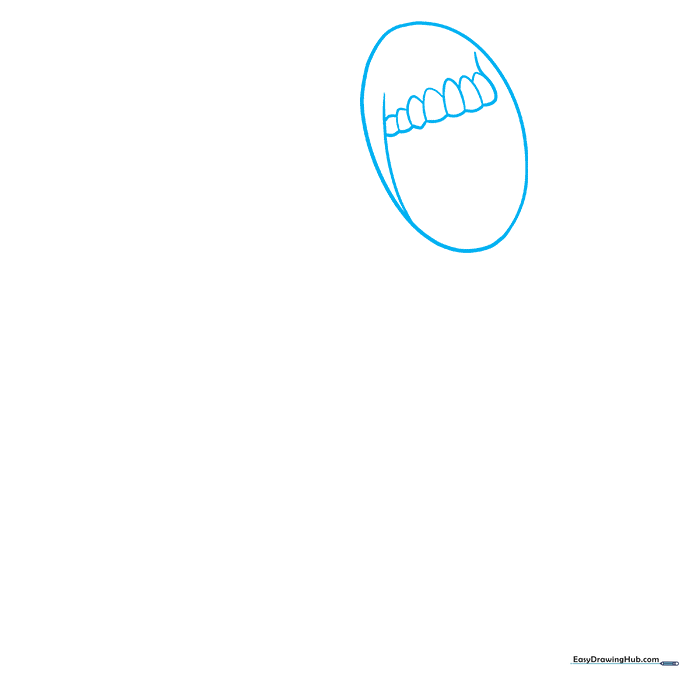
Draw a light oval in the top-right corner, then sketch a long curve on the left and a shorter one on the right. Connect these with seven small, irregular ovals. Teacher's Tip: Keep your pencil lines very faint here; these are just guides for the siren structure and will be refined later.
Step 2: Defining the Mouth and Teeth
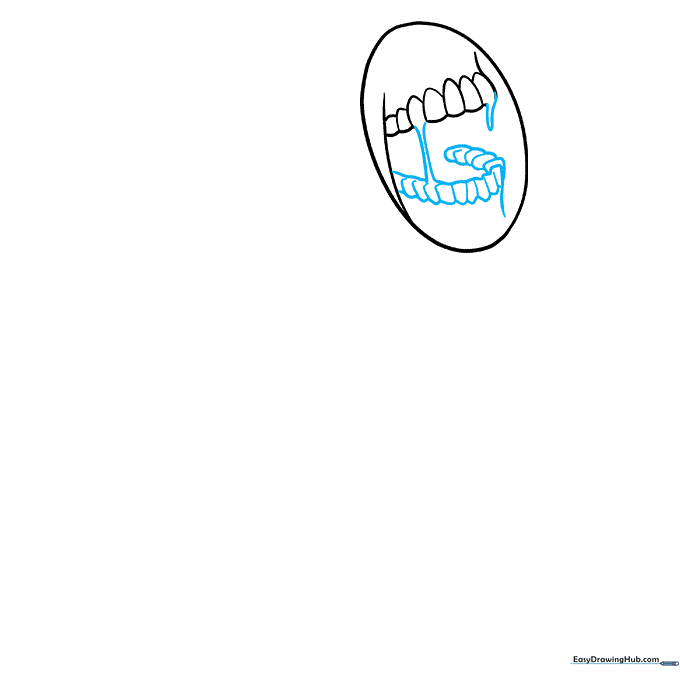
For the bottom row, sketch a flat semi-oval, then outline it with jagged squares and ovals to represent teeth. Add a narrow rectangle and a loose triangle for the dripping effect. Teacher's Tip: Don't worry about making the teeth perfect; Siren Head is meant to look weathered and uneven.
Step 3: Adding Texture
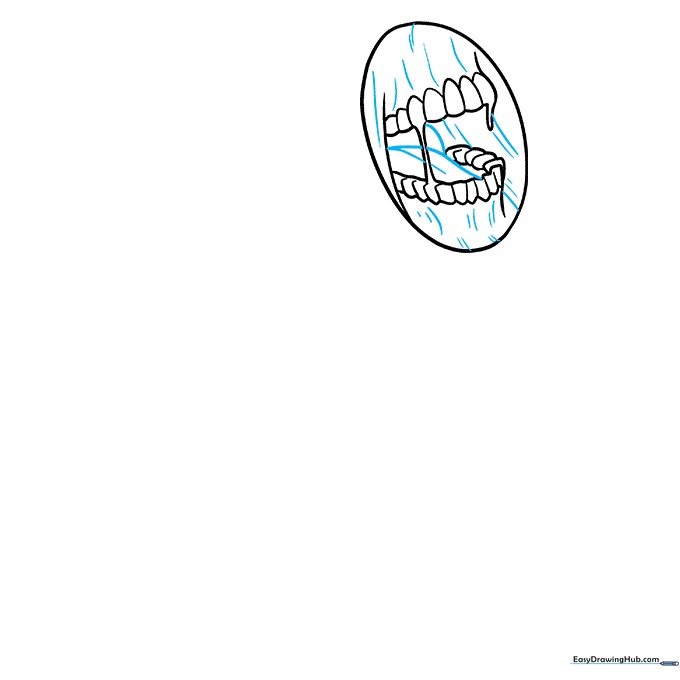
Draw short, sketchy lines inside the mouth area to mimic rough tree bark. Teacher's Tip: Use quick, flicking motions with your pencil to create a scratchy, organic texture rather than smooth, straight lines.
Step 4: Constructing the Neck
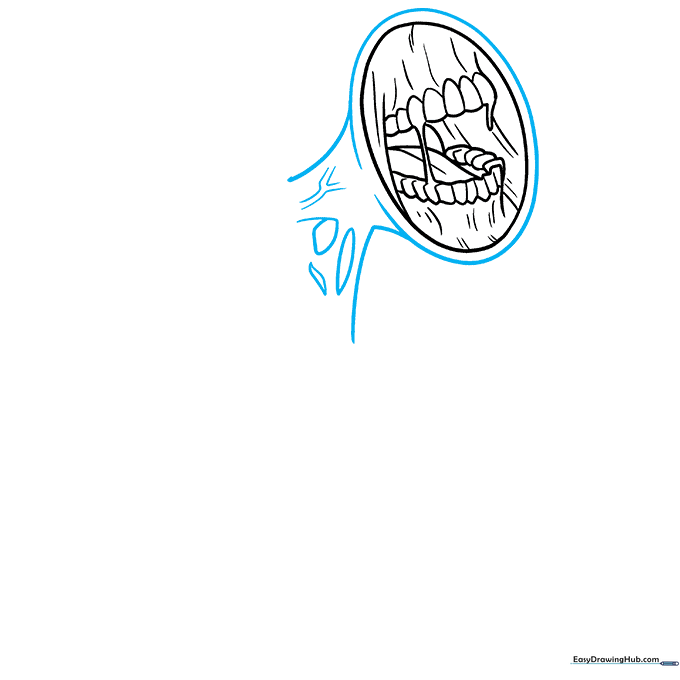
Outline the mouth with a larger oval. Sketch a wide curve and two diagonal lines for the neck, adding oblong shapes for muscle definition. Draw a tree-branch shape to represent a bulging vein. Teacher's Tip: Vary the thickness of your lines to give the neck a more realistic, organic weight.
Step 5: Adding Mechanical Details
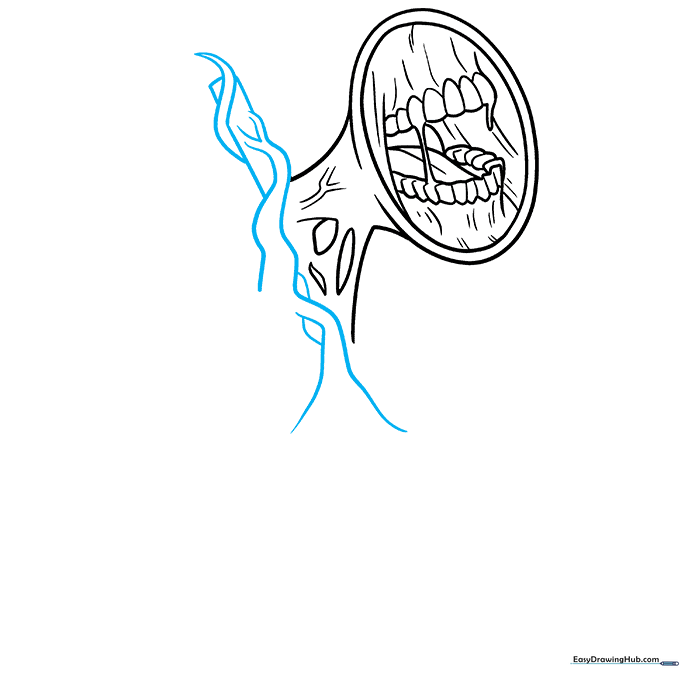
Add a straight rectangle to the left, then layer it with loose, flowing triangles to look like vines or wires. At the bottom, sketch a wide, open-ended triangle to form a funnel shape. Teacher's Tip: Think of this as a mechanical component—keep the edges sharp to contrast with the organic neck.
Step 6: Refining the Siren Shape
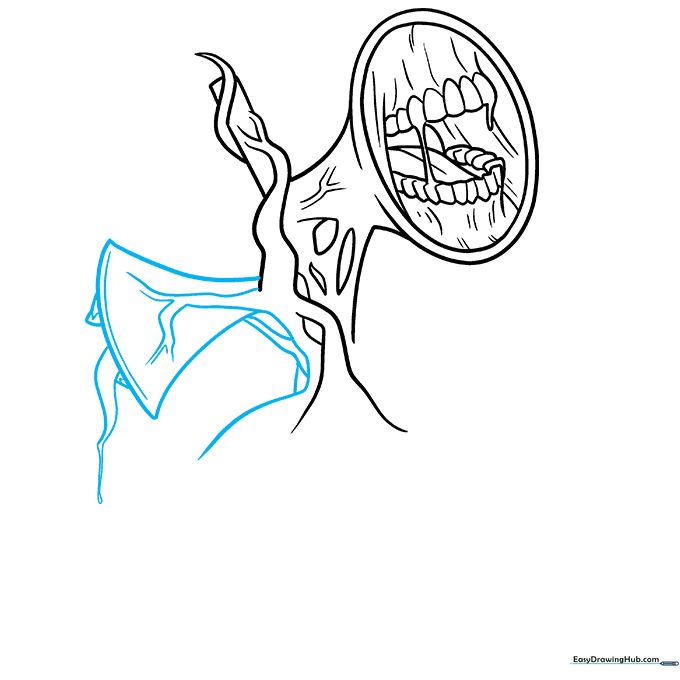
Draw a rounded triangle pointing left. Add a parallel curve inside, then sketch wavy lines to create varied shapes. A long, narrow shape with a teardrop at the bottom adds a 'dripping' effect. Teacher's Tip: Use your eraser to clean up any overlapping lines that shouldn't be there.
Step 7: Collarbone and Texture
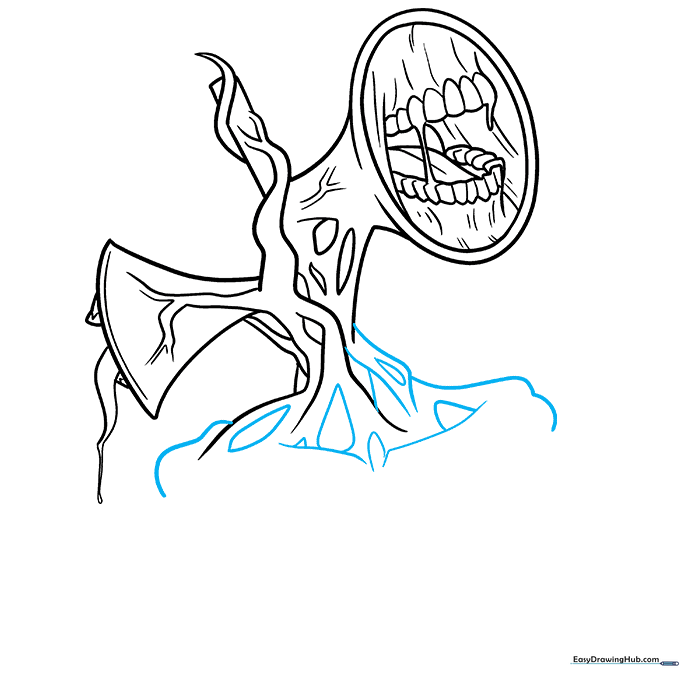
Sketch oblong teardrop shapes and ovals around the neck area. Surround them with waves and curves, then draw the collarbones using diagonal lines. Teacher's Tip: The collarbone acts as an anchor for the head; make sure these lines are firm and clear.
Step 8: Body Outline
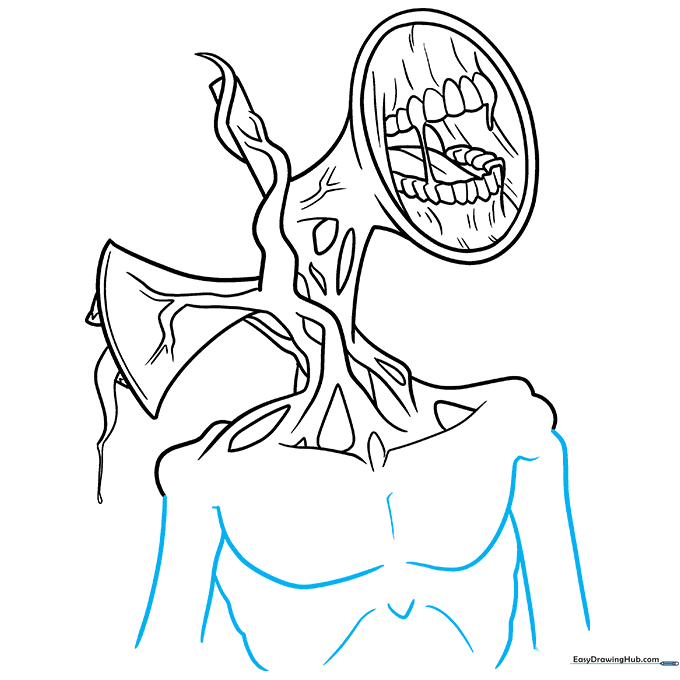
Add two curves beneath the neck with a vertical line between them. Draw a triangle with two curves underneath, then outline the body with loose, wavy lines. Use vertical lines for the arms. Teacher's Tip: Keep the body lines slightly wobbly to emphasize the character's lanky, unnatural appearance.
Step 9: Final Details and Inking
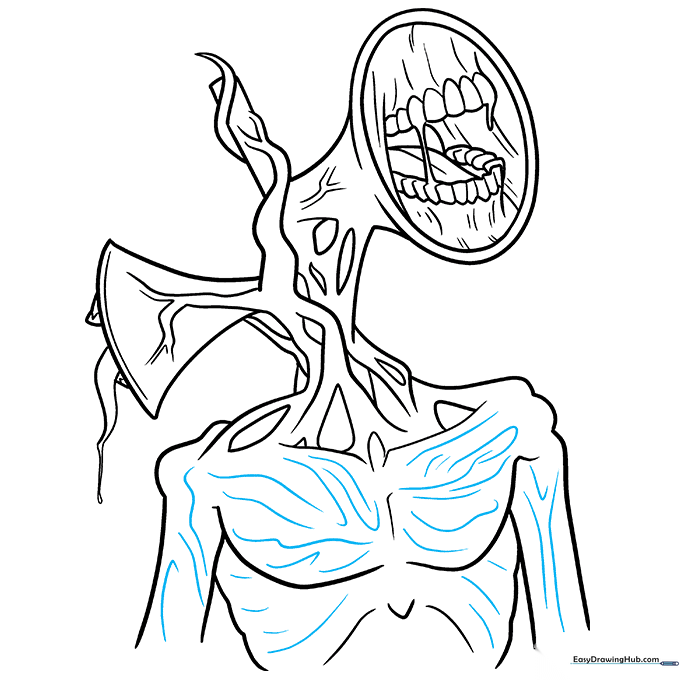
Add sketchy lines inside the body to suggest veins, ribs, and weathered skin. Once you're happy with the sketch, trace over your lines with a black ink pen and erase the underlying pencil marks. Teacher's Tip: Use a steady hand for the ink; if you make a mistake, turn it into a 'scar' on the character's skin!
Step 10: Bringing it to Life with Color
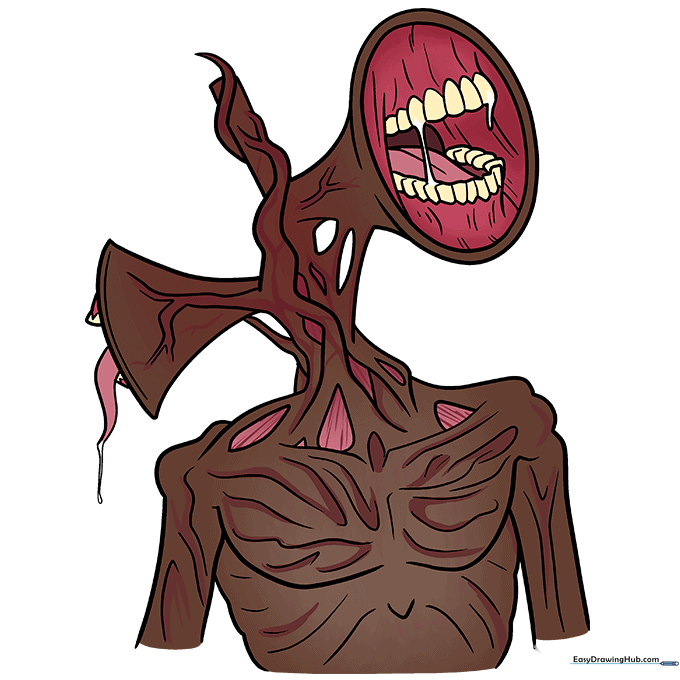
Color your Siren Head using varying shades of maroon. Use dark maroon for the body, muted pink for the neck muscles, and light maroon for the mouth. Keep the teeth off-white. Teacher's Tip: Layer your colors to create depth—press harder with your pencil in the shadows and lighter in the highlights.
More Tutorials


