How to Draw a Sleeping Cat: Easy 10-Step Guide
Looking for a relaxing art project? This tutorial is perfect for young artists ages 5+ to practice basic shapes while drawing a cozy, sleeping kitten. All you need is a pencil, an eraser, and a piece of paper to get started on this calming creative exercise.
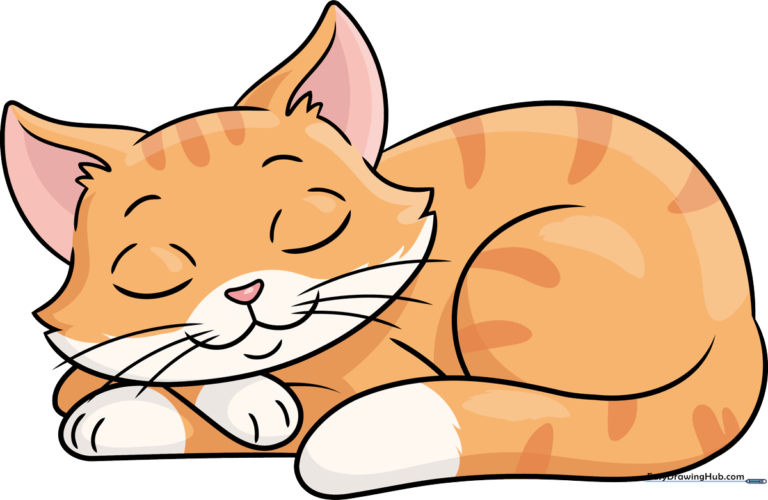
🎯 Final Result
Step-by-Step Instructions
Step 1: Sketching the Face Shape

Draw two gentle, curved lines to form the top of the head, then add a small, upside-down triangle for the nose. Teacher's Tip: Think of the nose as a tiny 'v' shape to keep it looking cute and small.
Step 2: Defining the Muzzle

Add two soft curves extending from the nose to create the mouth, then draw rounded cheeks on either side. Teacher's Tip: Keep these lines smooth and rounded to give your cat a peaceful, sleepy expression.
Step 3: Adding Fluffy Cheeks

Draw a wide, sweeping curve under the face, adding small triangles on the sides to represent tufts of fur. Teacher's Tip: Make the fur triangles slightly irregular so they look natural, not like perfect geometric shapes.
Step 4: Drawing the Ears
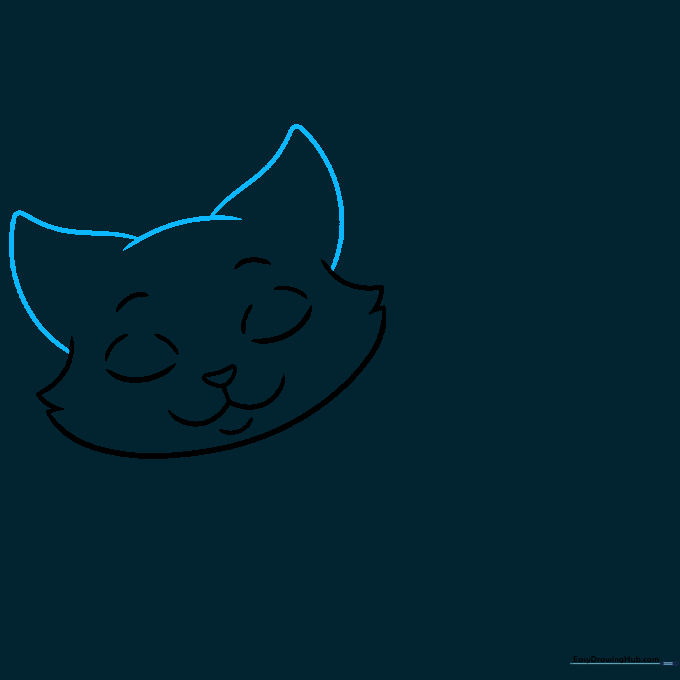
Sketch two large, rounded triangles at the top of the head and connect them with a soft, horizontal line. Teacher's Tip: Ensure the ears are symmetrical to keep the cat looking balanced.
Step 5: Inner Ear Detail
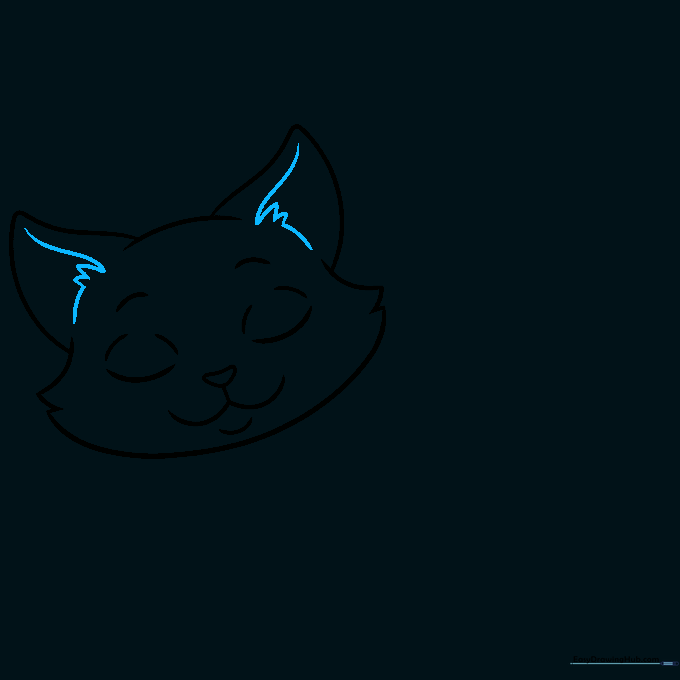
Add an 'L' shape inside each ear, including small, grass-like zig-zags for inner ear fur. Teacher's Tip: Use short, quick strokes for the fur to give it a realistic, soft texture.
Step 6: The Sleeping Body
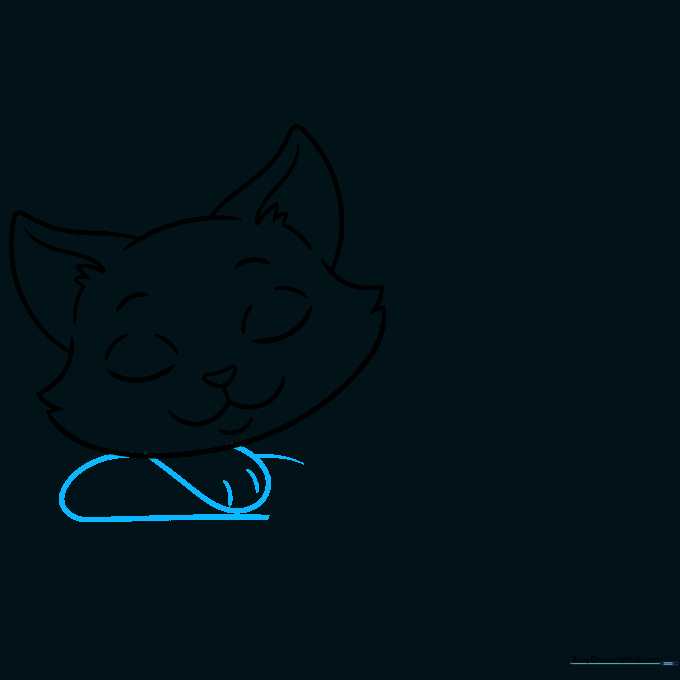
Draw a loop under the head with two dashed lines to suggest the tucked-in paws. Below that, draw a long, curved 'noodle' shape for the body. Teacher's Tip: The dashed lines help show where the paws are folded neatly underneath.
Step 7: Adding Legs and Toes

Draw a tall curve on the right for the back, and a loop on the left with two small lines to define the toes. Teacher's Tip: Keep the toe lines light so they look like subtle indentations in the fur.
Step 8: The Curled Tail
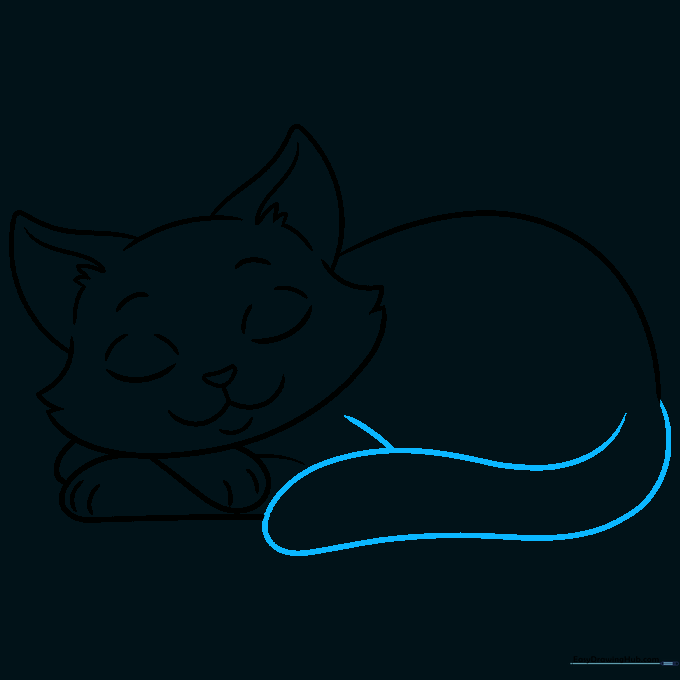
Sketch a long, flowing 'noodle' shape that curls around the cat's body. Add a short line to represent the arm. Teacher's Tip: A curled tail makes the cat look extra cozy and relaxed.
Step 9: Final Touches
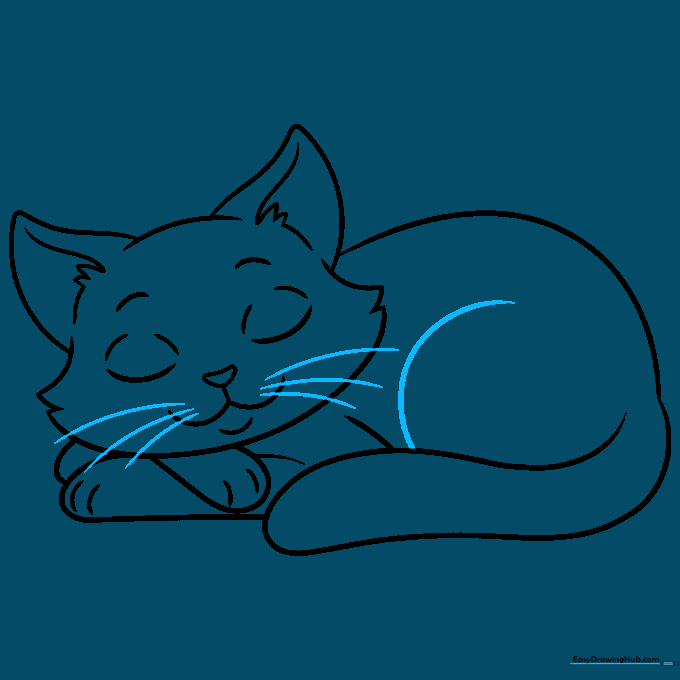
Complete the outline of the right leg and add long, graceful whiskers on the cheeks. Teacher's Tip: Draw the whiskers with one quick, confident motion to make them look sharp and natural.
Step 10: Coloring Your Cat
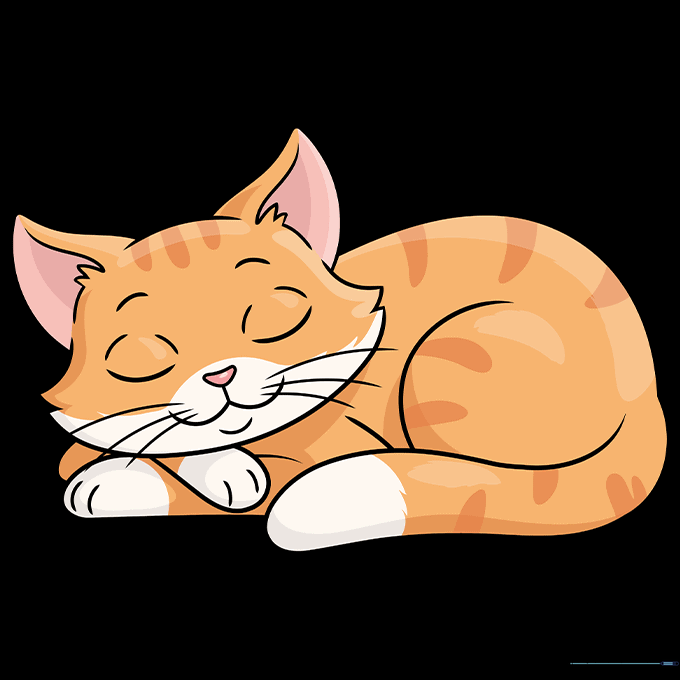
Outline your drawing with a black pen and erase your pencil marks. Color your cat in warm orange tones with darker stripes, using pink for the nose and ears. Teacher's Tip: Leave the paws and the tip of the tail white for a cute 'socks' effect!
More Tutorials


