How to Draw a Simple Robot: Easy 10-Step Guide for Kids
Ready to build your own mechanical friend? This tutorial is perfect for young artists ages 5 and up. Grab a pencil, an eraser, and a piece of paper to follow along as we break down this complex machine into simple, manageable shapes.
🎯 Final Result

Step-by-Step Instructions
Step 1: Sketching the Face

Start by drawing two circles for the eyes and a 'U' shaped line below them for the mouth. Teacher's Tip: Keep your pencil pressure light here so you can easily adjust the expression later if you want your robot to look extra happy or surprised!
Step 2: Framing the Head

Draw a rounded rectangle around the face, then frame it with a larger oval. Teacher's Tip: Don't worry if your lines aren't perfectly straight; robots look great with a little bit of quirky, hand-drawn character.
Step 3: Adding Ears and Antennae
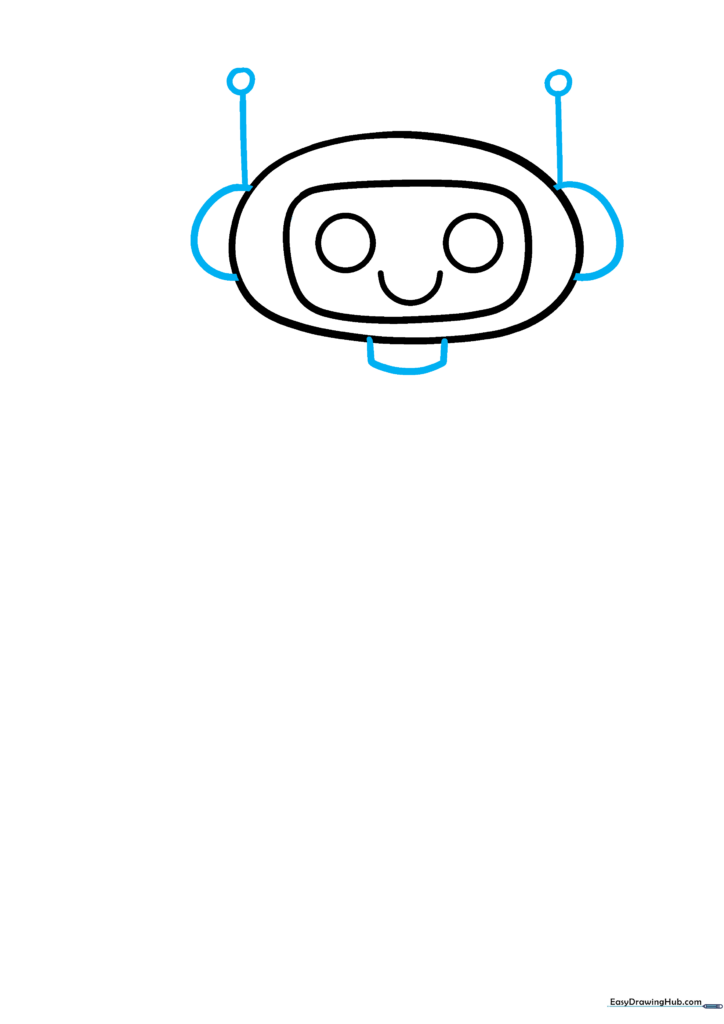
Add 'C' shaped ears on the sides and draw antennae with small circles on top. Below the head, add two short vertical lines connected by a curve for the neck. Teacher's Tip: Use your eraser to clean up any overlapping lines where the neck meets the head.
Step 4: Defining the Torso

Draw a large oval beneath the neck to form the robot's body. Teacher's Tip: Make this oval nice and big—it gives you plenty of room to add cool buttons and gadgets later!
Step 5: Adding Chest Details
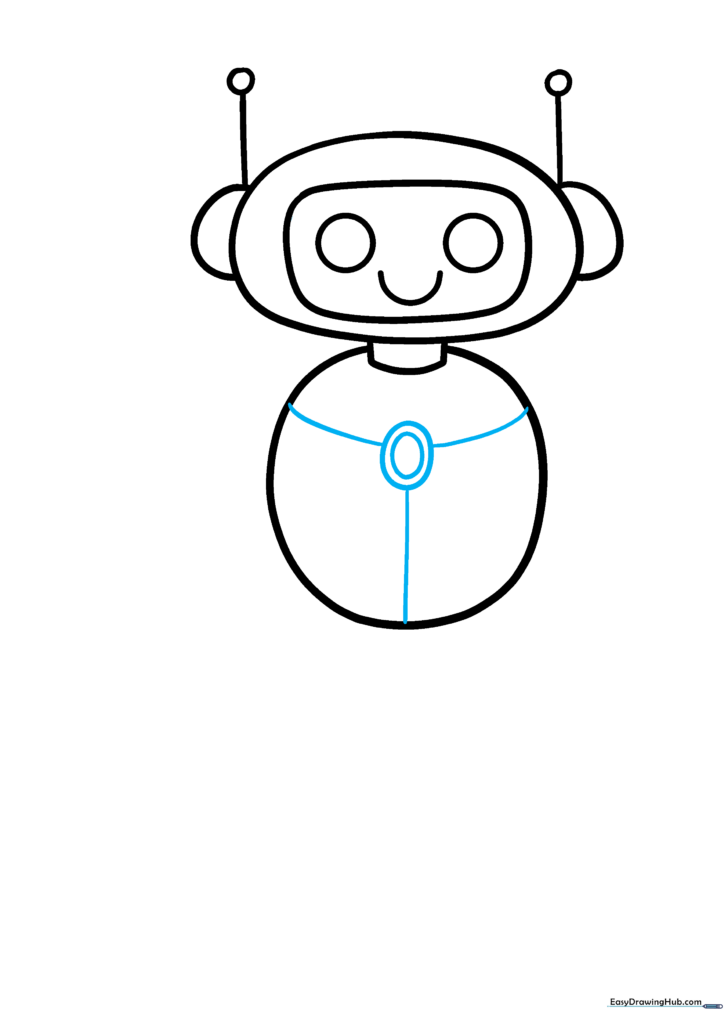
Draw an oval inside an oval on the chest, then add 'Y' shaped lines extending to the edges. Teacher's Tip: These shapes act as the robot's control panel—feel free to add extra dots or squares to make it look more high-tech.
Step 6: Sketching the Arm
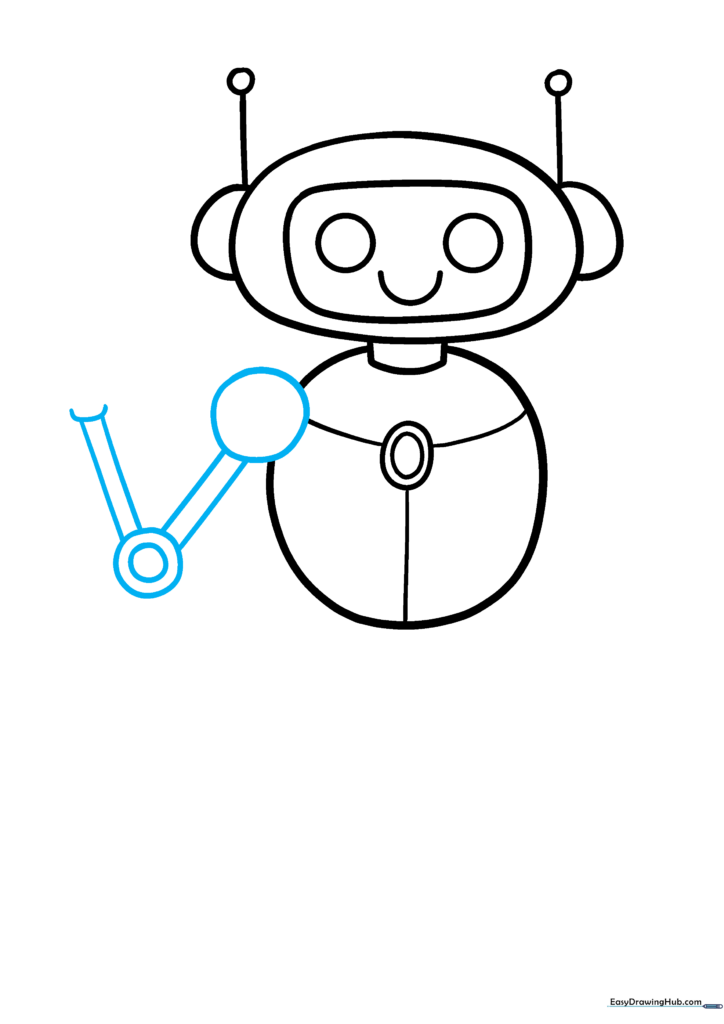
Draw a circle for the shoulder, followed by straight lines for the upper arm, and a circle-within-a-circle for the elbow. Teacher's Tip: Think of these as joints; keeping the circles consistent helps the robot look like it can actually move.
Step 7: Creating the Hand

Add a thick 'C' shape for the hand and draw the second arm using the same joint-and-line method. Teacher's Tip: Adding a small curved line across the hand creates a 3D effect, making the robot look more solid.
Step 8: Finalizing the Pose
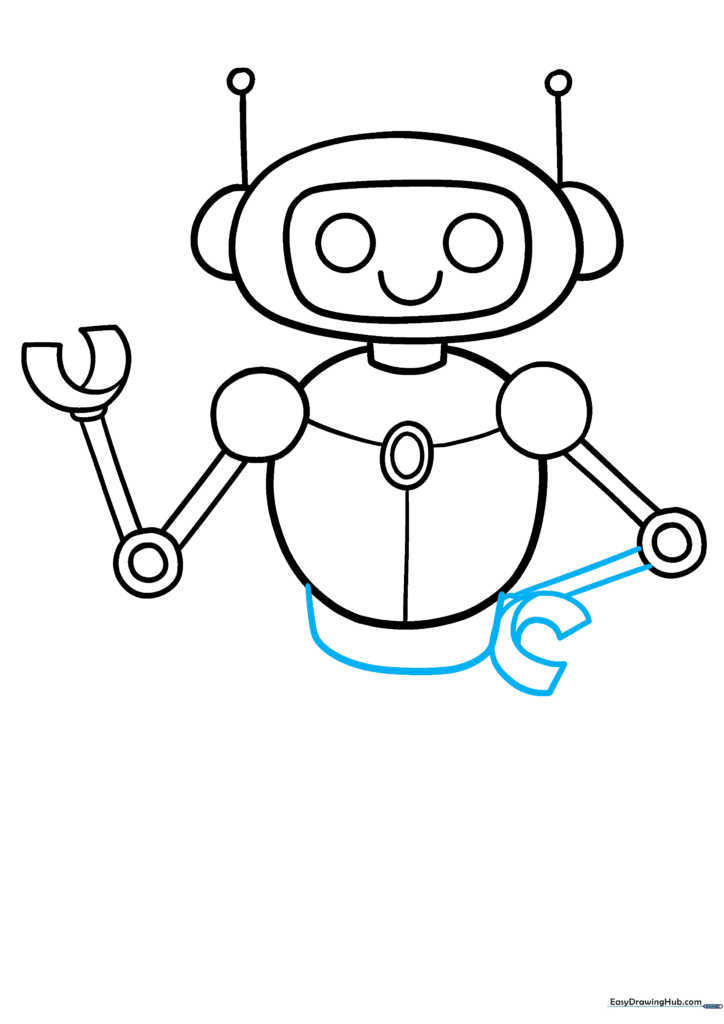
Draw the second hand resting on the hip and add a curved line to define the torso section. Teacher's Tip: Placing a hand on the hip gives your robot a lot of personality—it makes it look like it's ready for action!
Step 9: Adding the Base

Use a 'V' shape to create a triangle base, adding a circle at the tip and layered 'C' shapes. Teacher's Tip: This base acts as the robot's feet, so make sure it looks sturdy enough to support the whole body.
Step 10: Coloring Your Creation

Your robot is ready! Use metallic greys for a classic look, or go bold with bright reds and yellows for the lights. Teacher's Tip: Use a ruler to keep your coloring lines straight if you want to emphasize the 'machine' look.
More Tutorials


