How to Draw a Cute Butterfly: Easy 10-Step Guide
This simple butterfly drawing tutorial is perfect for children ages 5 and up. All you need is a pencil, an eraser, and some paper to get started. Follow these steps to build confidence in your sketching skills while creating a whimsical, friendly insect.
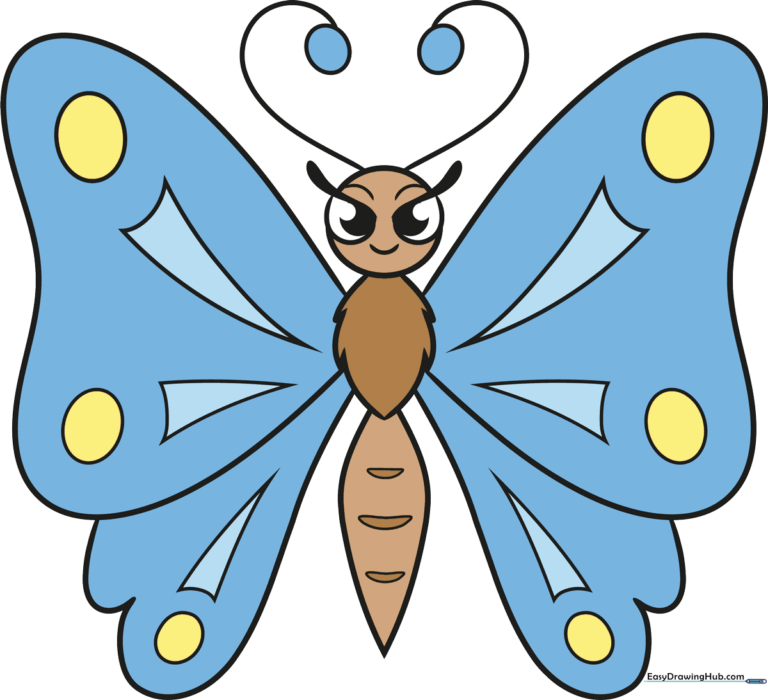
🎯 Final Result
Step-by-Step Instructions
Step 1: Sketching the Head

Draw a small 'C' shaped curve to form the bottom of the butterfly's head. Teacher's Tip: Keep this shape small and centered near the top of your page to leave plenty of room for those big, beautiful wings later!
Step 2: Starting the Thorax

Extend two curved lines downward from the head, doubling back at the tips. This creates the furry midsection. Teacher's Tip: Think of this as drawing two small, soft parentheses.
Step 3: Adding Thorax Texture

Extend a curved line from each previous mark, doubling them back into sharp points. Teacher's Tip: Keep your pencil strokes fluid to give the thorax a natural, organic look.
Step 4: Shaping the Body

Draw a long, graceful curved line continuing down from one side of the thorax. Teacher's Tip: Imagine you are drawing the side of a teardrop shape.
Step 5: Closing the Thorax

Draw a matching curved line on the opposite side to close the shape, ending in a gentle point. Teacher's Tip: Try to mirror your first line to keep the body symmetrical.
Step 6: Drawing the Eyes

Add two partial ovals for eyes, including thick curved lines for eyelashes and pupils. Teacher's Tip: Adding the pupils makes the butterfly look friendly and awake!
Step 7: Adding Antennae

Draw two long, curly antennae with small ovals at the tips. Teacher's Tip: Make them curve toward each other to suggest a heart shape—it adds to the 'cute' factor!
Step 8: Designing the Wings
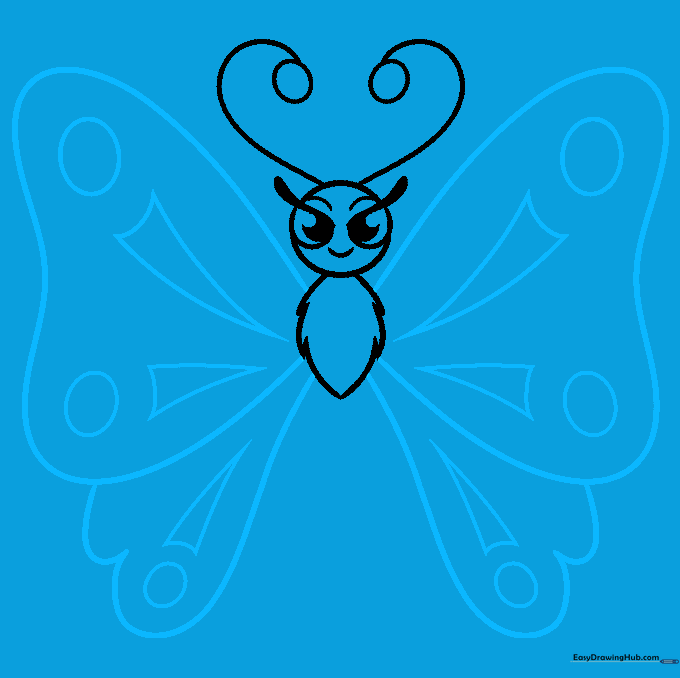
Outline the wings using large, rounded triangles for the top and heart shapes for the bottom. Add small ovals and triangles inside for decoration. Teacher's Tip: Don't worry if they aren't perfect; butterflies in nature have unique wing patterns too!
Step 9: Finishing the Abdomen
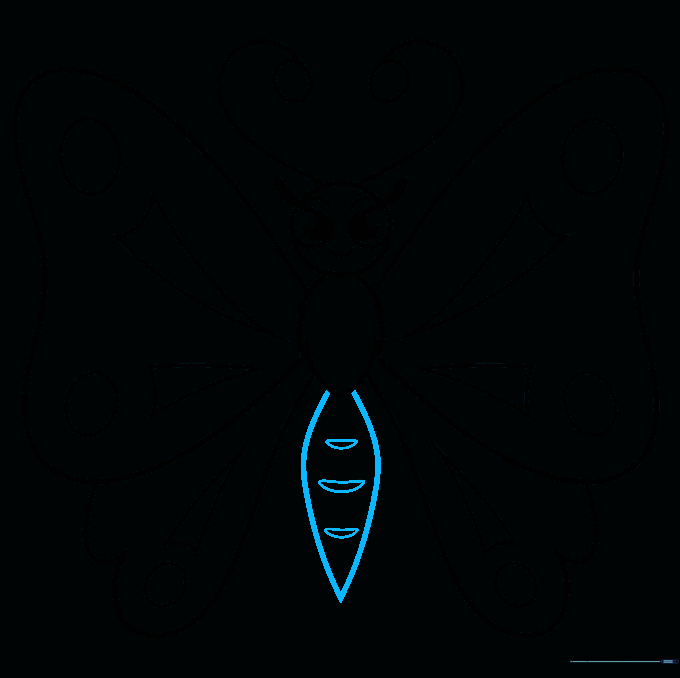
Complete the body by drawing the abdomen with several curved segments. Teacher's Tip: Use short, overlapping curves to give the abdomen a segmented, realistic insect look.
Step 10: Adding Color
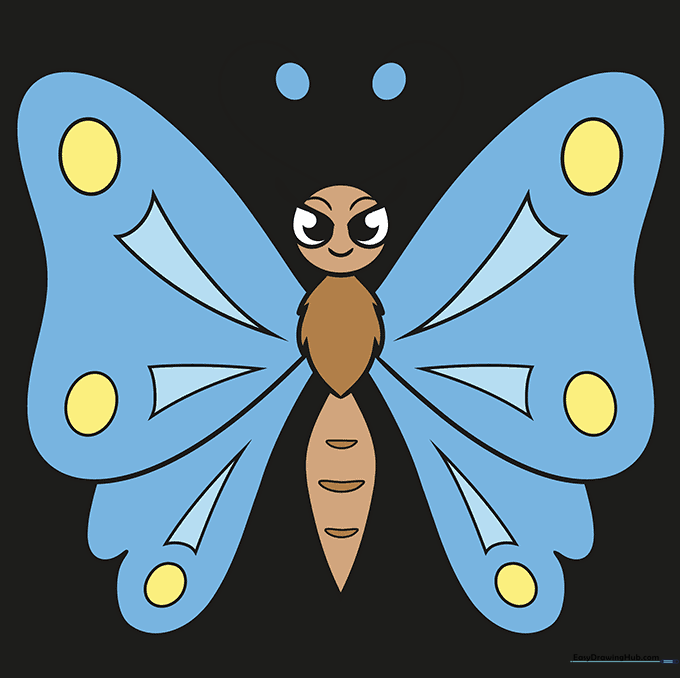
Bring your butterfly to life with bright colors! Whether you choose realistic monarch orange or a rainbow of your own, have fun with it. Teacher's Tip: Use a darker shade to outline your colors to make them pop off the page.
More Tutorials


