How to Draw a Silhouette: Easy Step-by-Step Guide
Looking for a fun, screen-free way to practice portrait drawing? This silhouette tutorial is perfect for artists ages 6 and up. All you need is a pencil, an eraser, and a piece of paper to create a striking profile portrait that focuses on shape and form rather than fine details.
🎯 Final Result

Step-by-Step Instructions
Step 1: Sketching the Forehead and Lash Line

Start by drawing a soft, curved line for the forehead. Add a tiny, sharp angle for the upper eyelashes. Teacher's Tip: Keep your pencil pressure light here so you can easily adjust the curve if it feels too steep.
Step 2: Defining the Nose and Lip
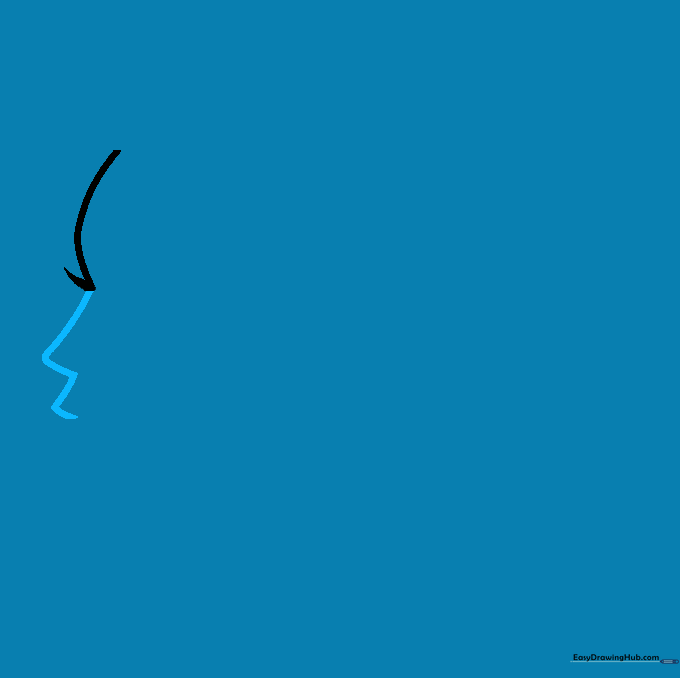
Continue the face by drawing two small, triangle-like shapes for the nose and the upper lip. Tip: Think of these as 'bumps' on your line; keep them rounded rather than perfectly sharp to make the face look natural.
Step 3: Shaping the Chin

Add a small triangle for the lower lip and connect it to a smooth, rounded curve for the chin. Tip: A soft, rounded chin creates a more youthful look, while a flatter line can make the face look more mature.
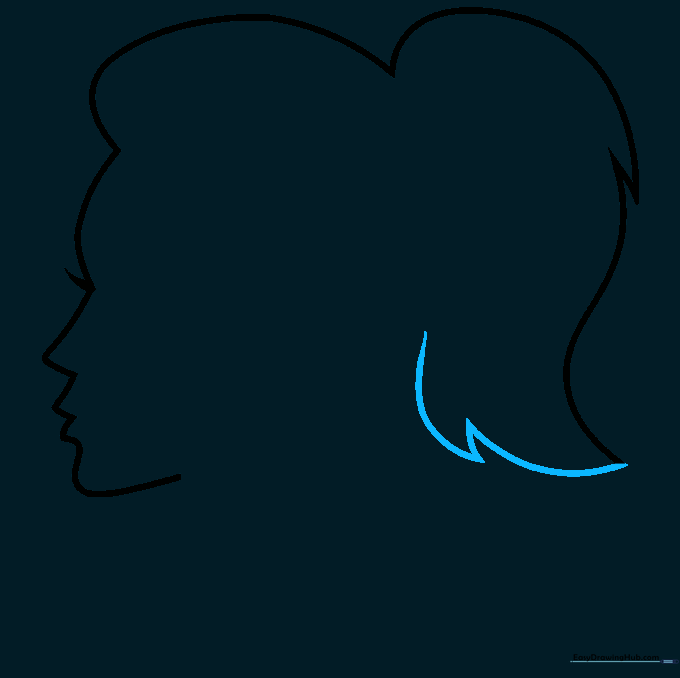
Step 4: Outlining the Hairline

Draw a long, sweeping curved line starting from the top of the forehead to map out the hair. Tip: Don't worry about individual strands; focus on the overall 'mass' or shape of the hairstyle.
Step 5: Creating the Ponytail Base

Add a curved line and a straight line to define the top of the ponytail. Tip: Imagine the hair is tied back tightly—this helps you visualize where the hair should pull away from the head.
Step 6: Extending the Ponytail

Draw a long, graceful curved line to continue the length of the ponytail. Tip: Use your whole arm to draw this long line rather than just your wrist for a smoother, more fluid stroke.
Step 7: Adding Texture to the Ponytail
Finish the bottom of the ponytail with a series of small, jagged curved lines. Tip: Varying the size of these points makes the hair look more realistic and less like a solid block.
Step 8: Drawing the Neck and Base
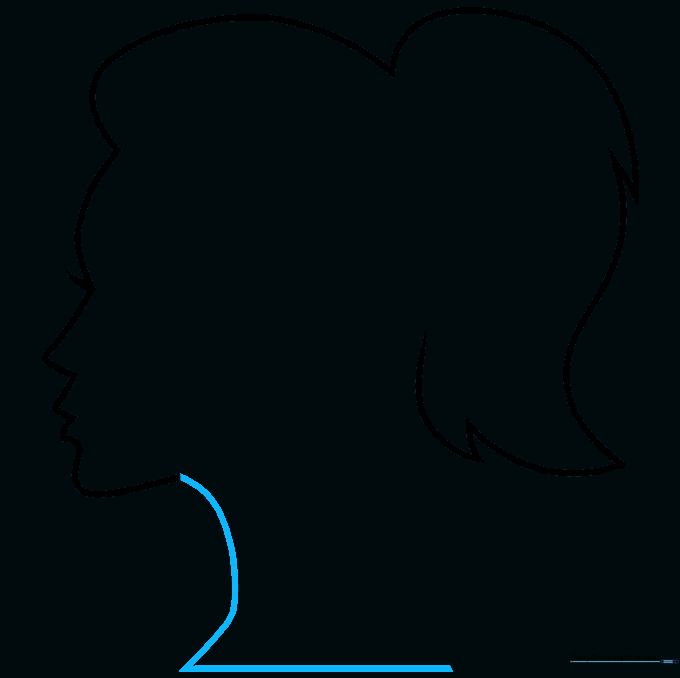
Draw a long curve from the chin down to form the neck, then add a horizontal line at the bottom to ground your drawing. Tip: Ensure the neck isn't too thin; it needs to look strong enough to support the head!
Step 9: Completing the Outline
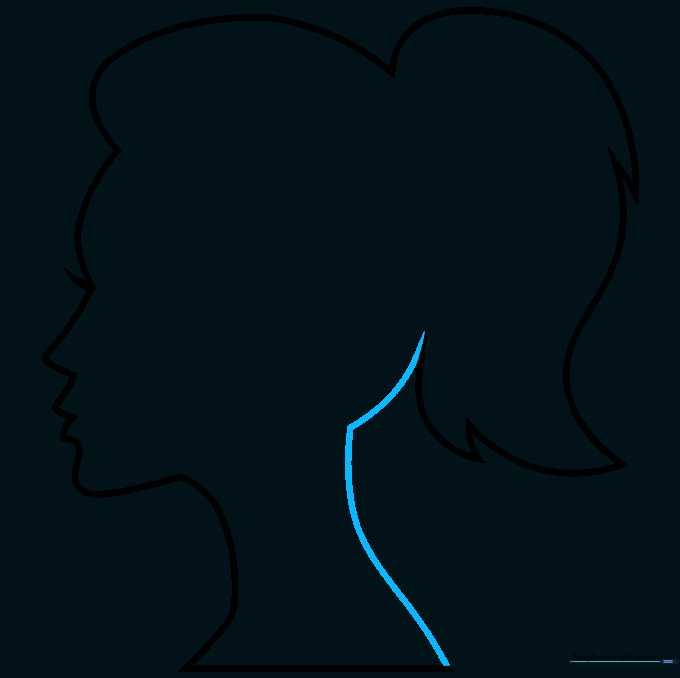
Connect the back of the neck to the base of the ponytail with a series of smooth, curved lines. Tip: Check your proportions—make sure the back of the head feels balanced with the face.
Step 10: Filling in the Silhouette

Fill the entire shape with solid black or your favorite color. Tip: Use a thick marker or a soft 6B pencil to fill it in quickly, making sure to keep your edges clean and crisp.
More Tutorials


