How to Draw a Siamese Cat: Easy 10-Step Guide
Capture the elegant features of a Siamese cat in this fun, beginner-friendly drawing lesson. Designed for artists ages 5 and up, you only need a pencil, eraser, and paper to get started. Follow these steps to master the distinct pointed markings and graceful posture of this beloved breed.
🎯 Final Result

Step-by-Step Instructions
Step 1: Sketching the Expressive Eyes

Draw two lemon-shaped outlines for the eyes. Add small ovals inside for pupils and fill them in, then sketch a tiny triangle for the nose and two small hooks for the mouth. Teacher's Tip: Keep the eyes level with each other to give your cat a balanced, friendly look.
Step 2: Adding Ears and Facial Structure
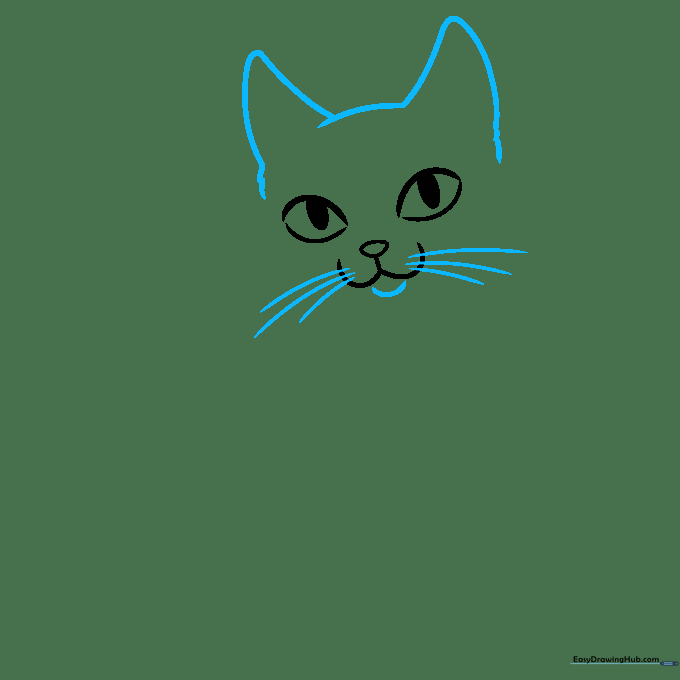
Draw two rounded triangles at the top of the head for the ears. Connect them with a soft curve, then sketch the chin and whiskers. Teacher's Tip: Use light, quick strokes for the whiskers so they look delicate and natural.
Step 3: Defining the Furry Face
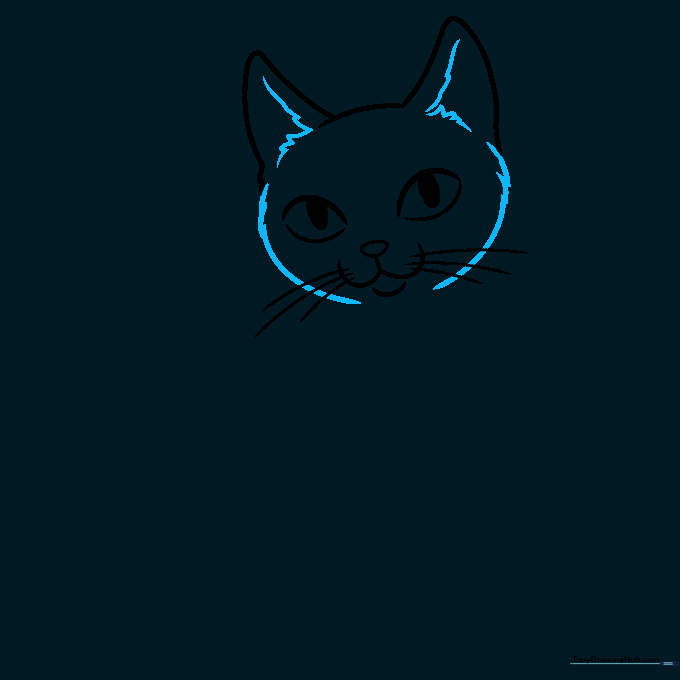
Draw curves around the face to create a loose oval, using short, jagged lines at the top to suggest fur texture. Outline the insides of the ears with similar jagged strokes. Teacher's Tip: Don't worry about making the lines perfect; the 'shaky' look actually mimics real fur!
Step 4: Shaping the Neck
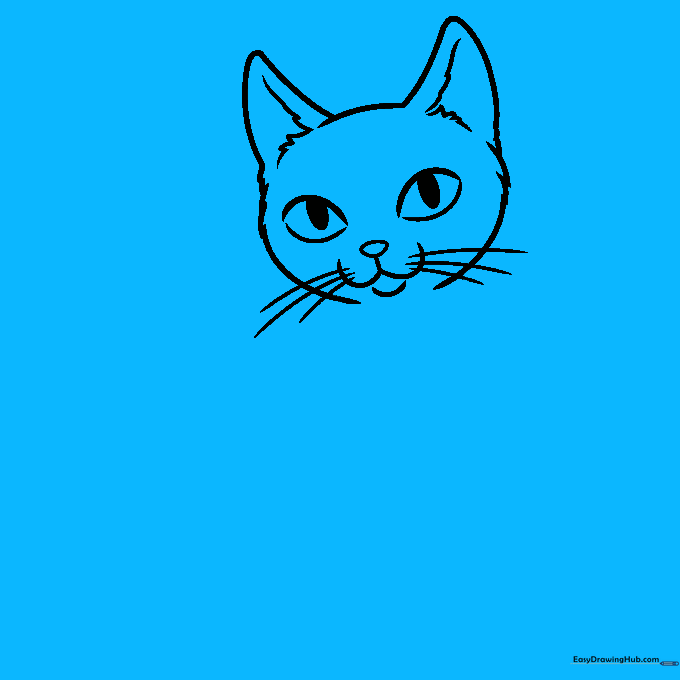
Continue using those short, shaky lines to define the sides of the face and the inner ear details. Add two downward lines to form the neck. Teacher's Tip: Make the neck slightly wider at the base to give the cat a sturdy, realistic posture.
Step 5: Starting the Front Leg
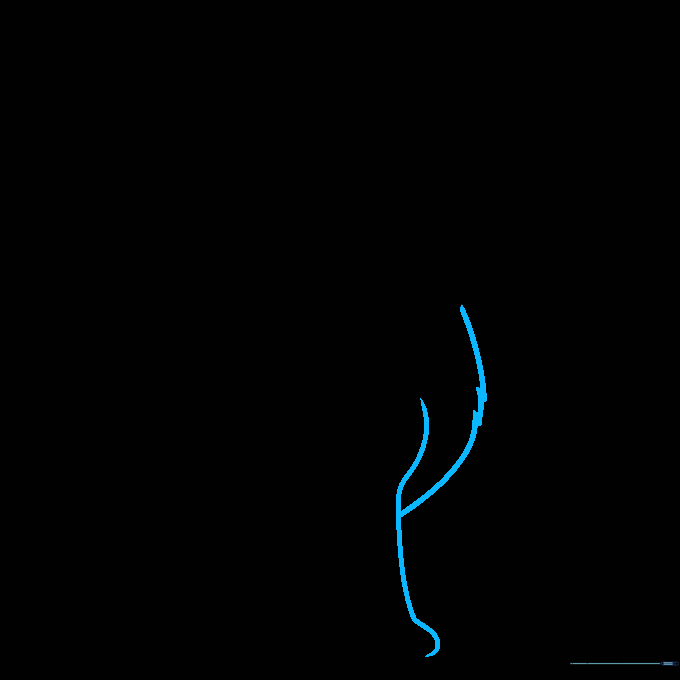
Draw a line with small hook shapes at the bottom to represent the paw. Sketch a curved line to the right with a jagged edge in the center for the chest fur. Teacher's Tip: The 'hook' shapes are a great way to simplify complex cat toes for beginners.
Step 6: Detailing the Paws

Draw a parallel line to complete the leg, then sketch overlapping loops for the toes. Add a few more sketchy lines near the leg to suggest soft fur. Teacher's Tip: Overlapping your lines creates depth, making the paw look like it's resting on the ground.
Step 7: Drawing the Body Curve
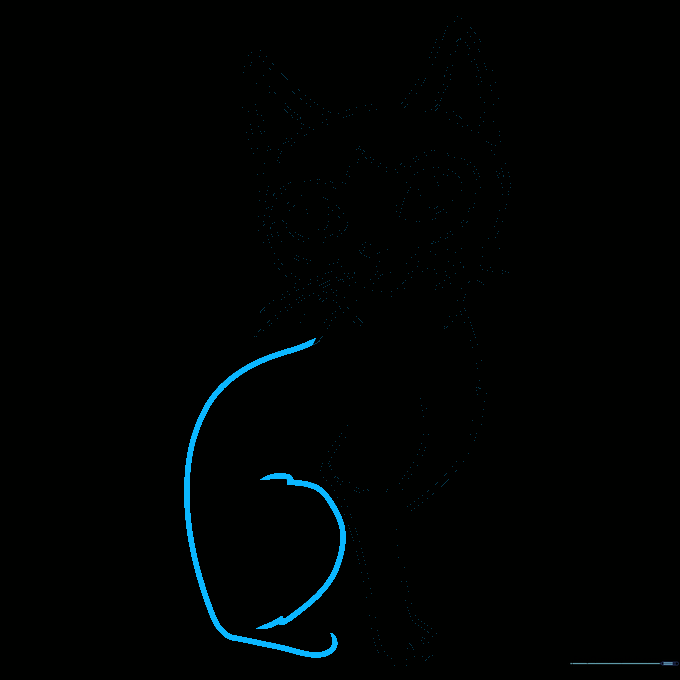
Draw a long, graceful curved line trailing downward for the back, ending in a hook for the tail. Add a curve with jagged edges to define the cat's belly. Teacher's Tip: A smooth, continuous motion for the back line helps create a more elegant silhouette.
Step 8: Adding the Back Leg
Complete the right back leg with a curve and overlapping toes. Draw two lines in the background to suggest the tail's position. Teacher's Tip: Ensure the back leg looks slightly smaller than the front leg to show perspective.
Step 9: Finishing the Tail
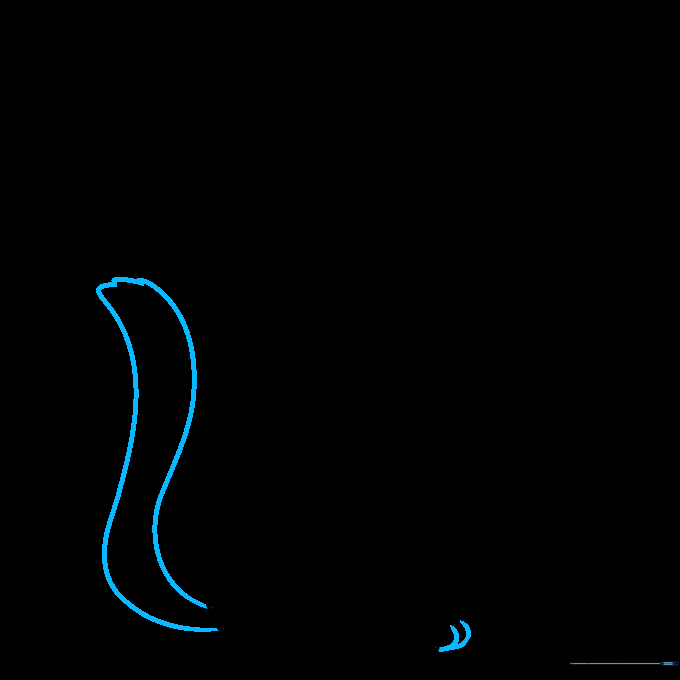
Sketch the toes on the right leg. Use stretched-out 'S' shapes to form a long, elegant tail with a tuft of fur at the tip. Teacher's Tip: Siamese cats have long, slender tails; don't be afraid to make it reach quite far behind the cat!
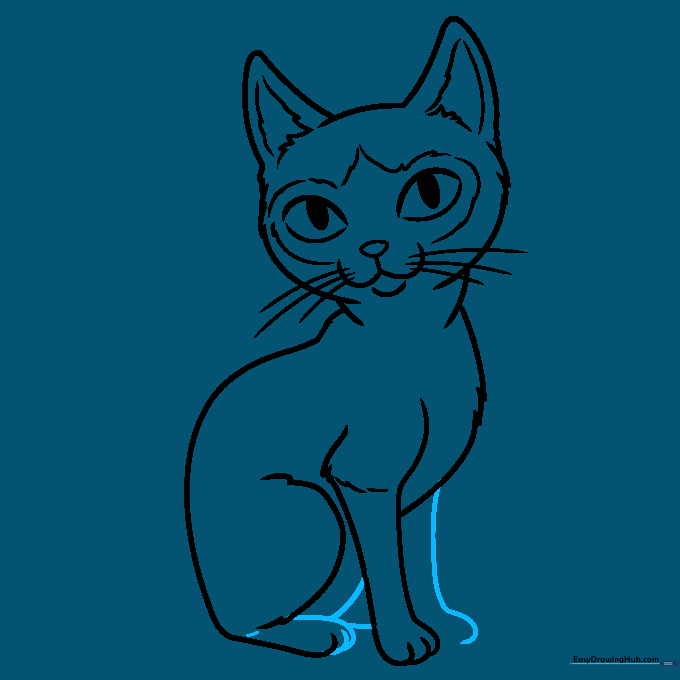
Step 10: Coloring Your Siamese Cat

Outline your drawing in black, varying the line thickness for a professional look. Color the body a light tan, and use dark brown for the face mask, ears, tail, and legs. Use blue for the eyes and pink for the inner ears. Teacher's Tip: Use a soft blending technique for the brown 'points' to make them look like real fur.
More Tutorials


