How to Draw a Shrimp: Easy 10-Step Guide for Kids
Ready to explore the ocean? This tutorial is perfect for young artists ages 5 and up. All you need is a pencil, an eraser, and some paper to bring this little crustacean to life. Follow along to master basic shapes and build your confidence in drawing sea creatures.
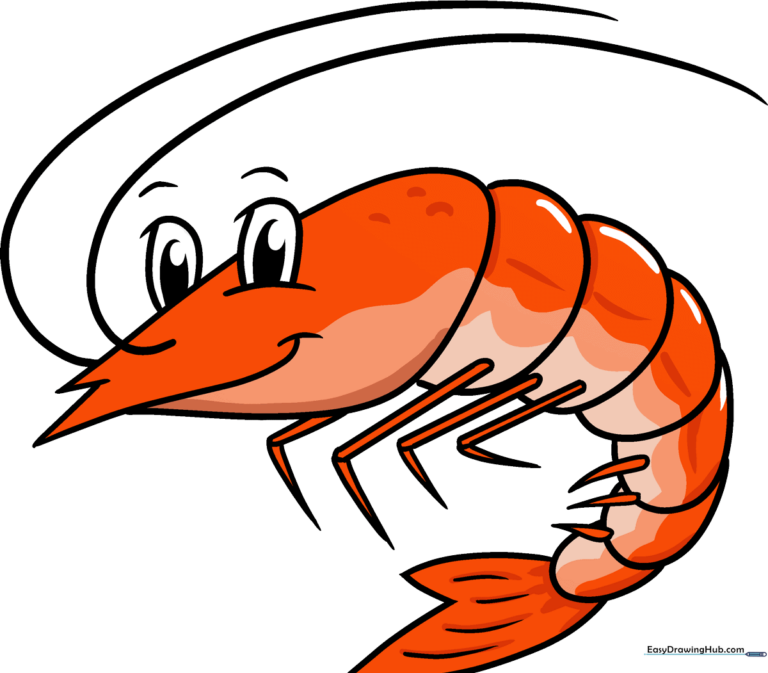
🎯 Final Result
Step-by-Step Instructions
Step 1: Sketching the Head

Start by drawing the shrimp's head using a teardrop shape. Tip: Keep your pencil pressure light so you can easily adjust the lines later. The overlapping curves near the mouth add character—make sure they look soft and rounded.
Step 2: Adding Expressive Eyes
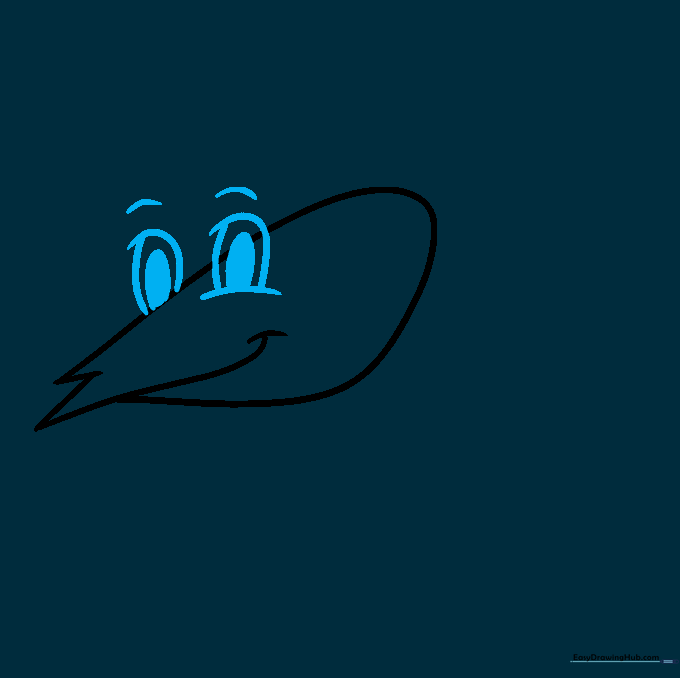
Draw two inverted 'U' shapes above the face for the eyes. Add small ovals inside for pupils to give your shrimp a friendly look. Tip: Use quick, confident strokes for the eyelashes to make them look natural.
Step 3: Beginning the Body Segments
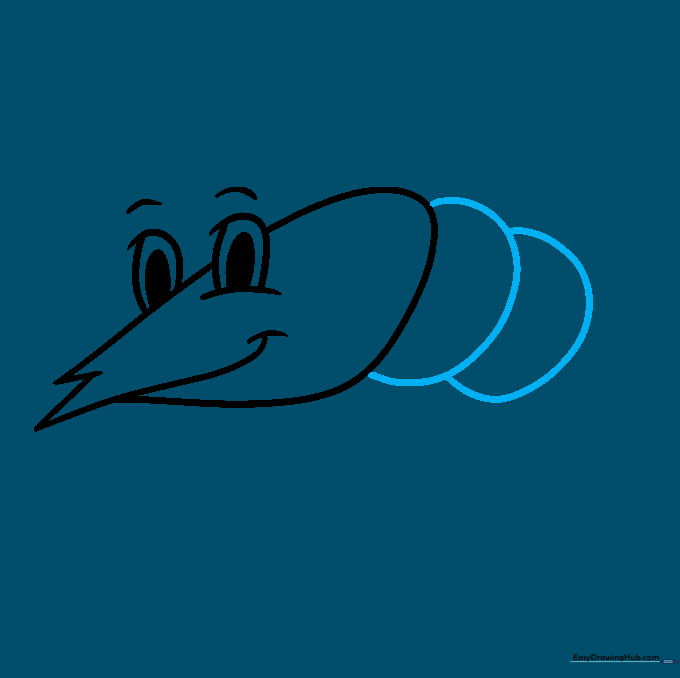
Gently erase any overlapping lines behind the eyes to keep your drawing clean. Now, start the body by drawing a series of curved, partial ovals. Tip: Think of these as stacked plates; keep them consistent in size.
Step 4: Extending the Body
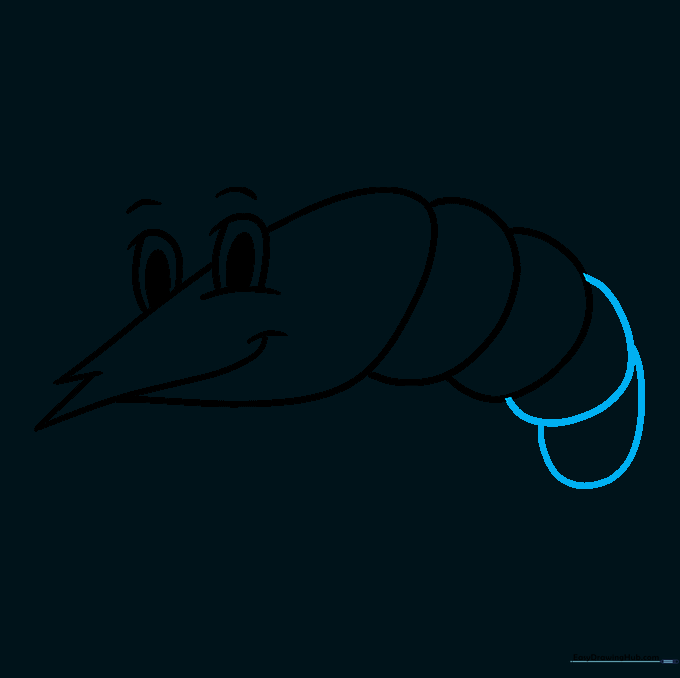
Continue adding curved segments down the back of the shrimp. Tip: As you move further from the head, make each segment slightly smaller to create a realistic tapering effect.
Step 5: Finishing the Body Shape
Add the final, smallest segments near the end of the body. Tip: Ensure the curves flow smoothly into one another so the shrimp looks like it’s swimming, not stiff.
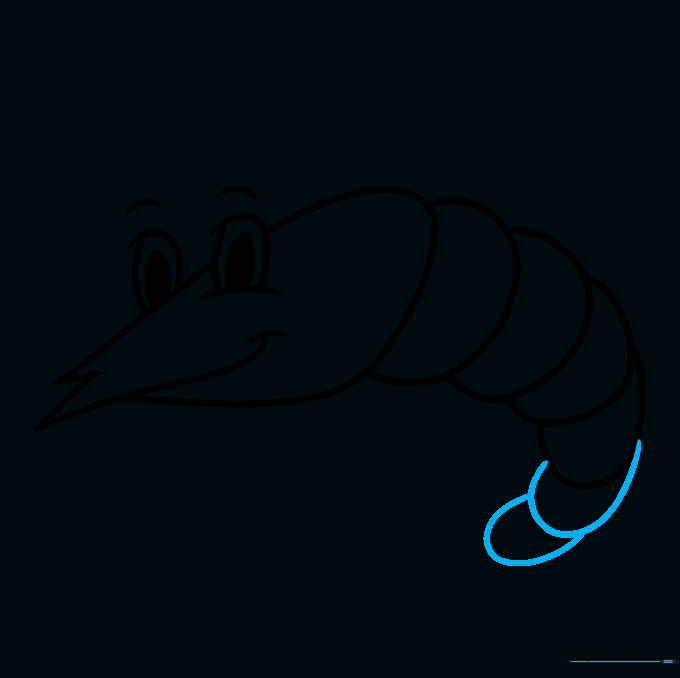
Step 6: Drawing the Tail
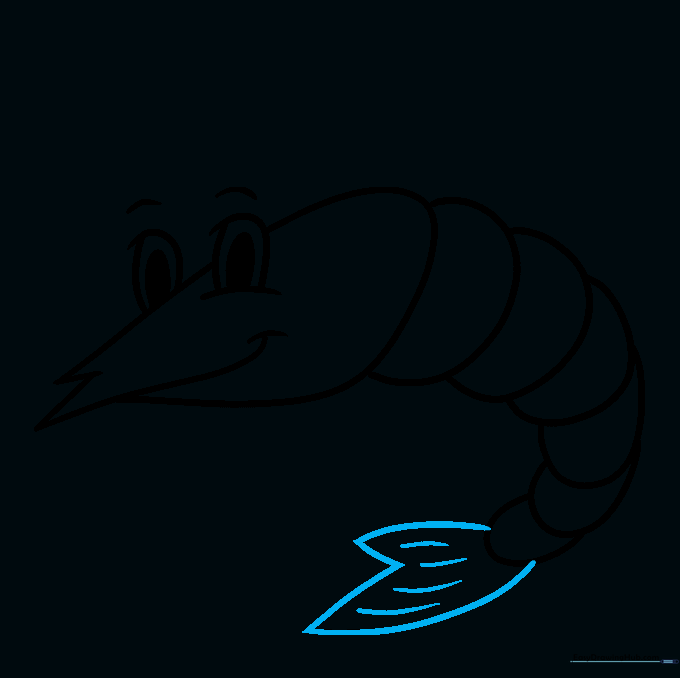
Draw the tail fins using pointed, curved lines. Add a few extra lines inside the tail for texture. Tip: Make the tail fins fan out to give your shrimp a sense of movement.
Step 7: Adding the Legs
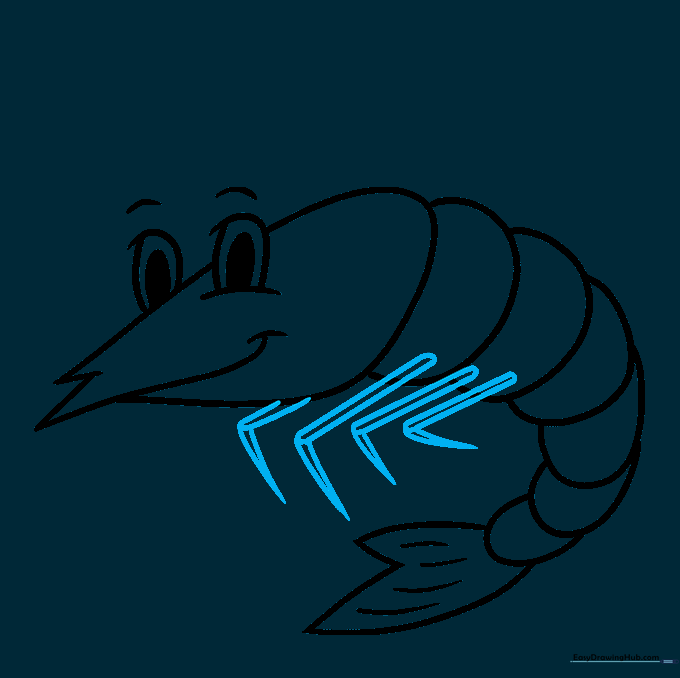
Draw the legs using parallel lines that taper to a point. Tip: Start the legs from the underside of the body segments. Don't worry if they aren't perfectly straight—shrimp legs are naturally wiggly!
Step 8: Small Tail Details
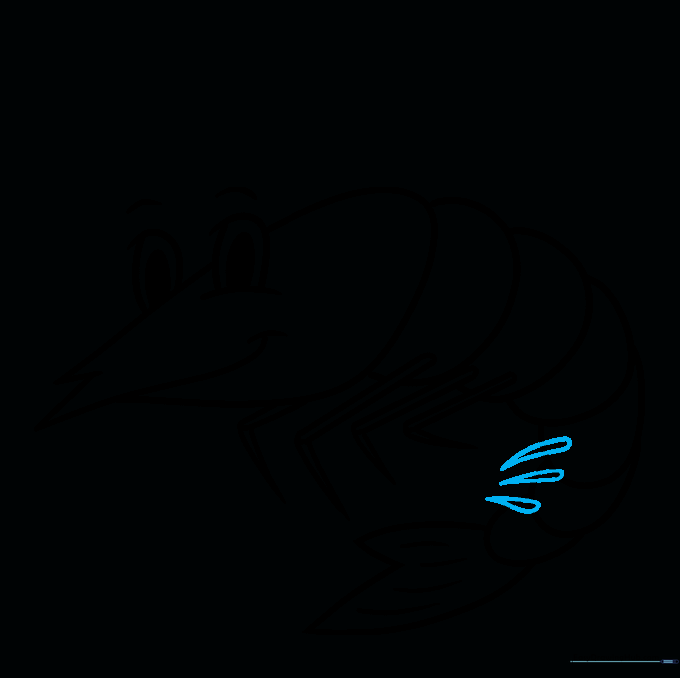
Add tiny legs near the tail using small teardrop shapes. Tip: These small details make the drawing look much more professional and complete.
Step 9: Adding the Antennae
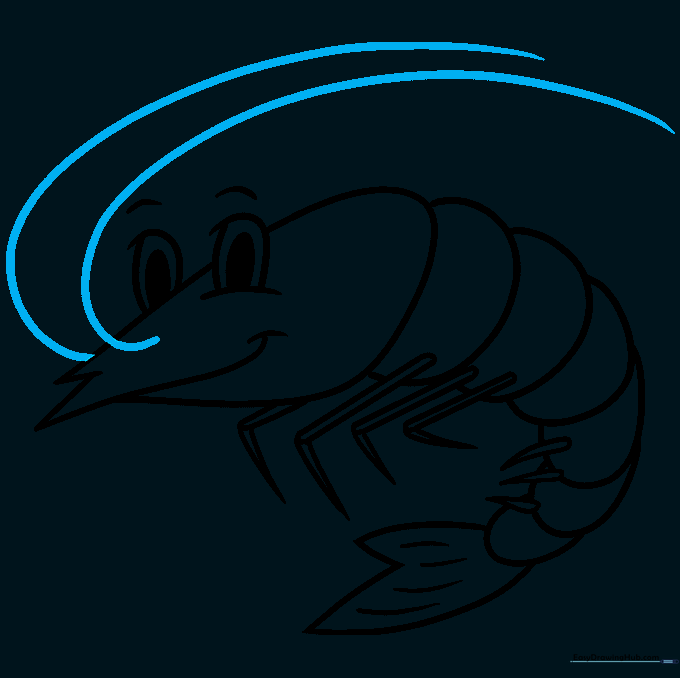
Draw two long, sweeping lines from the face to create the antennae. Tip: Make these lines arch gracefully over the head to give your shrimp a curious, active personality.
Step 10: Bringing it to Life with Color
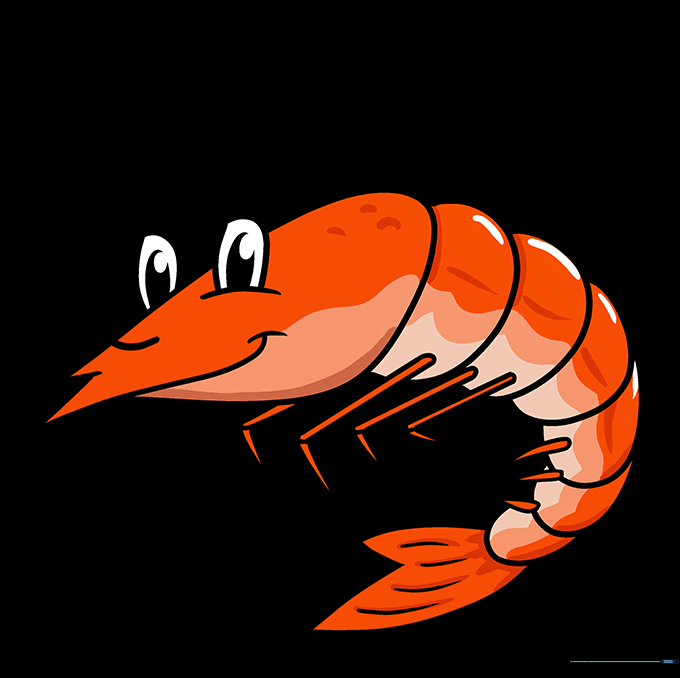
Time to color! While cooked shrimp are often pink, wild shrimp come in many colors like grey, brown, or even blue. Tip: Use light pressure with your colored pencils to blend colors for a more realistic look.
More Tutorials


