How to Draw a Shower: Easy Step-by-Step Guide for Kids
Ready to practice your character drawing skills? This fun, screen-free activity is perfect for young artists ages 5 and up. Grab your pencil, eraser, and paper to follow along as we build a playful scene step-by-step.
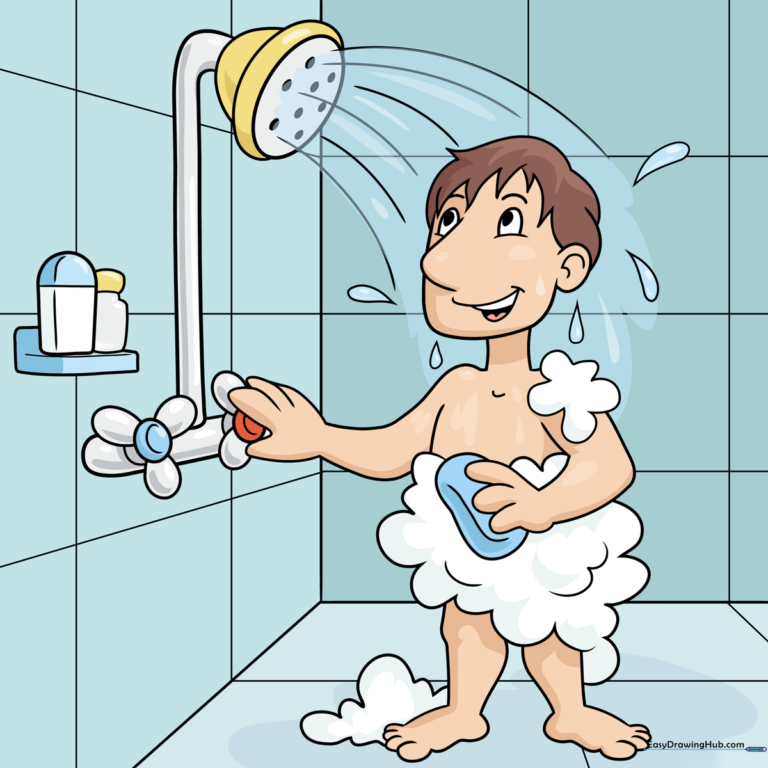
🎯 Final Result
Step-by-Step Instructions
Step 1: Sketching the Face

Start by drawing the character's face using soft, curved lines for the nose and chin. Add two small ovals for eyes with shaded pupils, and a cheerful, curved mouth. Teacher's Tip: Keep your pencil lines light so you can easily adjust the expression if you want a sillier or surprised look!
Step 2: Adding Hair and Neck

Draw a 'C' shape for the ear and add a few jagged lines for hair that looks wet and dripping. Extend two lines downward to create the neck. Teacher's Tip: Use short, quick strokes for the hair to give it a textured, 'wet' appearance.
Step 3: Forming the Shoulders
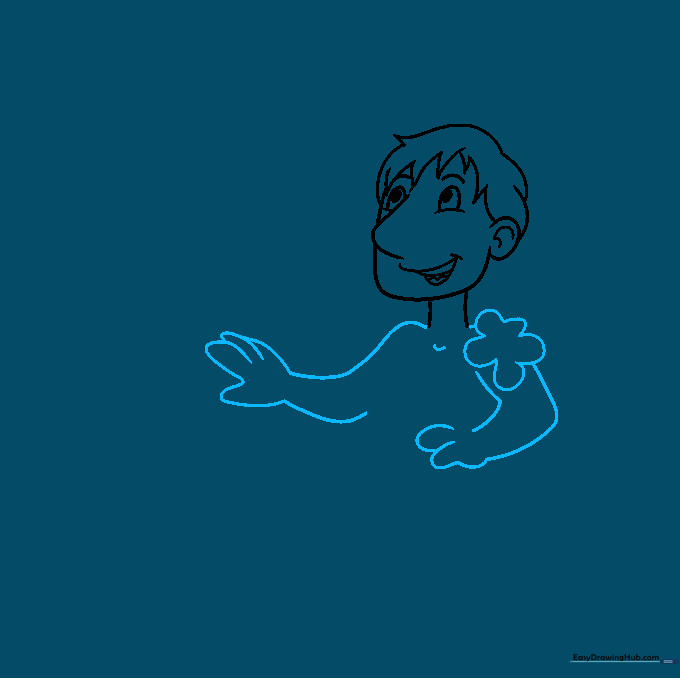
Use 'U' shaped lines to create the shoulders and upper torso. Add a small 'C' curve for the collarbone. Teacher's Tip: Ensure your shoulder lines are rounded rather than sharp to make the character look more natural.
Step 4: Soap and Bubbles
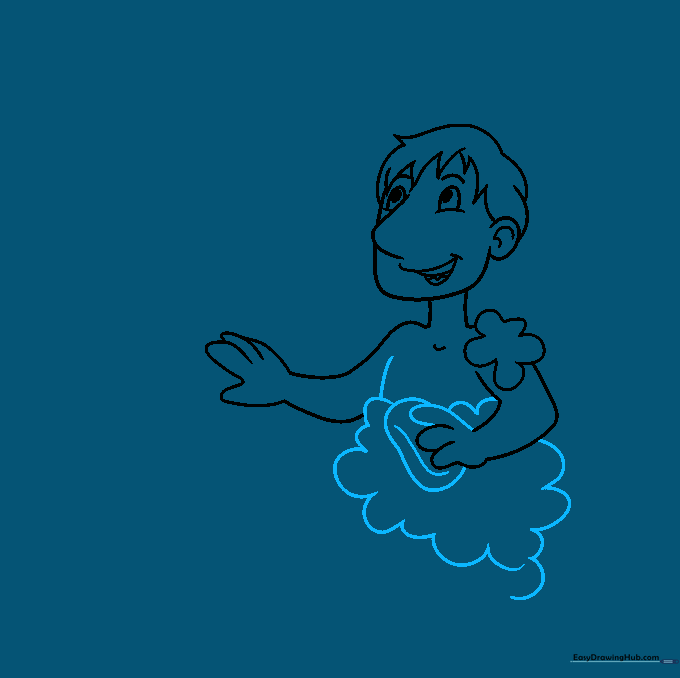
Draw a small rectangle for the soap in the hand, then use 'U' shapes to create fluffy bubbles around the chest. Teacher's Tip: Vary the size of your 'U' shapes to make the bubbles look more realistic and bubbly!
Step 5: Drawing the Legs
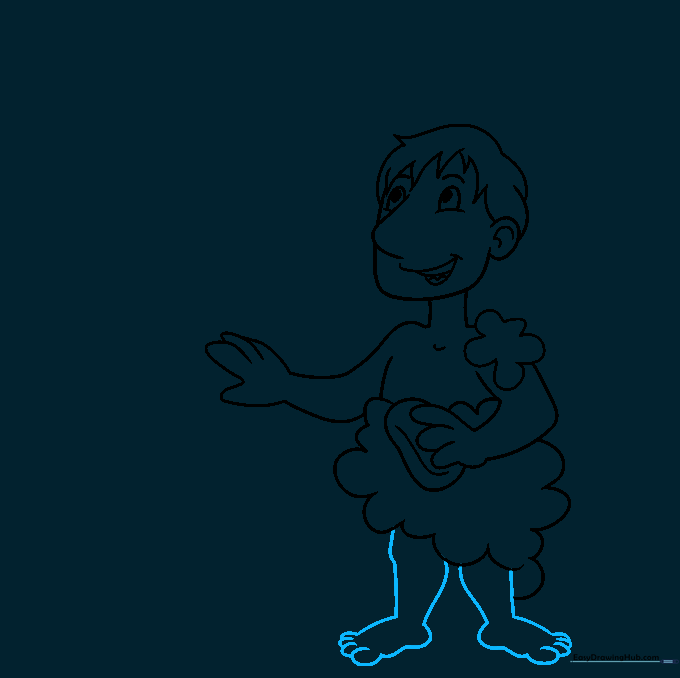
Sketch the legs and feet using simple curved lines. Focus on the overlapping toes to give the feet depth. Teacher's Tip: If the feet feel tricky, start with two simple ovals and refine the toe shapes afterward.
Step 6: Adding Shower Handles
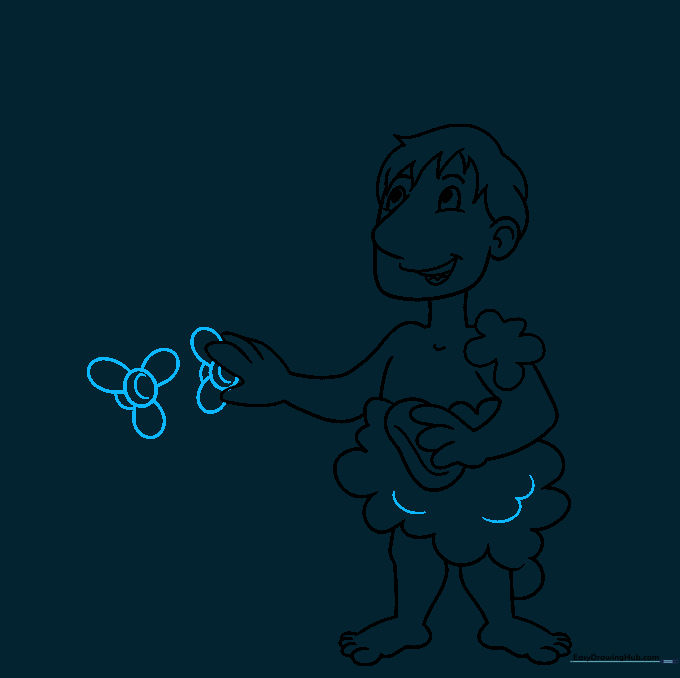
Draw two circles on the wall for the handles, adding 'C' shapes inside for detail. Connect them to the wall with small curved lines. Teacher's Tip: Use a circular object like a coin to trace perfect circles if you're having trouble drawing them freehand.
Step 7: The Showerhead and Plumbing

Draw the showerhead as an oval above the character's head, then connect it to the handles with parallel lines. Add small shaded ovals to the showerhead to represent water holes. Teacher's Tip: Use a ruler if you want your pipes to look perfectly straight and professional.
Step 8: Adding Background Details

Draw lines in the corner to create the room's perspective. Add a small shelf with bottles and draw teardrop shapes for falling water. Teacher's Tip: Draw the water droplets at different angles to show movement.
Step 9: Tiling the Walls
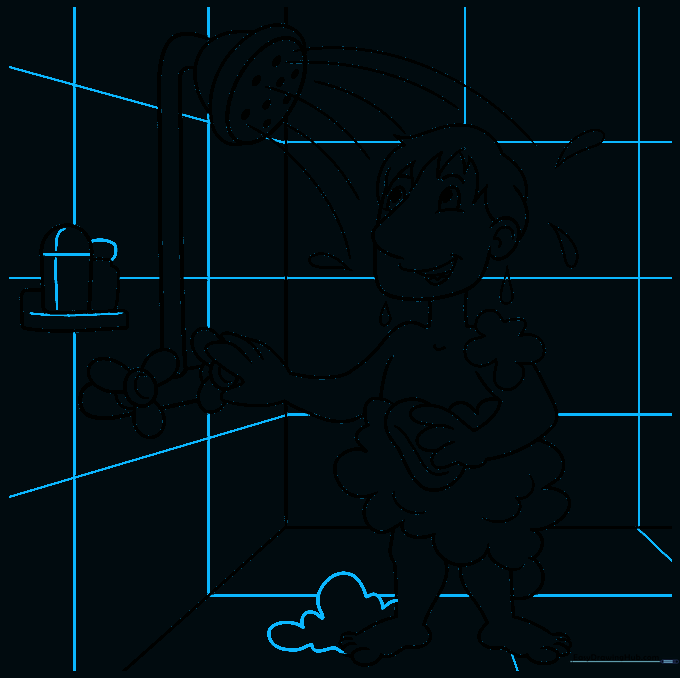
Add a grid pattern to the walls and floor to represent tiles. Keep the lines consistent to maintain the perspective. Teacher's Tip: Don't worry if the tiles aren't perfectly uniform; it adds character to your drawing!
Step 10: Bringing it to Life with Color
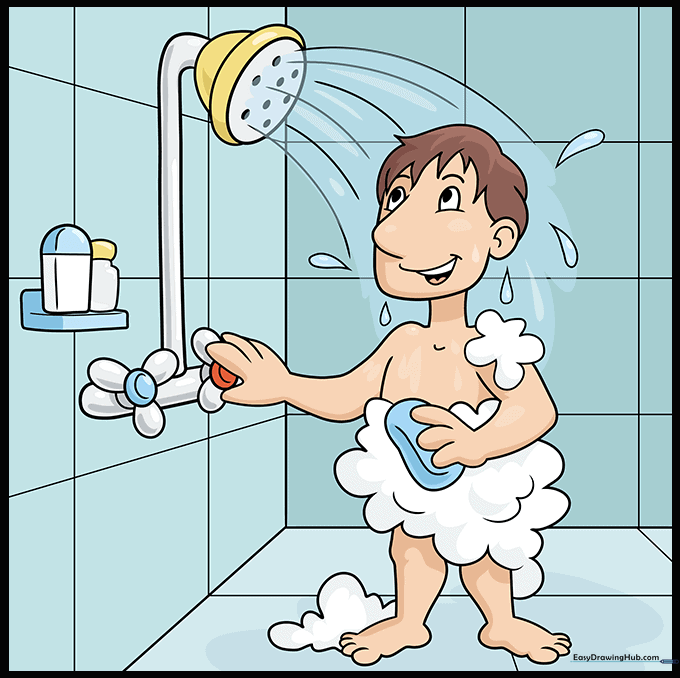
Time to color! Use bright blues for the water and your favorite colors for the tiles. Teacher's Tip: Use light blue for the water and leave small white spots to represent the 'shine' or reflection of the water.
More Tutorials


