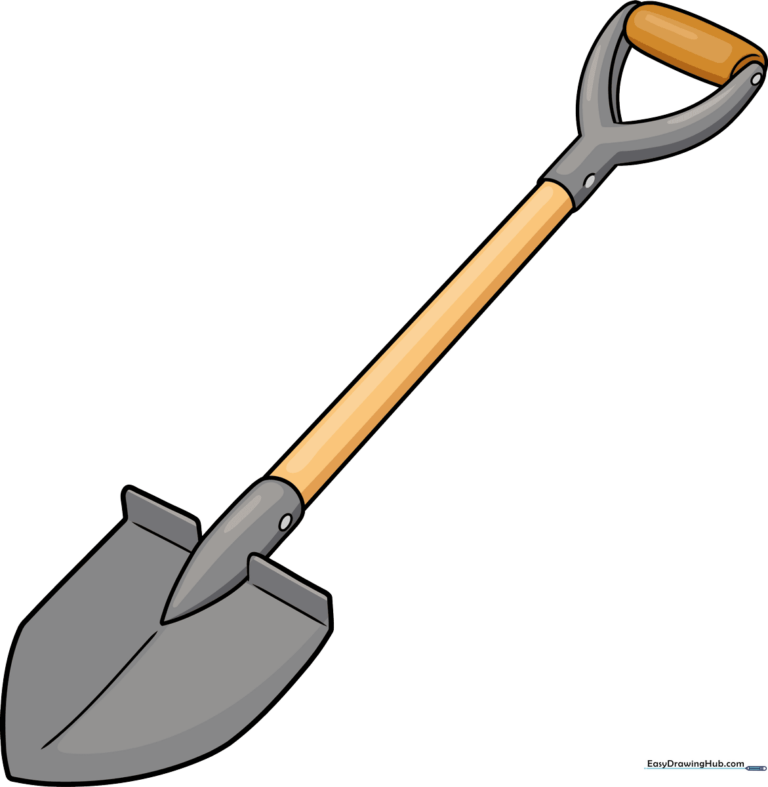
How to Draw a Shovel: Easy 10-Step Guide for Kids
Ready to dig into some art? This tutorial is perfect for young artists ages 5 and up who want to master drawing everyday tools. All you need is a pencil, an eraser, and a piece of paper to bring this sturdy shovel to life.
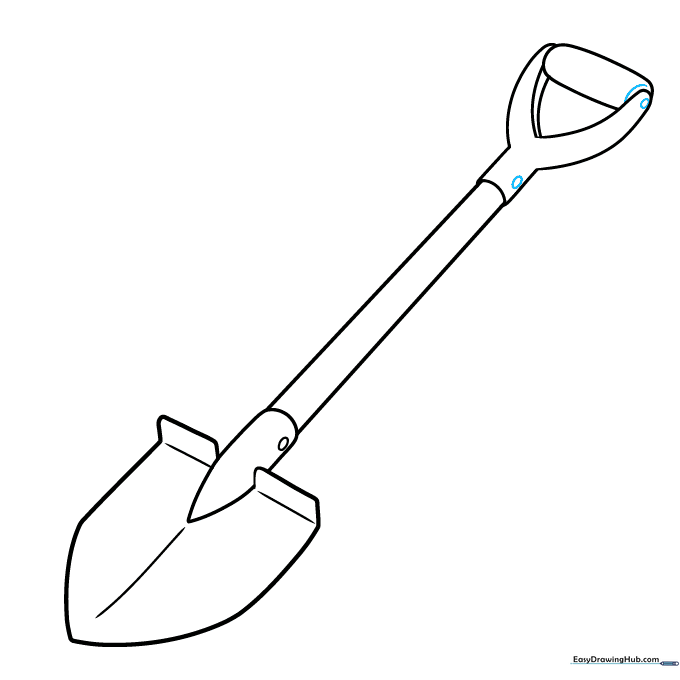
🎯 Final Result
Step-by-Step Instructions
Step 1: Sketching the Blade
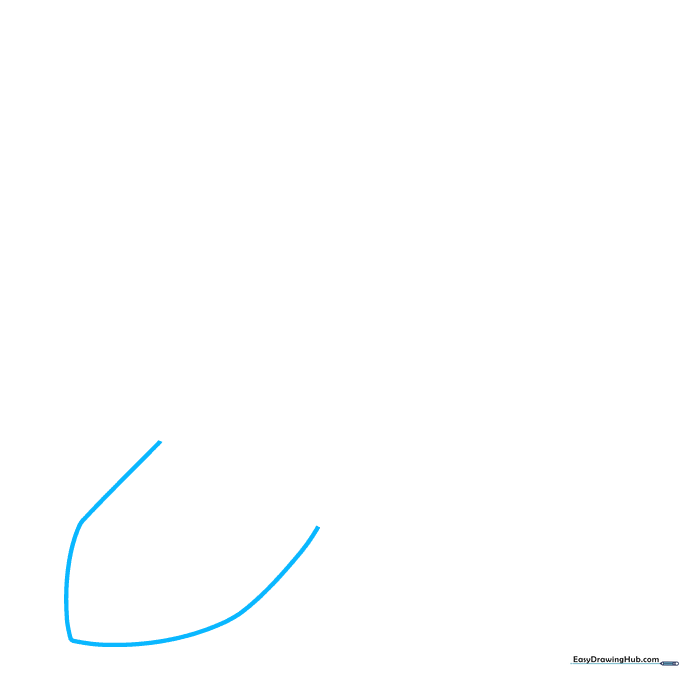
Draw two curved lines that meet at a sharp point to create the cutting edge of the shovel. Teacher's Tip: Keep the lines symmetrical to ensure your shovel looks balanced and ready for work!
Step 2: Adding the Footsteps
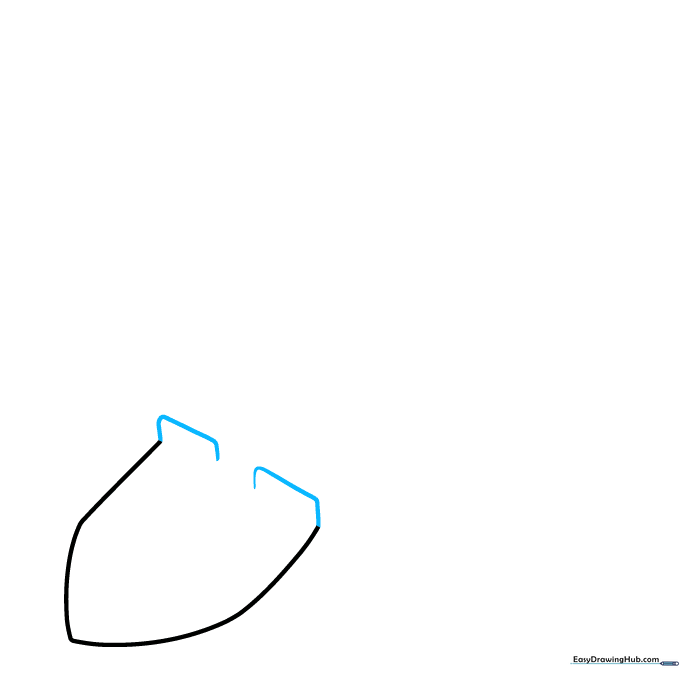
Draw two small, rounded rectangles at the back of the blade. These are the 'footsteps' used to push the shovel into the dirt. Tip: Make sure they are aligned so the shovel looks sturdy.
Step 3: Creating the Socket
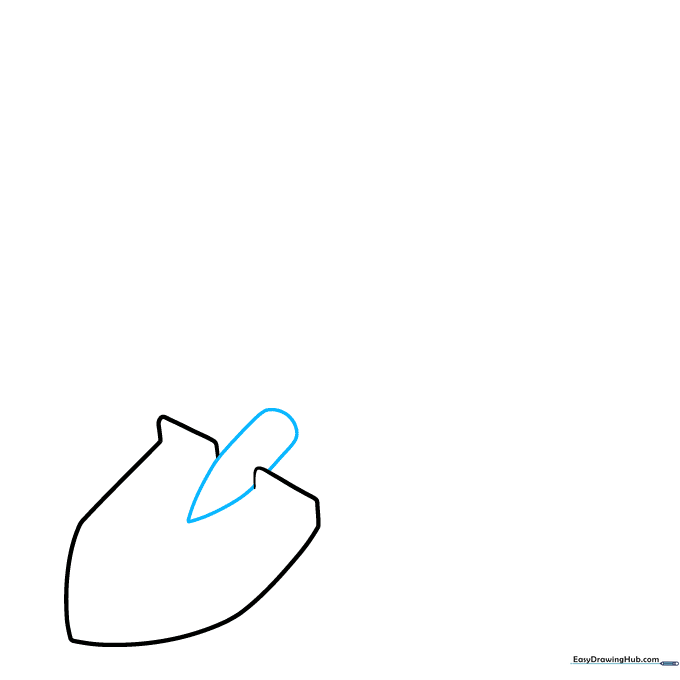
Draw a 'V' shape between the footsteps, then extend it into a cylinder shape. This is the socket that connects the blade to the handle. Tip: A cylinder adds a 3D effect, making your drawing look professional.
Step 4: Adding Structural Details
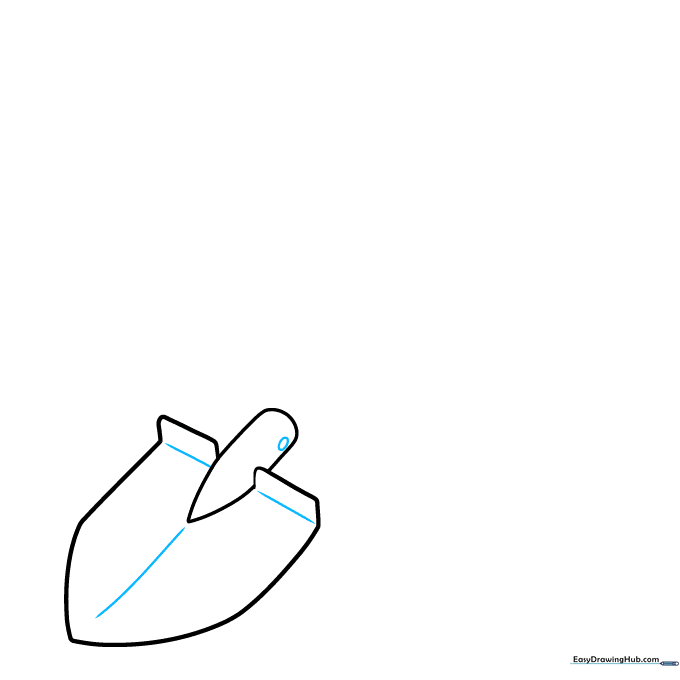
Draw a straight line down the center of the blade for reinforcement and add a small oval on the socket to represent a fastener. Tip: Small details like fasteners make your drawing look like a real tool.
Step 5: Drawing the Shaft
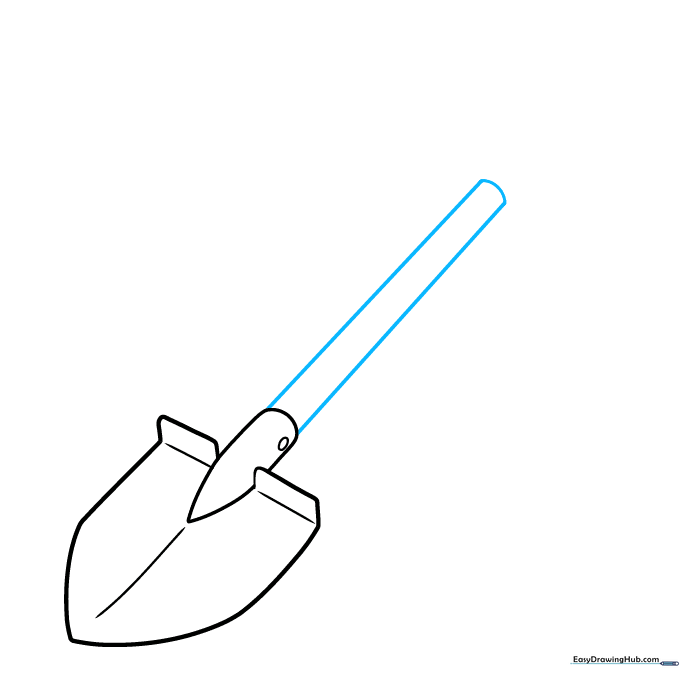
Extend two long, parallel lines upward from the socket and connect them at the top. This forms the long handle of the shovel. Tip: Use a ruler if you want perfectly straight lines, or practice freehand for a more organic look.
Step 6: Starting the Handle Grip

Add two short lines at the top of the shaft and begin curving them outward to form the D-shaped grip. Tip: Keep your pencil strokes light here, as you'll be refining these curves in the next step.
Step 7: Shaping the Grip
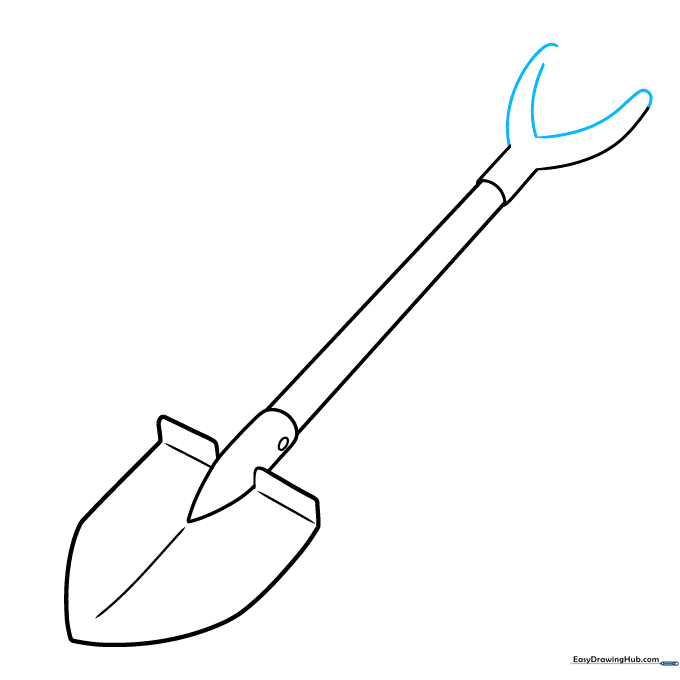
Complete the D-shape by adding a curved line on the opposite side and connecting them with a small 'V' shape. Tip: This creates the ergonomic handle grip found on most garden shovels.
Step 8: Adding Depth to the Grip
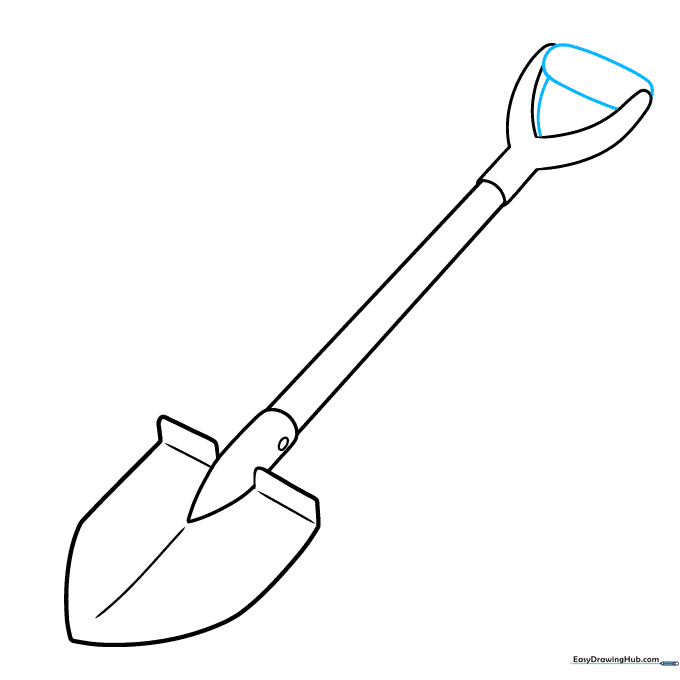
Enclose a cylinder shape within the grip area using curved lines. This gives the handle a rounded, comfortable look. Tip: Adding a small curved line inside the cylinder creates a sense of volume.
Step 9: Final Touches
Add final details like small ovals at the top and bottom of the grip to represent fasteners. Tip: Check your drawing for any stray lines and erase them now for a clean, finished look.
Step 10: Color Your Shovel

Time to bring your shovel to life! Use metallic grey for the blade and warm browns for the wooden handle. Tip: Use light and dark shades of grey to create a metallic sheen on the shovel blade.
More Tutorials


