How to Draw a Shop: Easy 9-Step Cartoon Guide
Bring your own neighborhood to life! This tutorial is perfect for young artists ages 5+ who want to master building structures. You only need a pencil, eraser, and paper to create a bustling storefront complete with produce and a shopping cart.
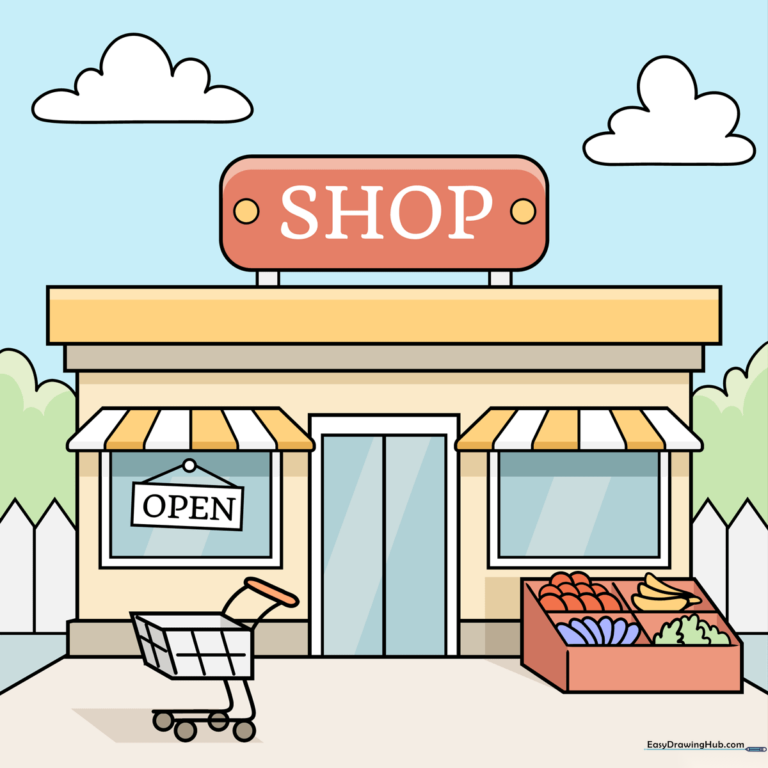
🎯 Final Result
Step-by-Step Instructions
Step 1: Sketching the Storefront Foundation
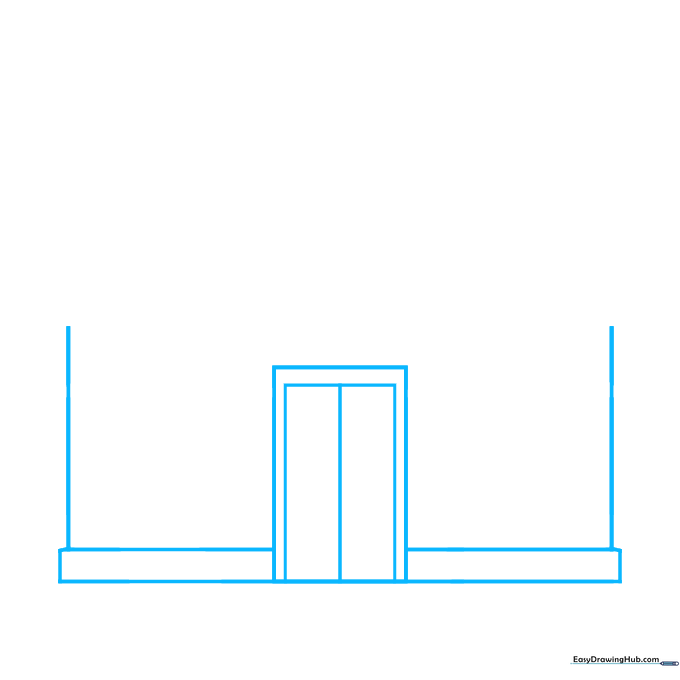
Start by drawing a large rectangle for the main building and a smaller rectangle inside for the door. Divide the door with a vertical line. Teacher's Tip: Use a light touch with your pencil so you can easily erase any overlapping lines later.
Step 2: Designing the Roof and Signage
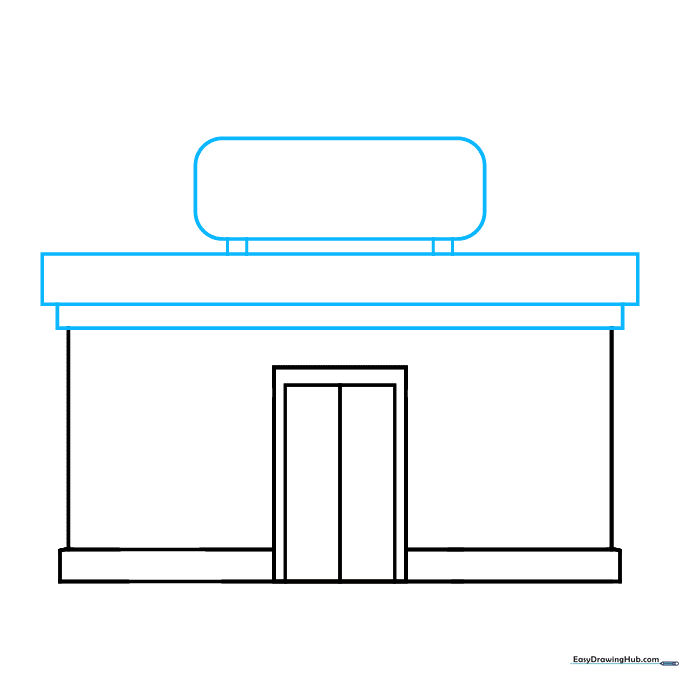
Add two narrow rectangles to the top of your building to create the roofline. Above that, draw a rounded rectangle for your shop's sign. Teacher's Tip: Keep your lines straight by using the edge of a ruler if you're just starting out!
Step 3: Adding Windows and Awnings
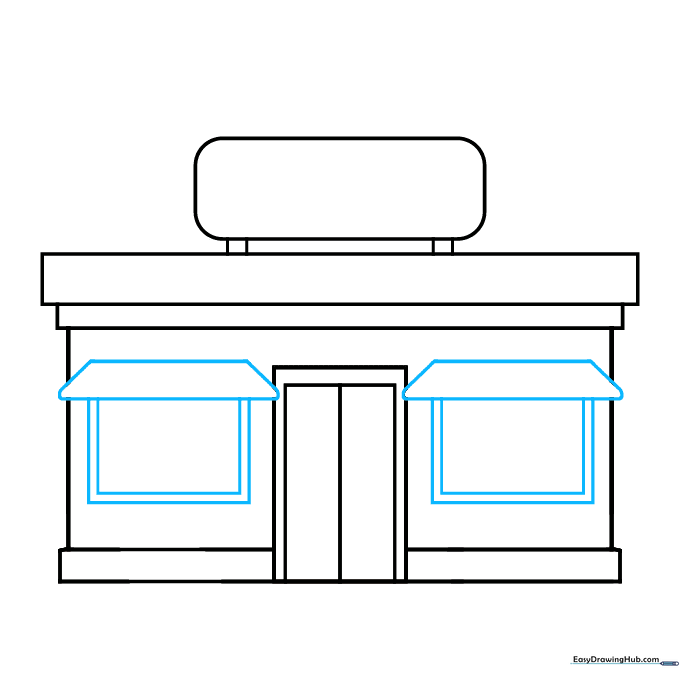
Draw two trapezoid shapes above the door area to serve as awnings, then place a rectangle beneath each one for the windows. Teacher's Tip: Awnings add depth; try to make them look like they are popping out from the wall.
Step 4: Creating the Produce Display
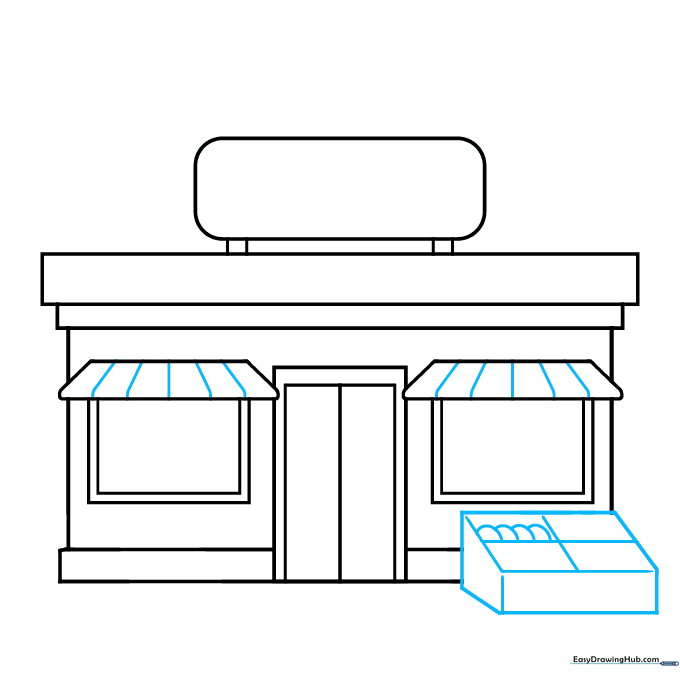
Add stripes to your awnings for a classic shop look. Then, draw a box in front of the store using a parallelogram. Teacher's Tip: Fill the box with quick, overlapping curved lines to suggest a pile of fresh fruit.
Step 5: Illustrating Fresh Produce
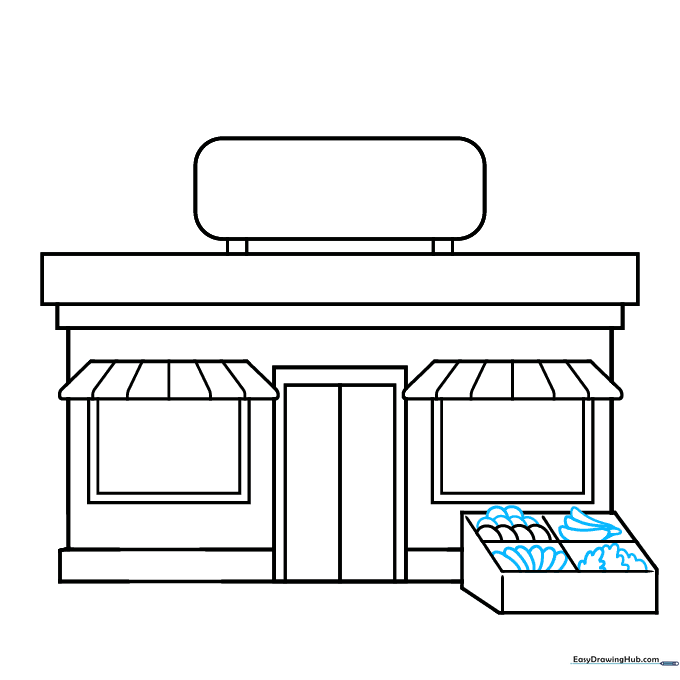
Refine your produce box by drawing specific shapes like bananas and leafy greens. Teacher's Tip: Use simple 'C' shapes for bananas and wavy lines for lettuce to make them instantly recognizable.
Step 6: Drawing the Shopping Cart
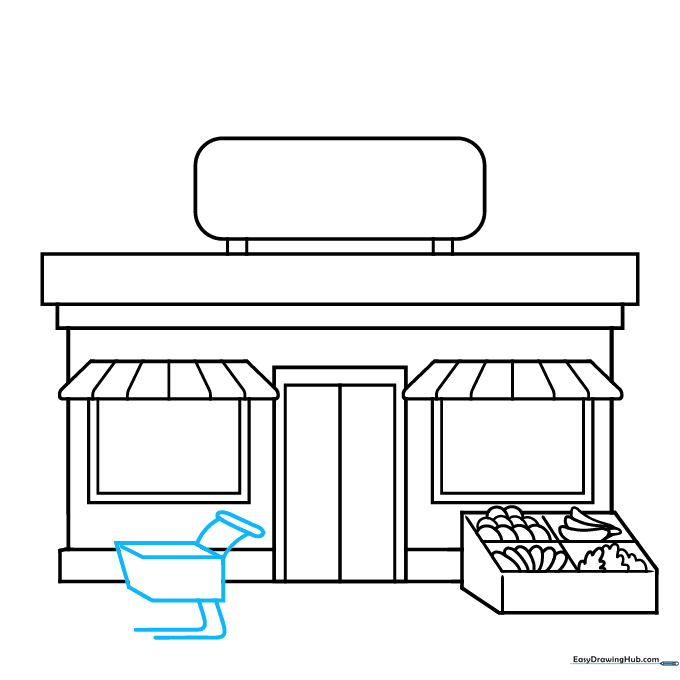
Draw a shopping cart next to the produce. Use a parallelogram for the basket and simple curved lines for the handle. Teacher's Tip: Keep the cart small so it doesn't distract from the main building.
Step 7: Adding Texture and Signage
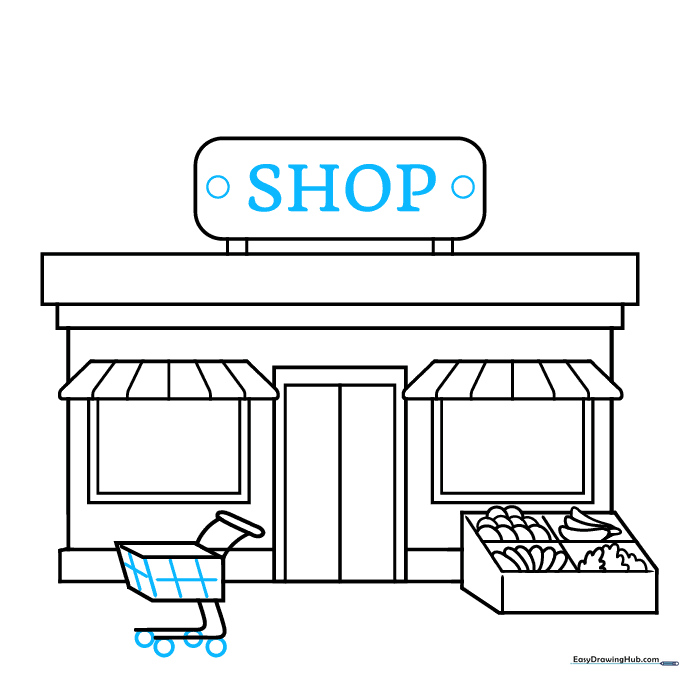
Add a grid pattern to the cart basket and draw four small circles for wheels. Finally, write 'SHOP' in bold letters on your sign. Teacher's Tip: Use a thick marker for the sign text to make it pop!
Step 8: Adding the 'Open' Sign and Fence
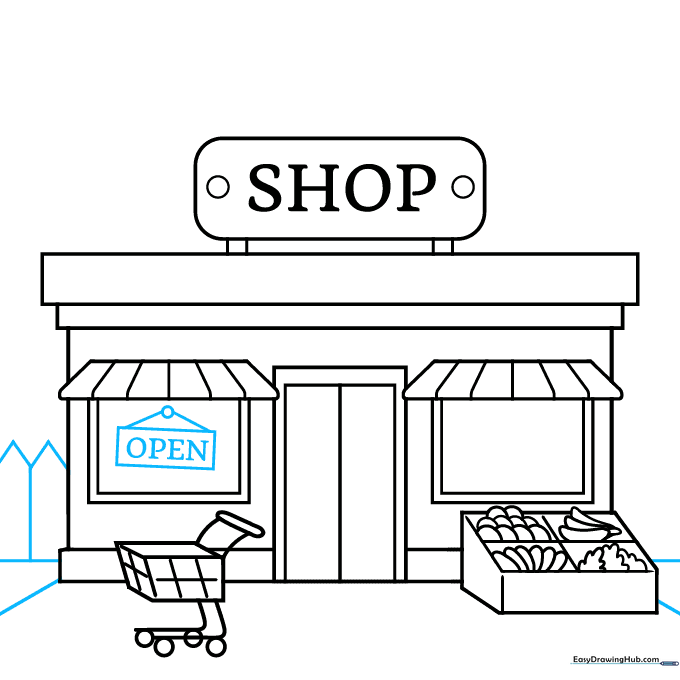
Draw a small rectangle in the window labeled 'OPEN' and add a picket fence to the side of the building. Teacher's Tip: Vary the height of the fence posts slightly to give it a more natural, hand-drawn feel.
Step 9: Completing the Background
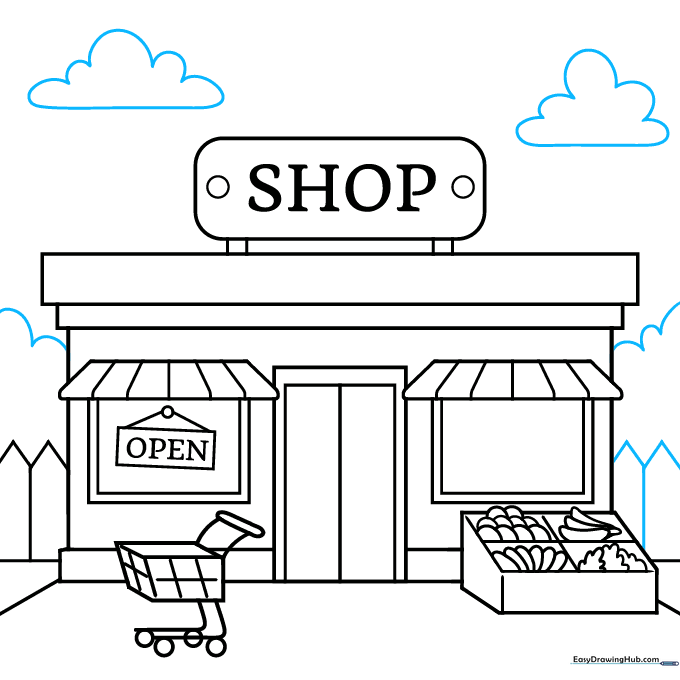
Finish your scene by adding clouds and distant tree tops. Teacher's Tip: Draw the trees slightly smaller than the shop to create a sense of distance and perspective.
Step 10: Bringing Your Shop to Life with Color
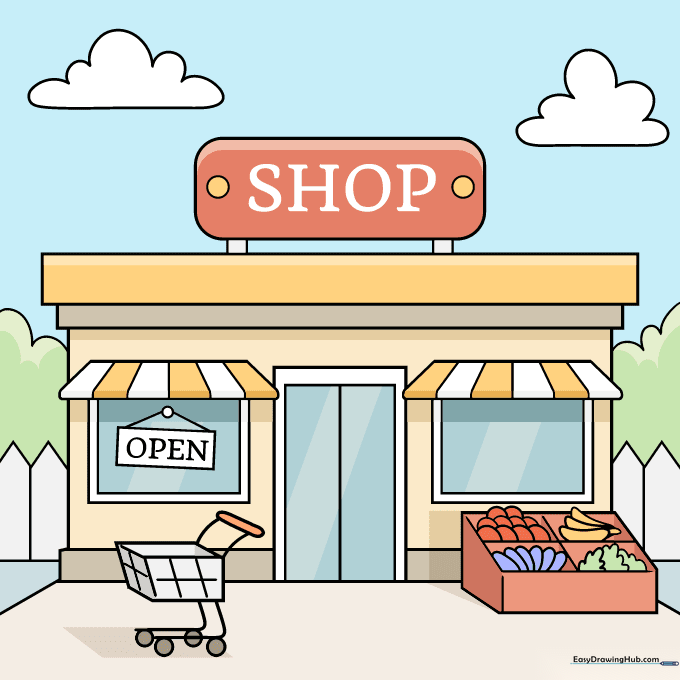
Time to color! Use bright, cheerful colors for the shop and produce. Teacher's Tip: Try using colored pencils to add light shading under the awnings to make the building look 3D.
More Tutorials


