How to Draw a Shooting Star: Easy 10-Step Guide
Ready to capture a piece of the night sky? This tutorial is perfect for artists ages 5 and up. All you need is a pencil, an eraser, and some paper to create your own magical cosmic streak.
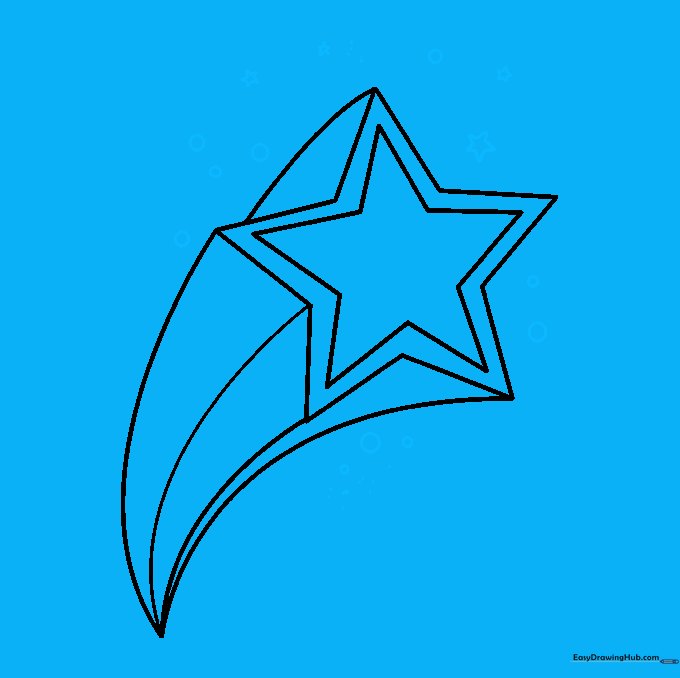
🎯 Final Result

Step-by-Step Instructions
Sketching the First Star Points
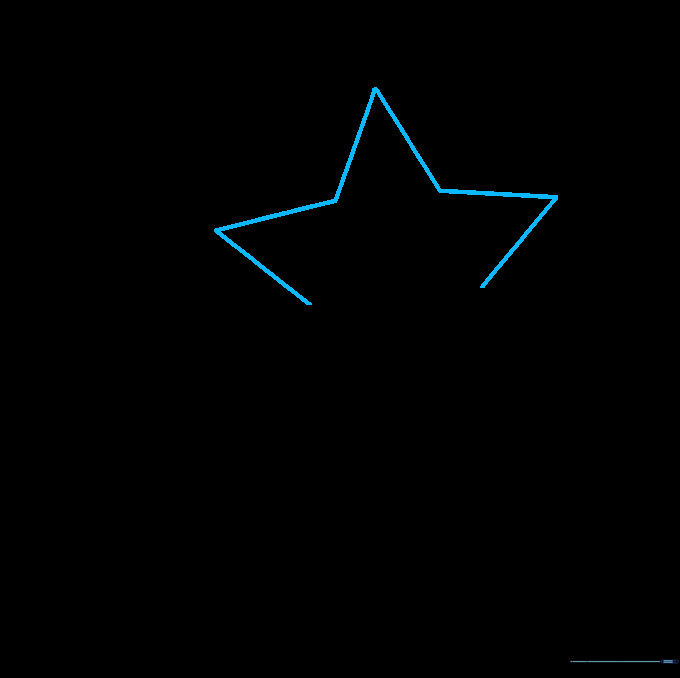
Draw three 'V' shaped lines connected end to end to form the top half of your star. Teacher's Tip: Keep your pencil pressure light—this helps you adjust the symmetry before committing to darker lines.
Closing the Star Shape
Add two more 'V' shaped lines to close the bottom of the star. Teacher's Tip: If your star looks a bit lopsided, don't worry! Space stars are unique, just like snowflakes.
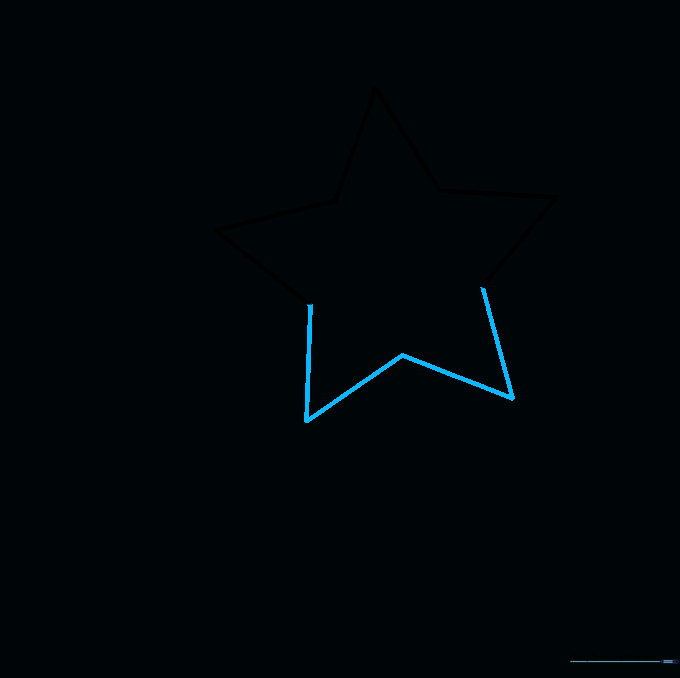
Starting the Motion Streak
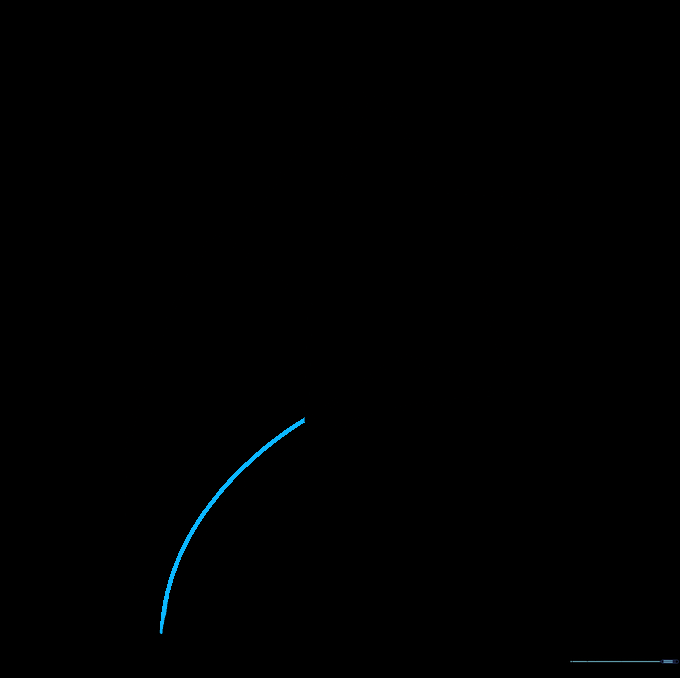
Draw a short, curved line extending from the top point of your star. This begins the 'tail' of the shooting star. Teacher's Tip: Imagine the star is moving fast; keep the curve smooth and fluid.
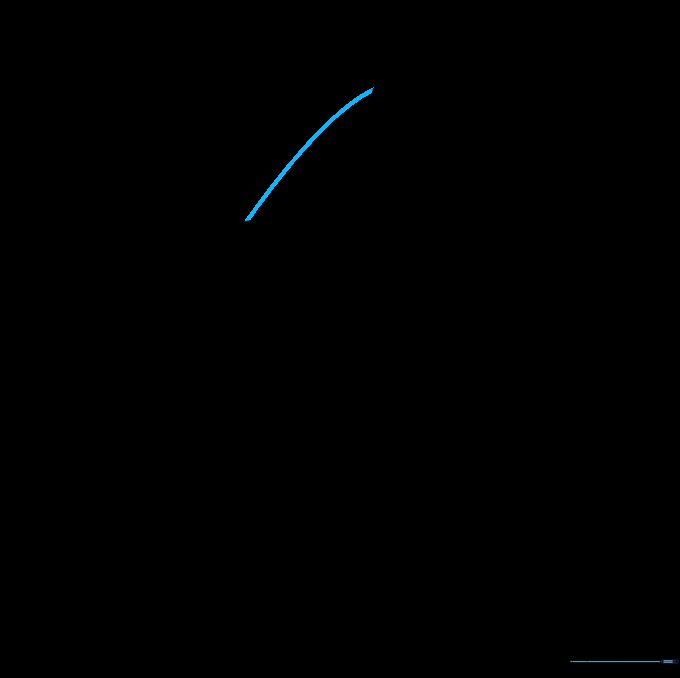
Extending the Tail

Draw a long, sweeping curved line from the same top point. This creates the main body of the star's trail. Teacher's Tip: Use your whole arm to draw this long line rather than just your wrist for a smoother arc.
Defining the Tail's Edge
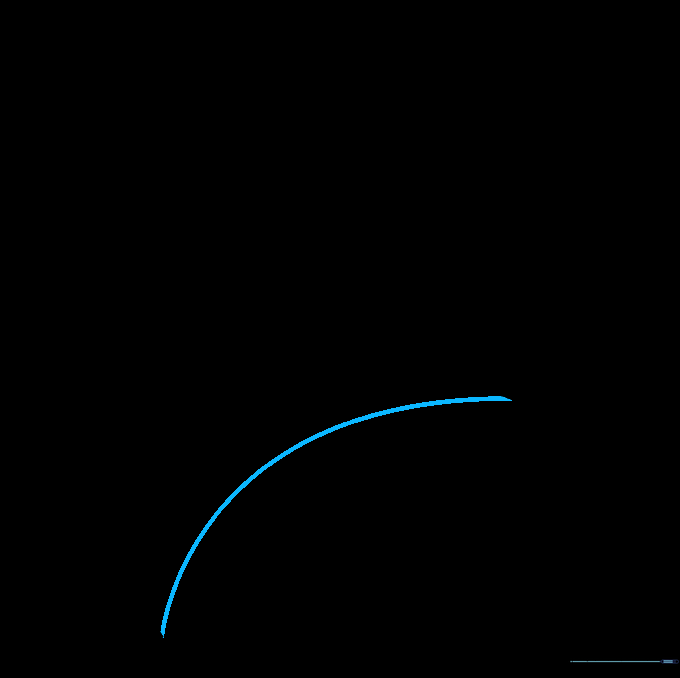
Draw another long curve from the opposite side of the star, meeting the first tail line at a sharp point. Teacher's Tip: Aim for a 'teardrop' shape for the tail to make it look like it's fading into space.
Adding Depth to the Trail
Add a third curved line from the bottom point of the star to add volume to the tail. Teacher's Tip: Varying the thickness of the tail makes the drawing look more dynamic.
Refining the Tail Shape
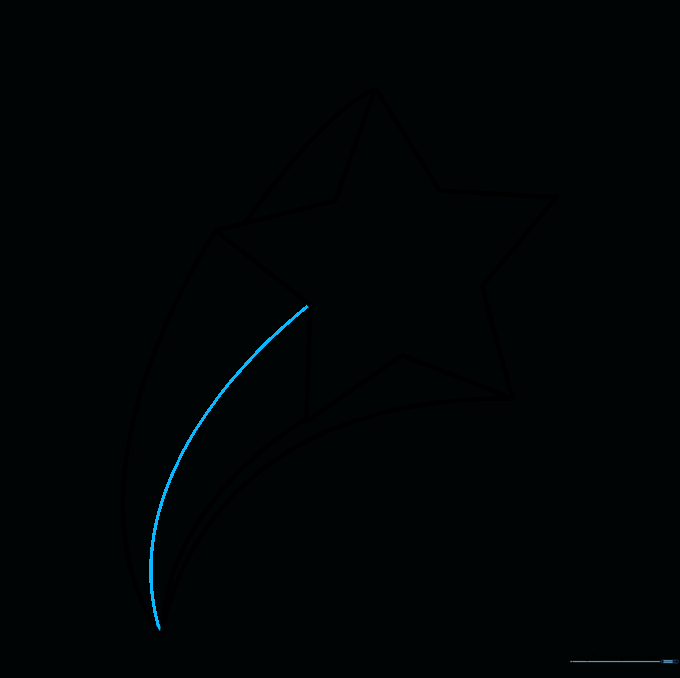
Connect another curved line from between the star's arms to the tail. Teacher's Tip: Ensure all your lines converge at the same point at the end of the tail for a clean, professional look.
Adding Inner Detail
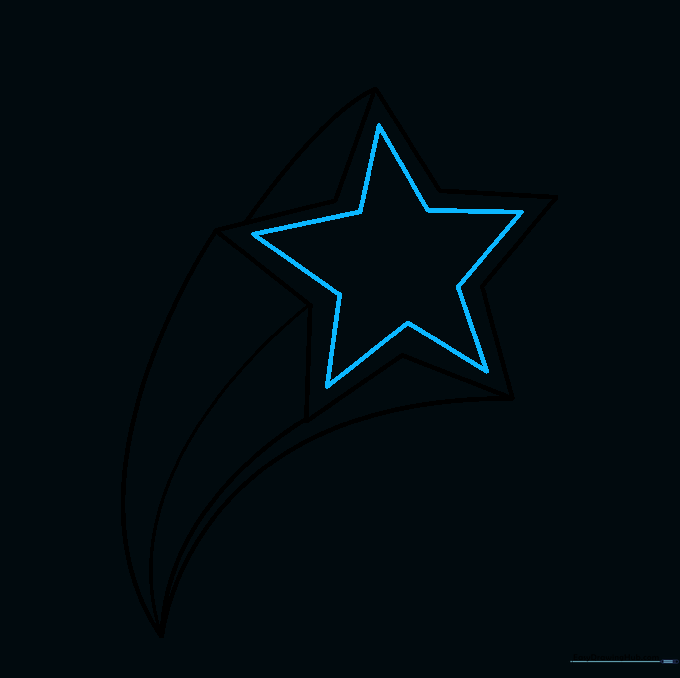
Draw a smaller star inside the original star. Teacher's Tip: Keep the lines parallel to the outer edges to create a cool 'glowing' effect.
Creating the Background
Add tiny stars and circles around your shooting star to fill the night sky. Teacher's Tip: Use different sizes for the stars to create a sense of depth and distance.
Adding Color

Bring your star to life with color! Use bright yellows or whites for the star, and maybe some blues or purples for the background. Teacher's Tip: Use a white gel pen to add little 'sparkle' dots on top of your colors.
More Tutorials


