How to Draw a Shoe: Simple 10-Step Guide for Kids
Ready to design your own footwear? This tutorial is perfect for young artists ages 5 and up who want to master basic shapes. Grab a pencil, an eraser, and a piece of paper to start building your own custom sneaker design.
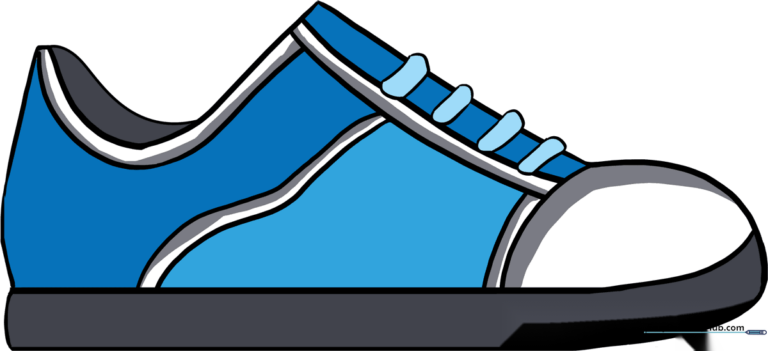
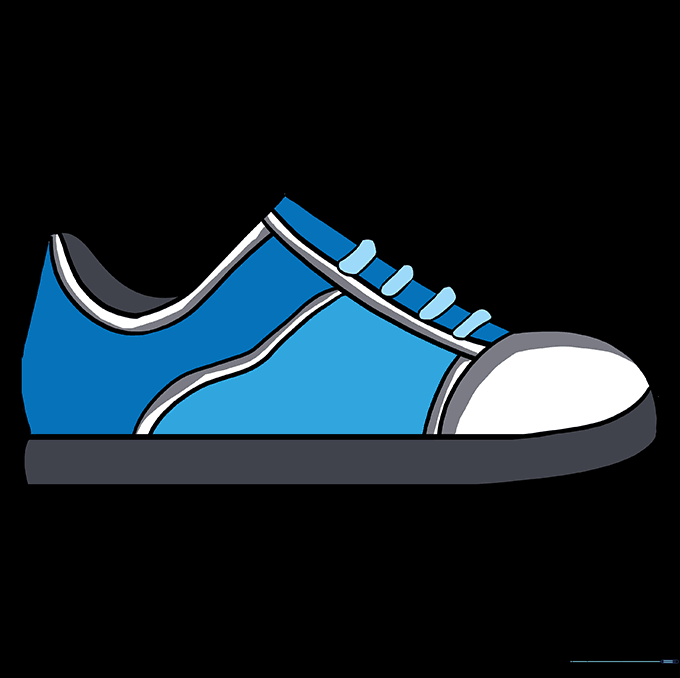
🎯 Final Result
Step-by-Step Instructions
Step 1: Sketching the Base Rectangle

Start by drawing a light rectangle to act as your frame. Teacher's Tip: Keep your pencil strokes very faint so you can easily erase these guide lines later!
Step 2: Defining the Sole
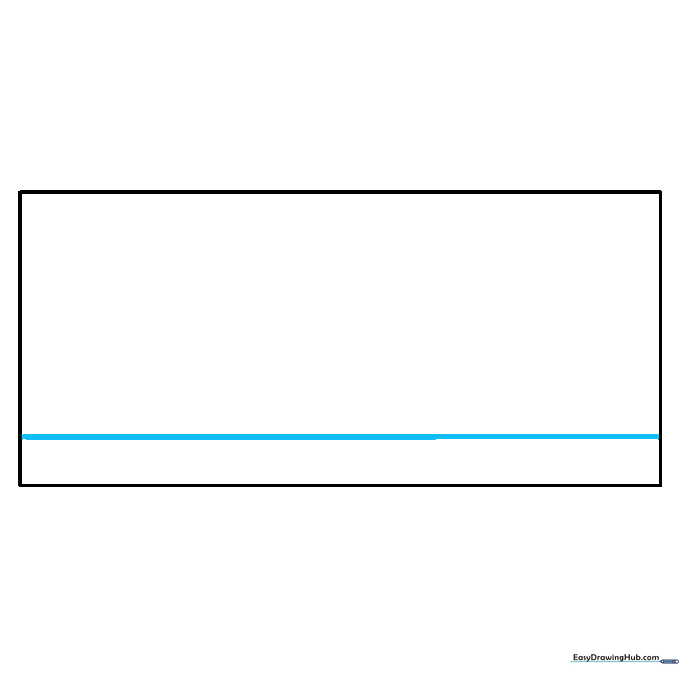
Draw a long, straight line across the bottom of your rectangle. This creates the thick rubber sole of the shoe. Tip: Make sure the line is perfectly horizontal to keep your shoe looking balanced.
Step 3: Shaping the Upper

Draw a long, sweeping curved line from one side of the rectangle to the other. This creates the top of the shoe, including the heel and the toe area. Tip: Use a smooth, continuous motion for the curve to make it look natural.
Step 4: Adding Depth

Add curved lines from the sole up to the toe and heel. This gives the shoe a 3D feel. Tip: Imagine the shoe is wrapping around a foot; the lines should follow that rounded shape.
Step 5: Cleaning Up
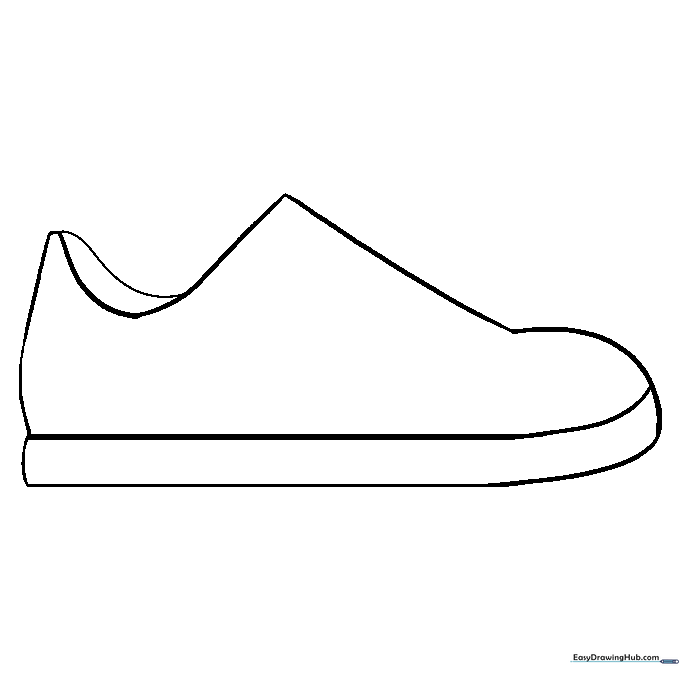
Carefully erase the original rectangle guide lines. You should now see a clean silhouette of your sneaker. Tip: Use a soft eraser and brush away the crumbs so your paper stays clean.
Step 6: Adding the Tongue and Details

Draw the tongue area and the toe cap with curved lines. Tip: Keep these lines parallel to the shoe's edge to make it look like a real manufactured sneaker.
Step 7: Drawing the Laces

Add small, curved shapes for the laces. Tip: Think of them as little 'u' shapes stacked on top of each other to show texture.
Step 8: Refining the Laces
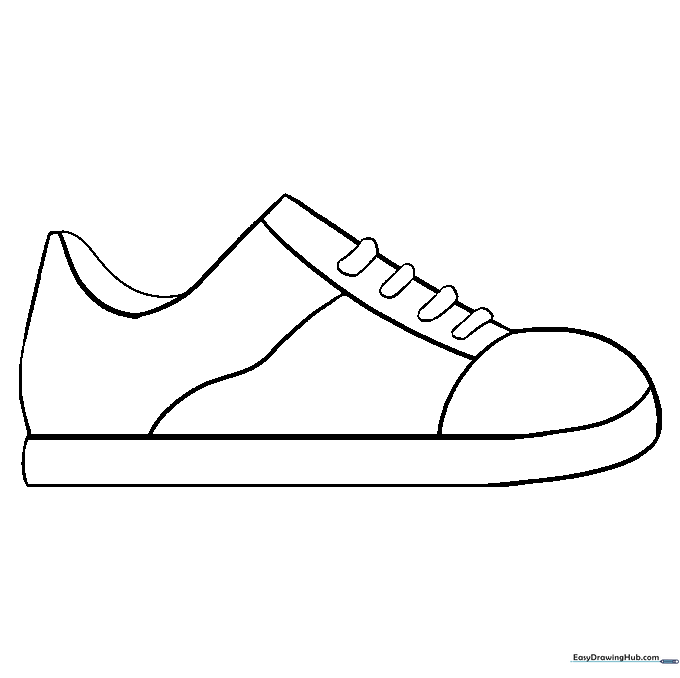
Erase any overlapping lines inside the lace area to make them look like they are sitting on top of the tongue. Tip: Precision here makes your drawing look much more professional!
Step 9: Adding Final Stitching

Add small, dashed lines along the edges of the shoe to represent stitching. Tip: Keep the dashes evenly spaced to show attention to detail.
Step 10: Bring Your Shoe to Life with Color
Time to color! Use your favorite markers or colored pencils. Tip: Try coloring the sole white and the body a bright color to make your design pop.
More Tutorials


