How to Draw a Shirt: Easy 10-Step Guide for Kids
Ready to design your own clothing? This tutorial is perfect for young artists ages 5+ to practice symmetry and basic shapes. All you need is a pencil, an eraser, and a piece of paper to get started on your fashion design journey.
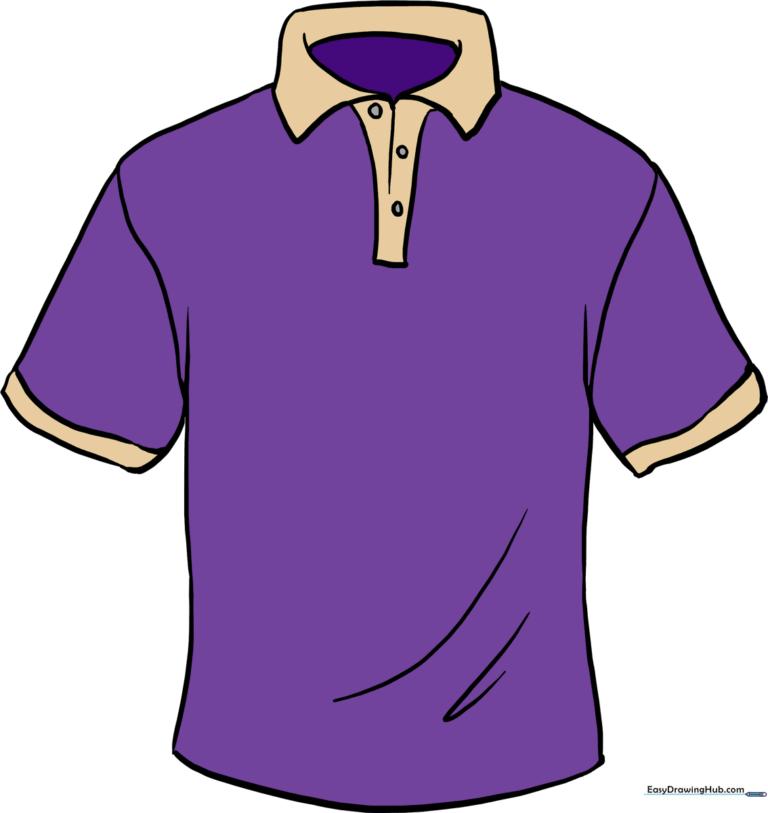
🎯 Final Result
Step-by-Step Instructions
Step 1: Sketching the First Collar Half

Draw a curvy triangle, leaving one point open. Add a short line extending from the bottom. Teacher's Tip: Keep this shape small; it’s just the start of the collar!
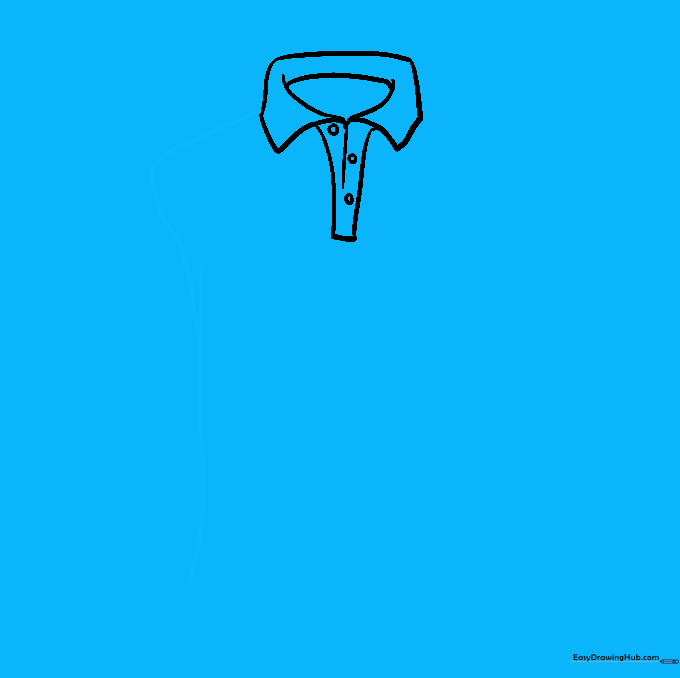
Step 2: Mirroring the Collar

Draw a second wavy triangle to mirror the first one. Teacher's Tip: Try to make the two sides look like twins—symmetry is the secret to a neat-looking shirt.
Step 3: Defining the Placket

Connect the collar points with curved lines. Add two vertical lines descending from the center to form the placket. Teacher's Tip: The placket is the strip of fabric where the buttons will eventually go.
Step 4: Adding Buttons

Draw a line down the center of the placket and add small circles for buttons. Teacher's Tip: Space your circles evenly so the shirt looks tidy.
Step 5: Outlining the Body
Extend a curved line from the collar to form the side of the shirt. Teacher's Tip: Keep the shoulder area slightly squared to give the shirt a realistic shape.
Step 6: Completing the Body
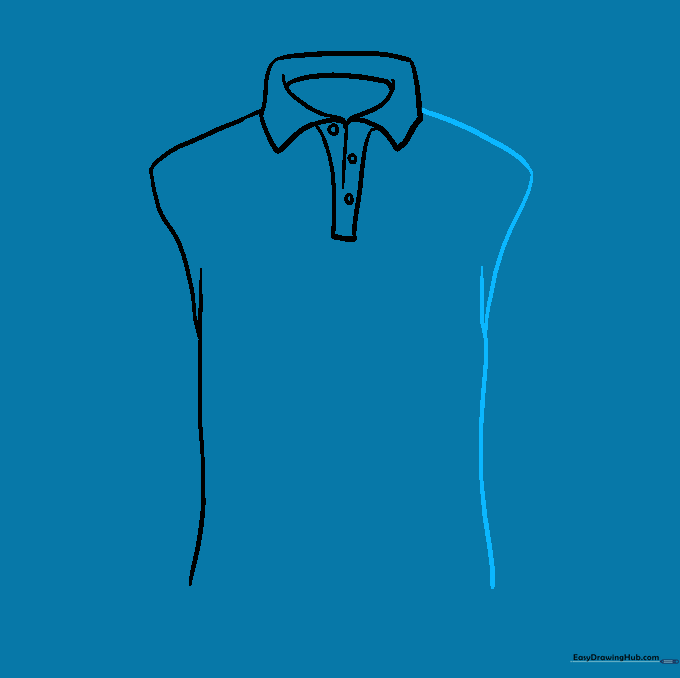
Mirror the first side to complete the outline of the shirt body. Teacher's Tip: Check that both sides are roughly the same width before moving on.
Step 7: Adding Hem Details

Connect the bottom with a curved line and add small diagonal lines for fabric ripples. Teacher's Tip: These little lines make your drawing look less flat and more realistic!
Step 8: Drawing the Sleeves

Enclose each sleeve with a curved line starting from the shoulder. Teacher's Tip: Square off the corners to make them look like folded fabric.
Step 9: Adding Cuffs

Draw a curved line near the end of each sleeve to create the cuff. Teacher's Tip: Keep these lines parallel to the sleeve edge for a clean look.
Step 10: Bringing it to Life with Color
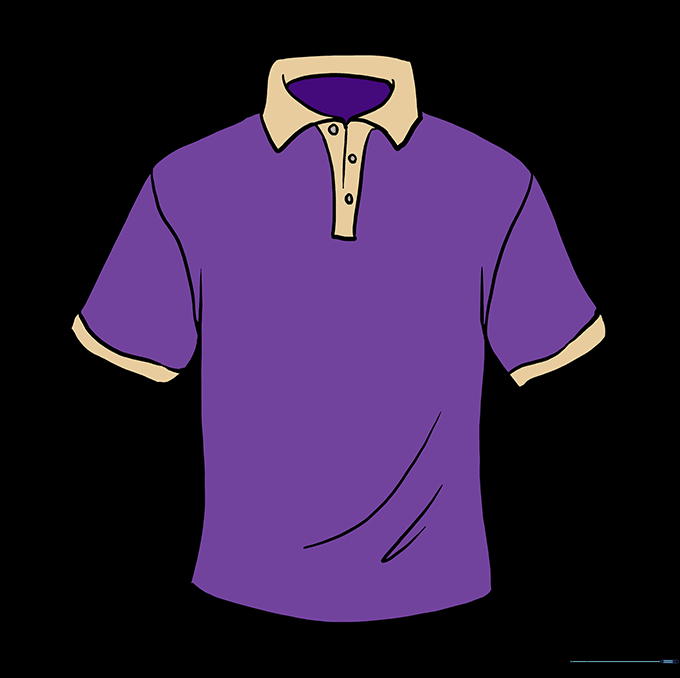
Color your shirt! Use your favorite colors or patterns. Teacher's Tip: Try using light and dark shades of the same color to create shadows and depth.
More Tutorials


