How to Draw a Shih Tzu: Easy 10-Step Guide for Kids
Capture the charm of a Shih Tzu with this beginner-friendly drawing tutorial. Designed for children ages 5 and up, this guide uses basic shapes to build a professional-looking cartoon dog. Grab your pencil, eraser, and paper to start your artistic journey today.
🎯 Final Result

Step-by-Step Instructions
Step 1: Sketching the Muzzle and Eyes

Outline the furry sides of the muzzle using soft, curved lines. Add a rounded triangular nose and two circular eyes. Teacher's Tip: Draw the eyes about the size of a pea, and leave a small white dot inside the pupil to give your dog a lively, sparkling expression.
Step 2: Defining the Furry Face
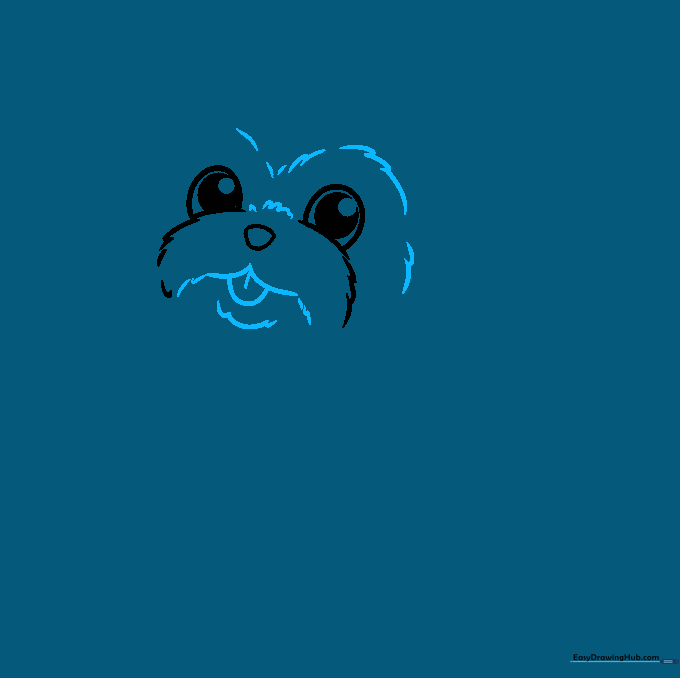
Use overlapping curved lines to contour the face, jaw, and brow. Add a small 'U' shape for the tongue. Teacher's Tip: Use short, quick strokes to mimic the look of soft, shaggy fur around the cheeks.
Step 3: Adding the Hairbow
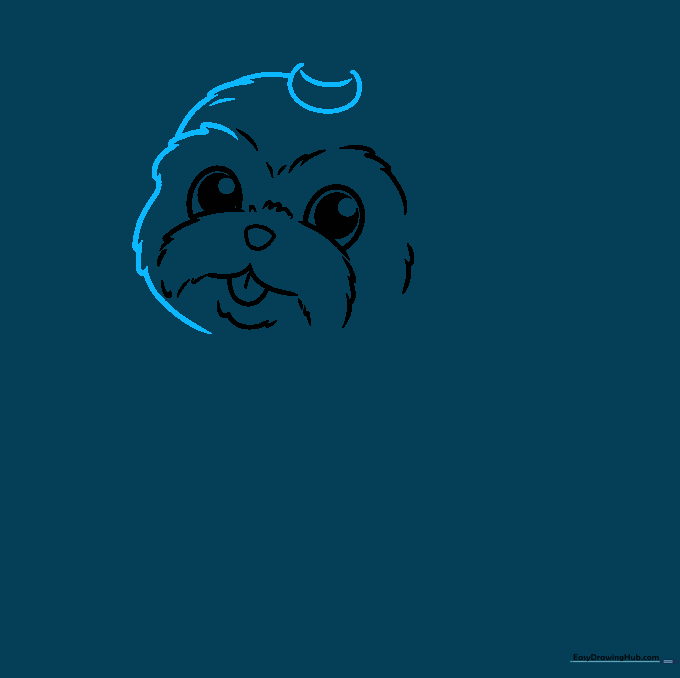
Sketch the top of the head and add a 'C' shaped bow. Teacher's Tip: Shih Tzus are famous for their topknots! Draw the bow slightly off-center to give your character personality.
Step 4: Drawing the Ponytail and Ears
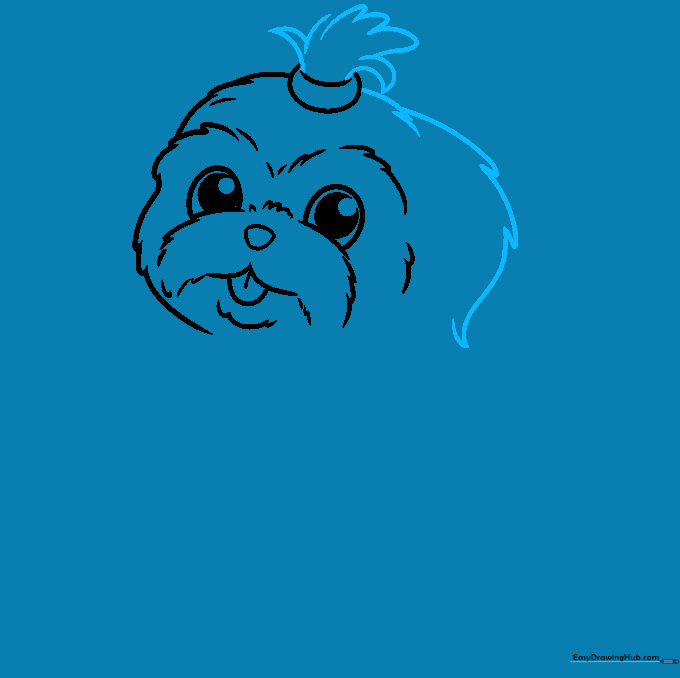
Draw the tuft of hair on the head using jagged lines, then sketch the first ear. Teacher's Tip: Make the ear look floppy by drawing it hanging down rather than standing straight up.
Step 5: Completing the Ears
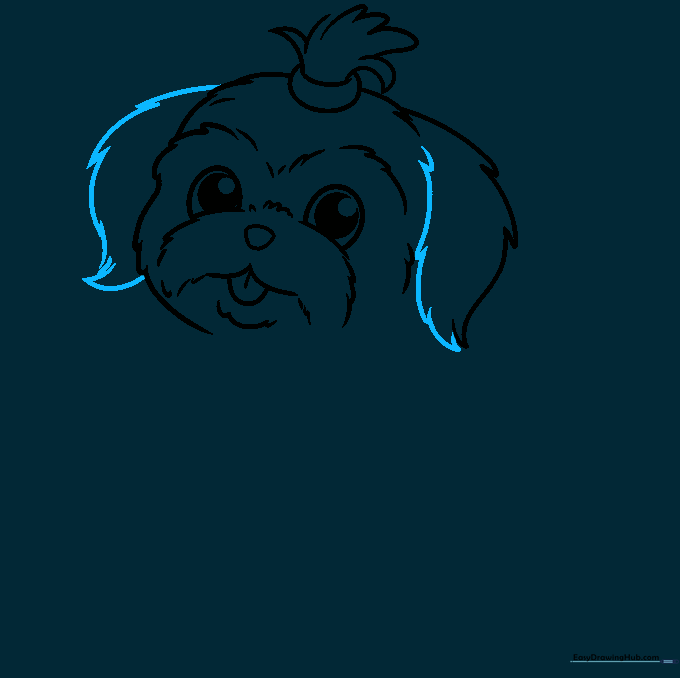
Finish the first ear and add the second one on the opposite side. Teacher's Tip: Ensure both ears have a similar 'furry' texture to keep the drawing consistent.
Step 6: Outlining the Chest

Use jagged, short lines to create the chest area. Teacher's Tip: Imagine the fur is long and flowing; use 'V' shapes to create a realistic, shaggy texture.
Step 7: Sketching the Front Leg
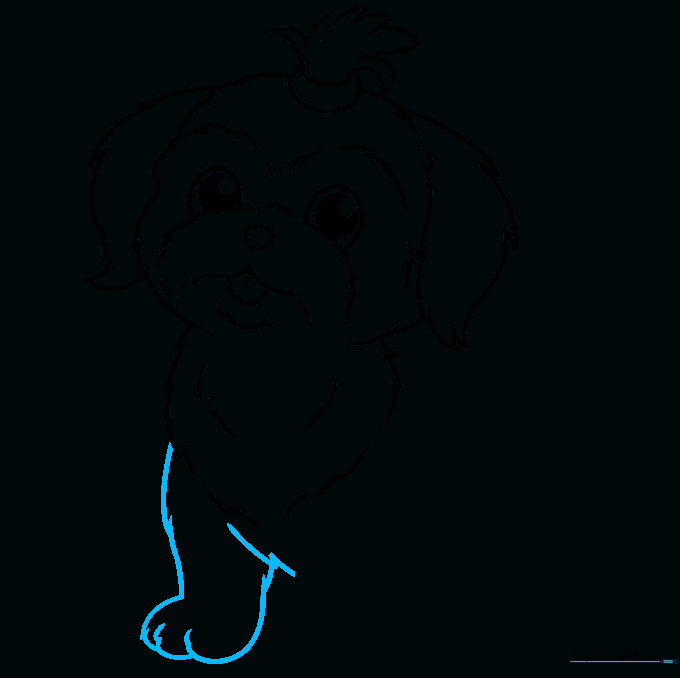
Draw the first foreleg with overlapping lines to show the paw. Teacher's Tip: Don't worry about making the toes perfect; the fur will cover most of the detail.
Step 8: Adding the Remaining Legs
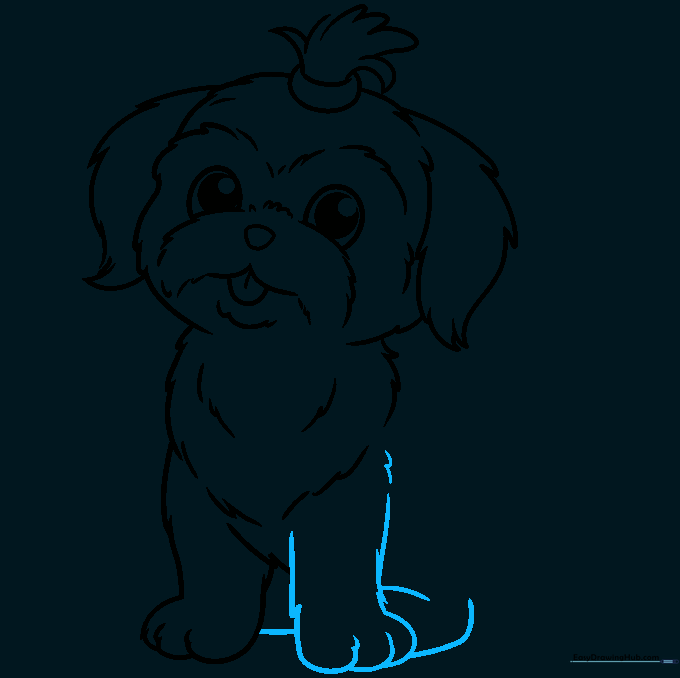
Draw the second foreleg and start the rear legs. Teacher's Tip: Keep the legs short and stout to match the Shih Tzu's natural build.
Step 9: Completing the Tail and Back
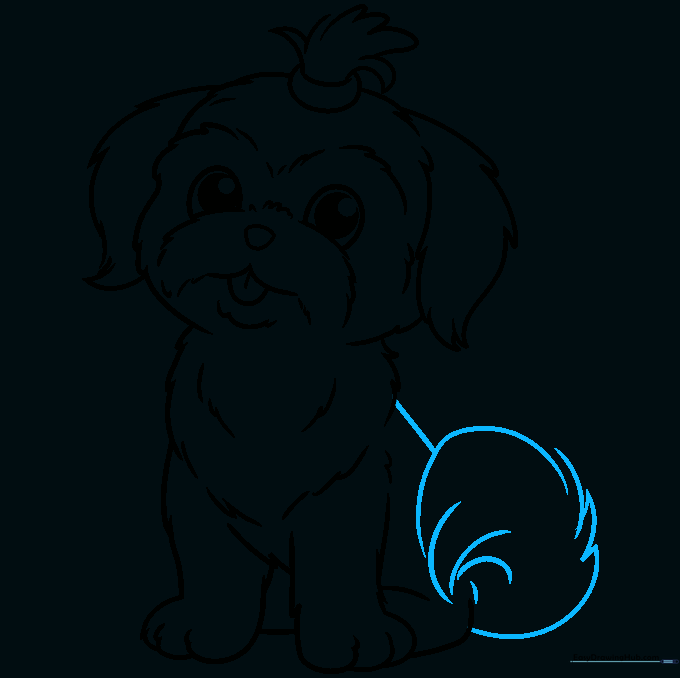
Sketch a curly, spiral-shaped tail and close the back line. Teacher's Tip: Shih Tzu tails are often held high and curled over their backs—make it look fluffy!
Step 10: Adding Color

Bring your Shih Tzu to life with color! Use light browns, greys, or blacks for the fur. Teacher's Tip: Use light, feathery strokes with your colored pencil to create a soft fur texture.
More Tutorials


