How to Draw a Shield: Easy 10-Step Guide for Kids
Ready to design your own knightly gear? This tutorial is perfect for young artists ages 5 and up. All you need is a pencil, an eraser, and a piece of paper to build a sturdy, detailed shield from scratch.
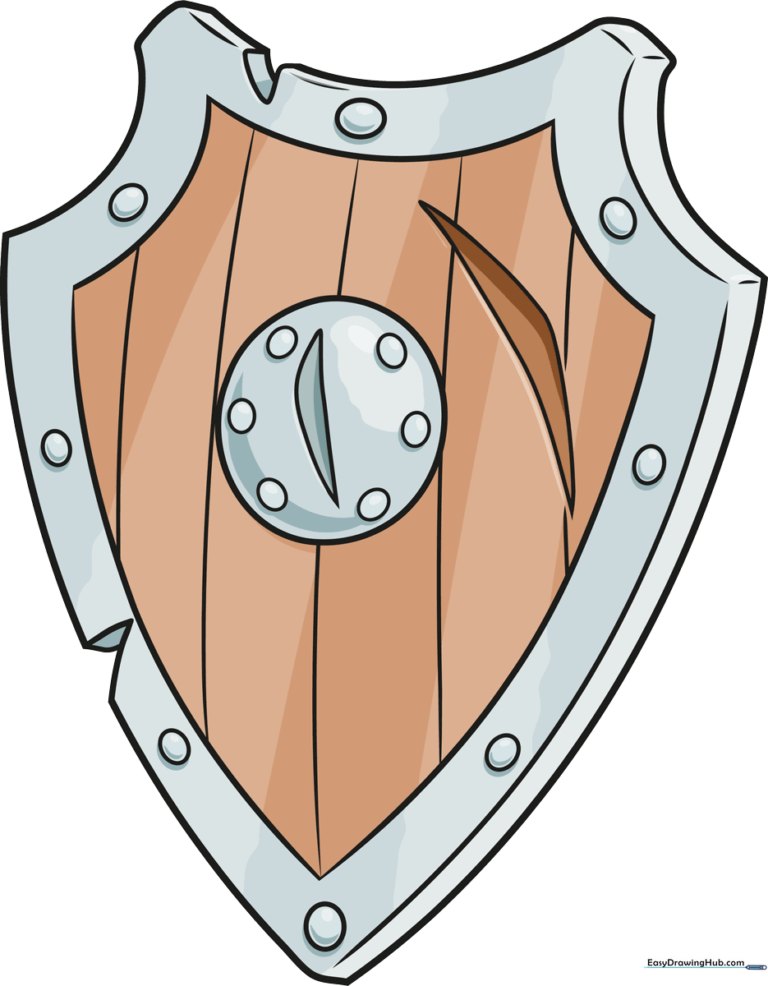
🎯 Final Result
Step-by-Step Instructions
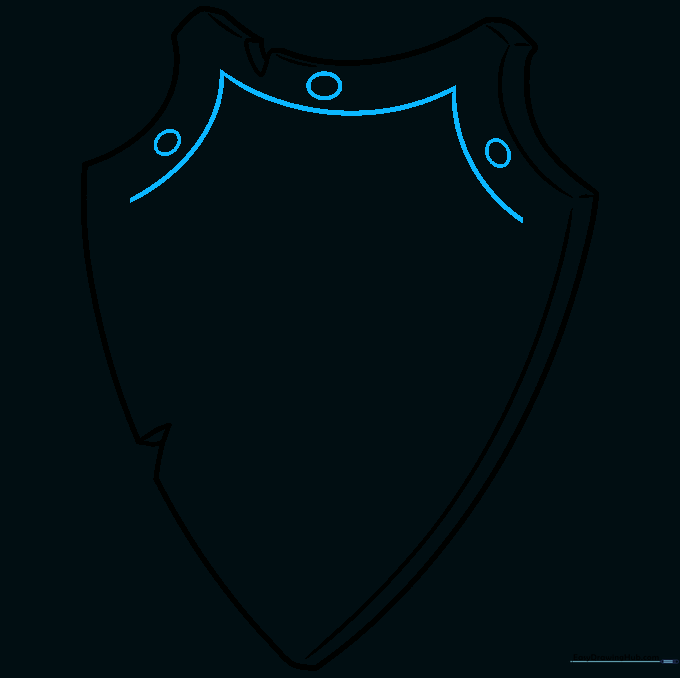
Step 1: Sketching the Top Notch

Start by drawing a rounded 'V' shape at the top center of your paper. Add a small curved line across the top of the 'V' to create depth. Teacher's Tip: Keep your pencil lines light so you can easily adjust the shape if it looks a bit lopsided.
Step 2: Defining the Upper Rim
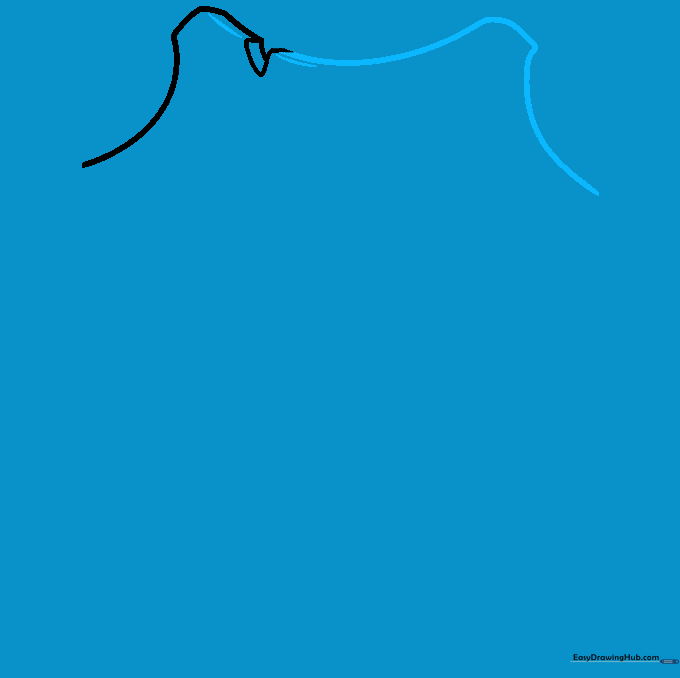
Extend the top edge outward using long, gentle curves. Draw a parallel line just below the rim to give the shield a thick, protective border. Tip: Use smooth, sweeping motions with your wrist rather than short, choppy strokes.
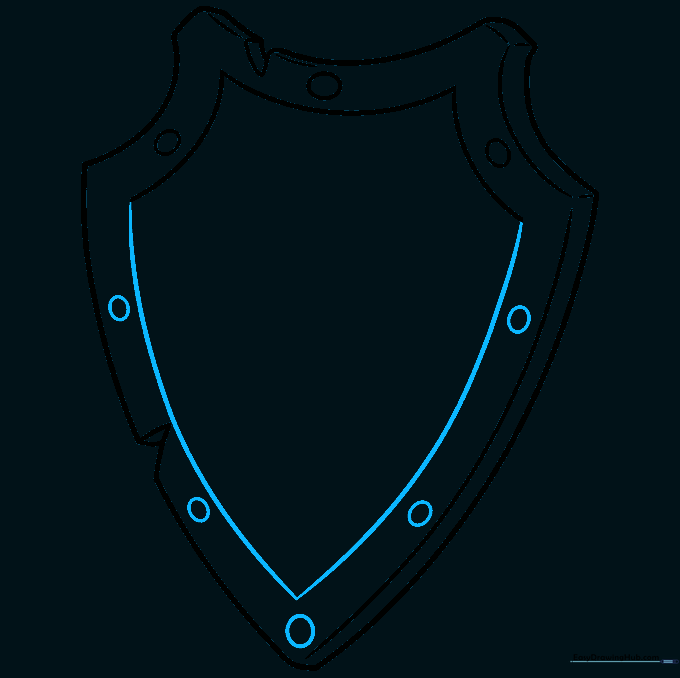
Step 3: Shaping the Sides
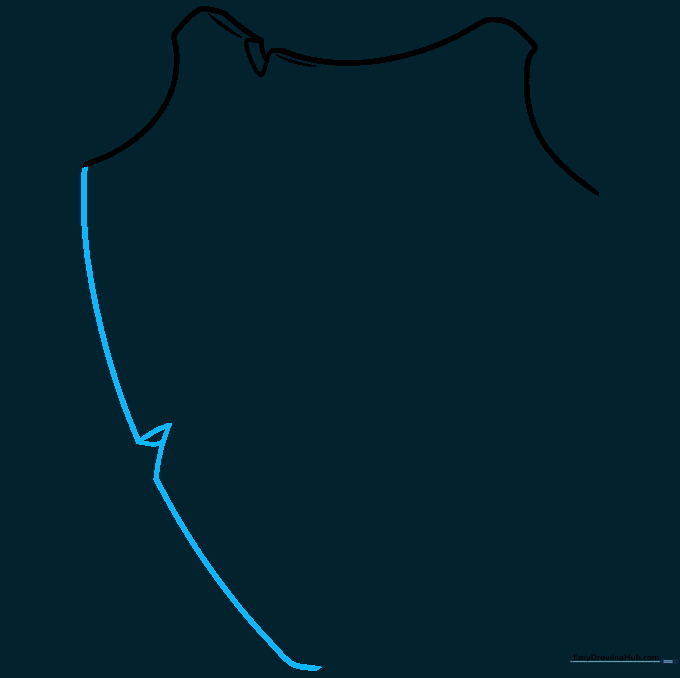
Draw two long, downward-curving lines for the sides, connecting them at a point at the bottom. Add a small 'V' notch on the side to match the top. Tip: Imagine the shield is wrapping around a barrel to help you visualize the curve.
Step 4: Adding Structural Depth
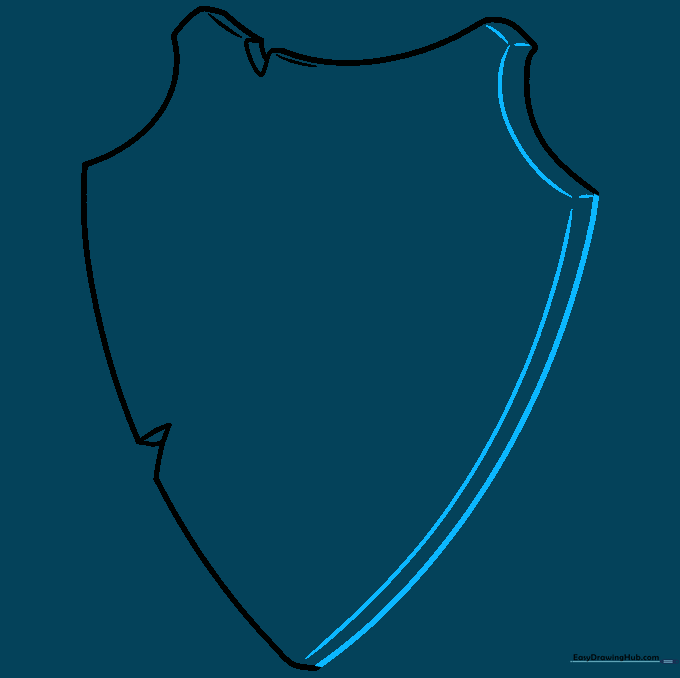
Draw curved lines parallel to the outer edges to create a border. Add short connecting lines at the corners to make it look like metal plates. Tip: Focus on keeping the distance between your parallel lines consistent for a professional look.
Step 5: Placing the Rivets
Draw small ovals along the border to represent the rivets holding the metal together. Tip: Space them out evenly like buttons on a coat to make the shield look well-constructed.
Step 6: Refining the Base
Continue the border lines down to the bottom point and add more rivet ovals. Tip: Ensure the bottom point is sharp and symmetrical to keep the shield looking balanced.
Step 7: Adding Battle Scars and Texture
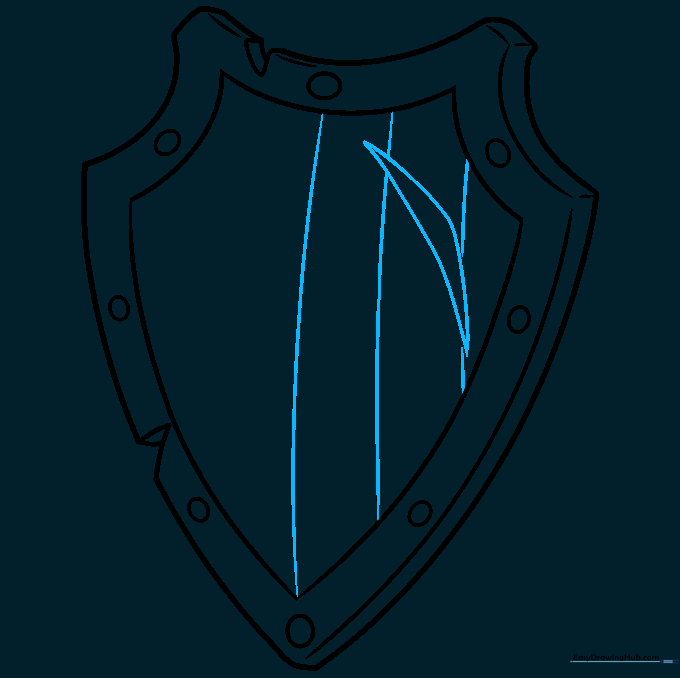
Draw a boomerang-shaped line to show a 'dent' from a battle, and add vertical lines to represent wooden planks. Tip: Don't make the lines perfectly straight; slight wobbles make the wood look more authentic.
Step 8: The Center Emblem
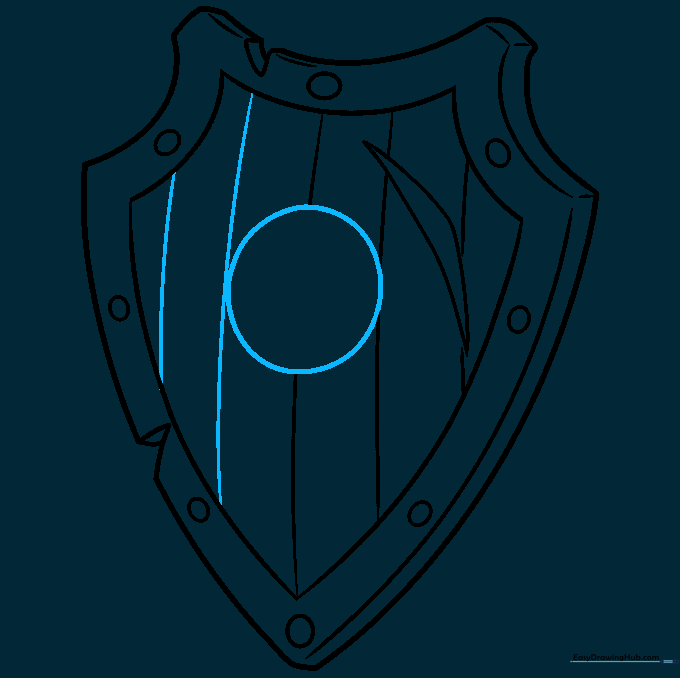
Draw a circle in the center of the shield. This is where you can later add a family crest or a cool symbol. Tip: Use a circular object like a coin to trace if you find freehand circles tricky.
Step 9: Final Details
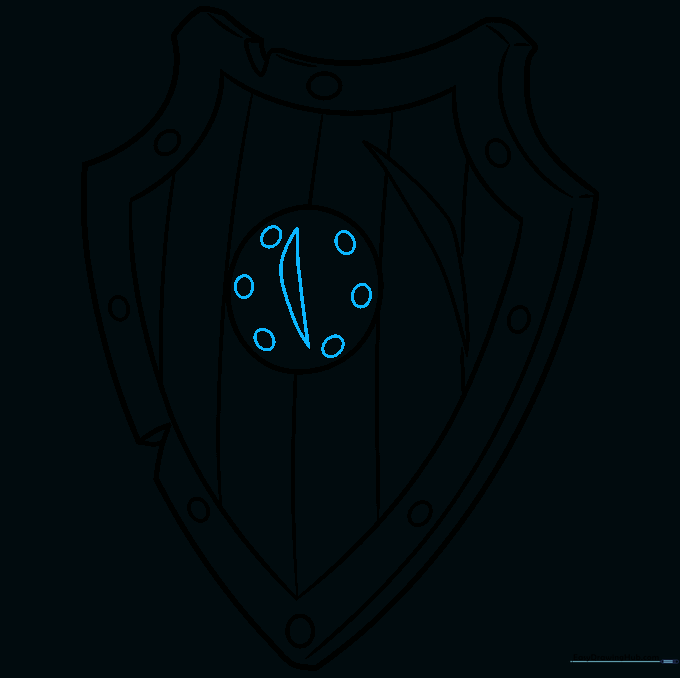
Add a double-pointed shape inside the circle and a few more rivets around it. Tip: Clean up any overlapping lines with your eraser to make the shield look crisp and finished.
Step 10: Bring It to Life with Color
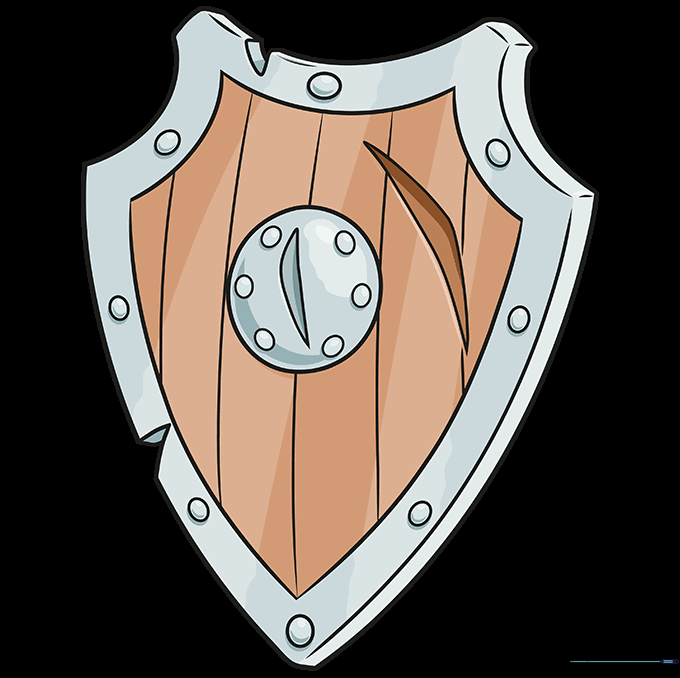
Time to color! Use browns for the wood and greys or metallic blues for the steel. Tip: Think about what your shield represents—is it for a dragon slayer or a forest guardian? Choose colors that tell your story!
More Tutorials


