How to Draw a Sheep: Simple 10-Step Guide for Kids
Bring a friendly farm animal to life with this simple drawing guide, perfect for artists ages 5 and up. All you need is a pencil, an eraser, and a piece of paper to get started. By following these clear steps, you will build confidence in your sketching skills while creating a charming, woolly sheep.
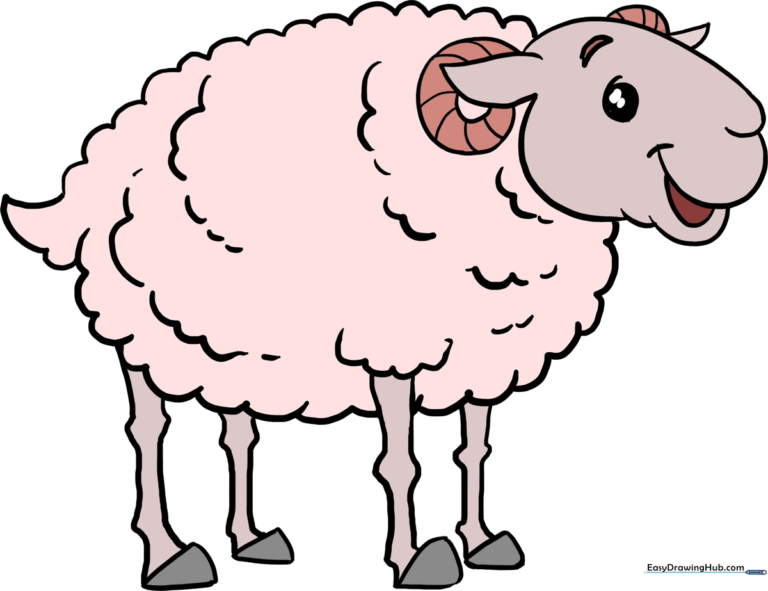
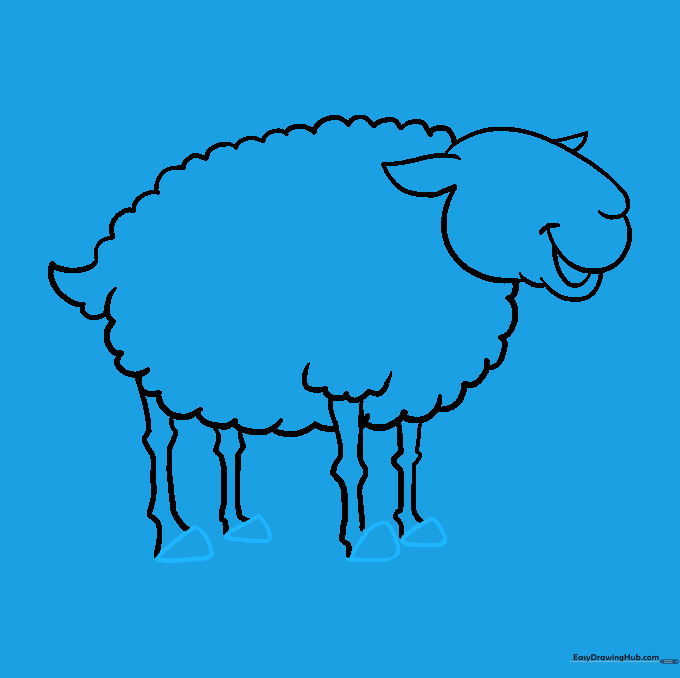
🎯 Final Result
Step-by-Step Instructions
Step 1: Sketching the Face

Start by drawing a soft, curved line for the sheep’s nose. From there, extend a second curved line and add a short stroke at the end. Teacher's Tip: Keep your pencil pressure light so you can easily adjust the shape if you need to!
Step 2: Defining the Jawline

Close the mouth with a small curve, then outline the jaw using a series of varying curved lines. Teacher's Tip: Varying the size of your curves makes the sheep look more natural and less like a perfect machine.
Step 3: Adding the Ears

Draw each ear using two curved lines that meet at a point. Teacher's Tip: Make the ears slightly floppy to give your sheep a friendly, curious personality.
Step 4: Sketching the Woolly Back
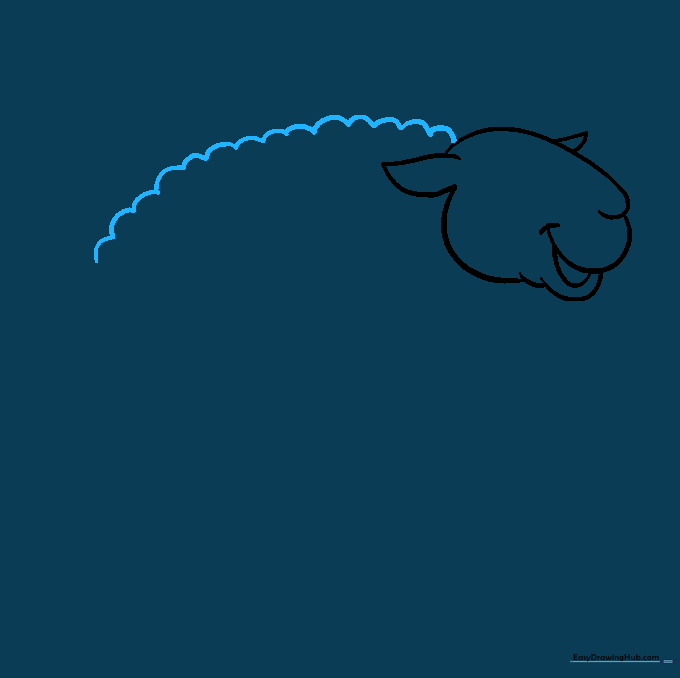
Outline the back by connecting a series of short, bouncy curved lines. Teacher's Tip: Think of these as little 'clouds'—the more irregular they are, the fluffier your sheep will look!
Step 5: Completing the Body
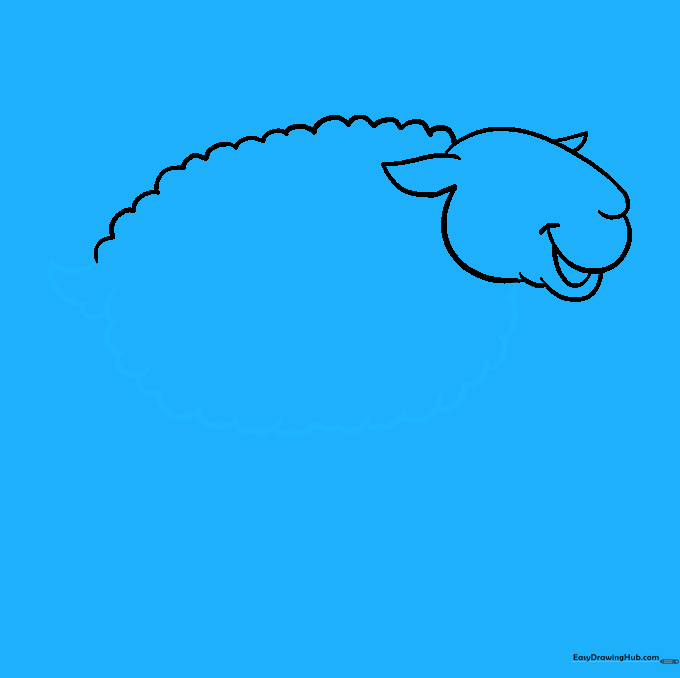
Finish the body shape with more short, curved lines, and add a slightly longer line for the tail. Teacher's Tip: Angle the tail line outward to show the sheep is happy and wagging!
Step 6: Drawing the Legs
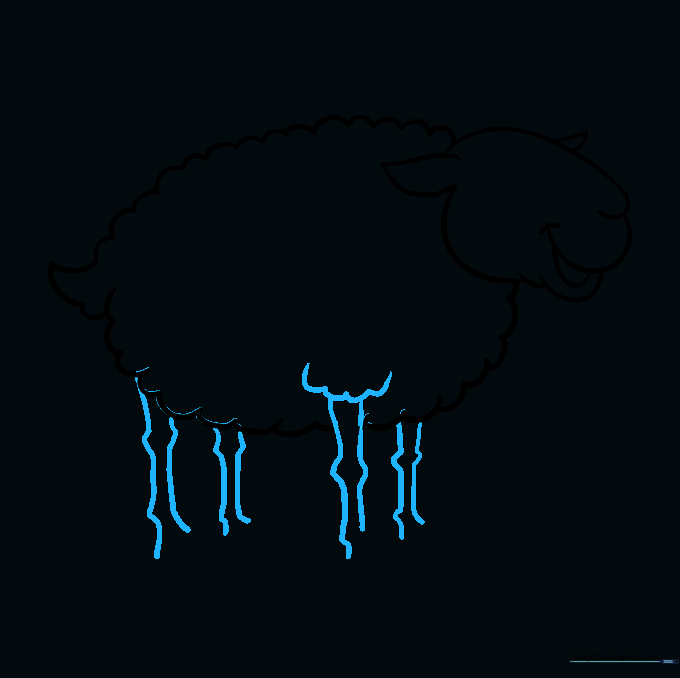
Draw a tuft of wool where the leg meets the body, then use two curved lines for each leg. Teacher's Tip: Add small bumps at the 'knees' to give the legs a realistic jointed look.
Step 7: Adding Hooves
Complete each foot by drawing a triangle with one curved side. Teacher's Tip: Keep the hooves small so the sheep looks like it is standing firmly on the ground.
Step 8: Adding Horns

Draw a circular shape around the ear, then a smaller half-circle inside to show the curl. Add texture with short, banded lines. Teacher's Tip: The bands on the horns create a great sense of 3D depth.
Step 9: Final Details

Draw the eye with a small highlight, add an eyebrow, and finish the wool texture with more curved lines. Teacher's Tip: Leaving a tiny white spot in the eye makes your sheep look alive and bright!
Step 10: Color Your Masterpiece

Bring your sheep to life with your favorite colors! Teacher's Tip: Use light greys or tans for the wool to add shading, making your drawing pop off the page.
More Tutorials


