How to Draw a Shark: Easy 10-Step Guide for Kids
Ready to dive into the deep blue? This shark drawing tutorial is perfect for artists ages 5 and up. You’ll only need a pencil, an eraser, and a piece of paper to bring this ocean predator to life while practicing essential hand-eye coordination.
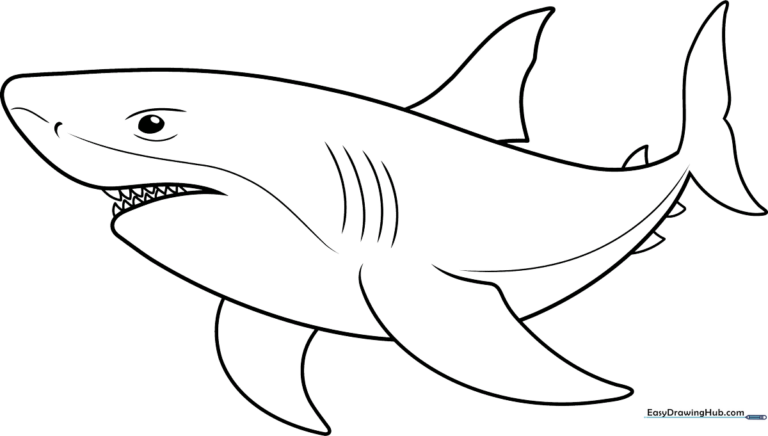
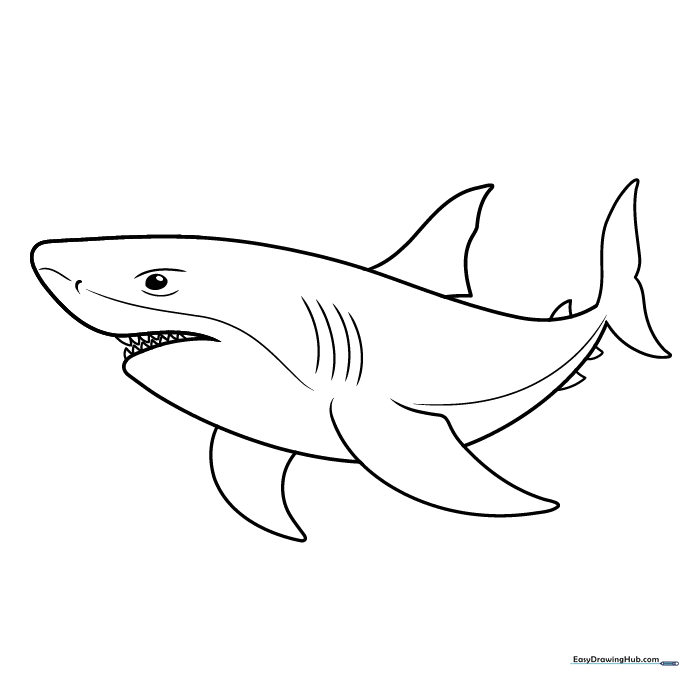
🎯 Final Result
Step-by-Step Instructions
Step 1: Sketching the Snout and Eye
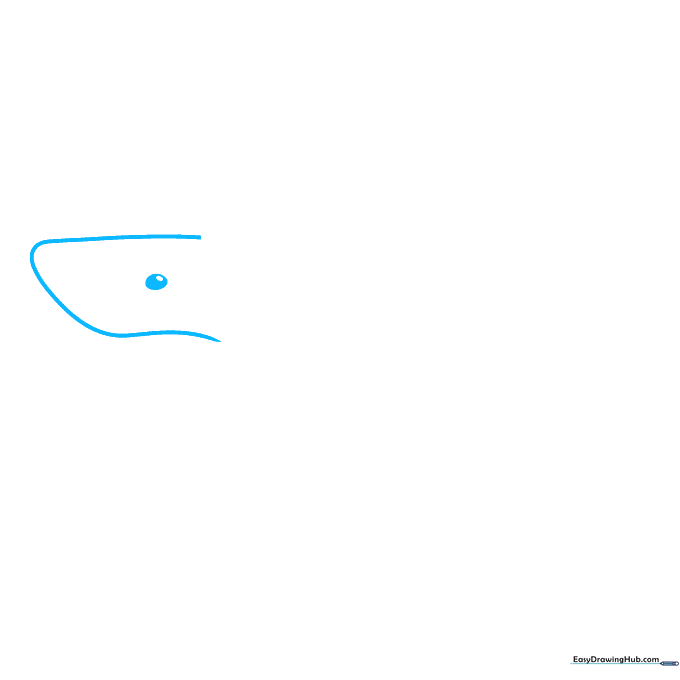
Start by drawing a long, curved line that doubles back to form a rounded rectangular snout. Add an oval for the eye with a smaller circle inside, then shade the space between them. Teacher's Tip: Keep the eye near the front of the snout to give your shark a friendly, alert expression.
Step 2: Defining the Body Shape
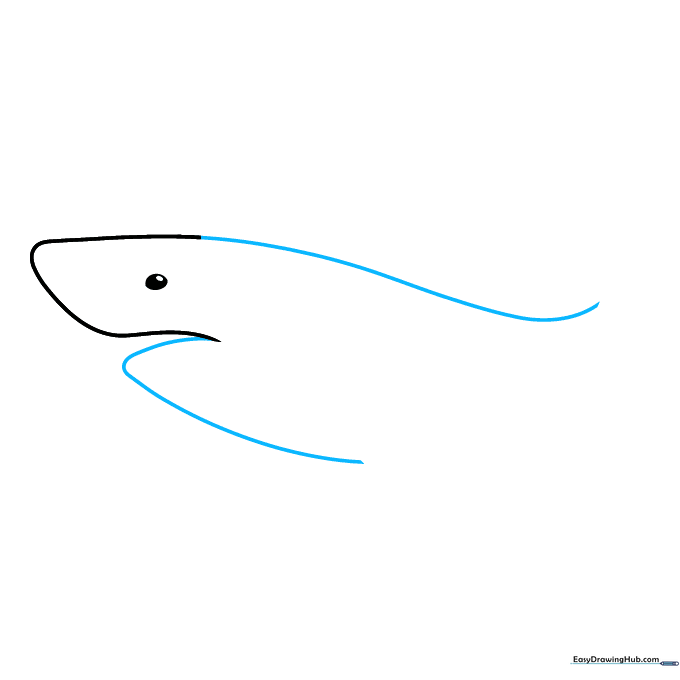
Extend a curved line from the top of the snout to create the shark's back. Then, draw a sharp, angled line from the bottom of the snout to form the jaw and belly. Teacher's Tip: Use long, fluid strokes to make the shark look like it's swimming through the water.
Step 3: Adding the Nostril and Dorsal Fin
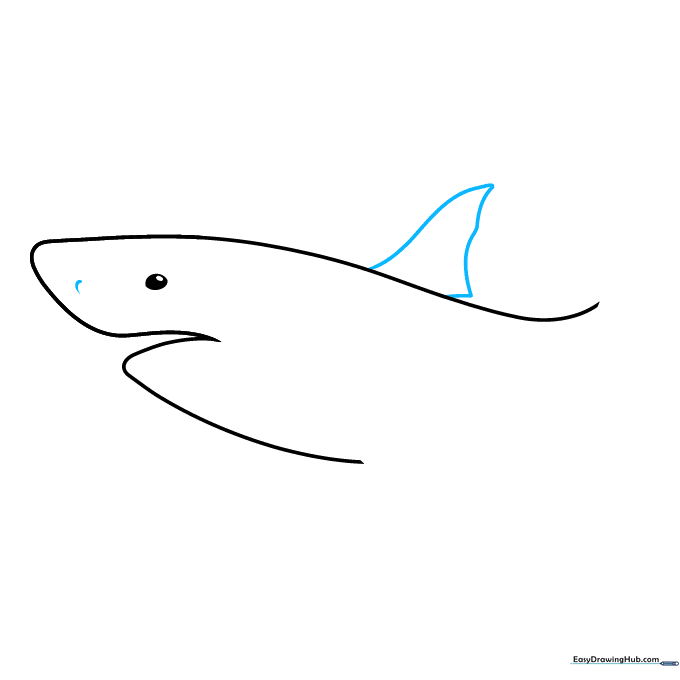
Add a small curve for the nostril on the snout. Then, draw a large triangle on the back for the dorsal fin. Teacher's Tip: Make the fin slightly curved at the tip rather than perfectly straight to give it a more natural, organic look.
Step 4: Sketching the Pectoral Fin and Tail
Draw the pectoral fin by extending a line from the body and doubling it back. Then, extend a curved line from the back to begin the tail. Teacher's Tip: Imagine the pectoral fin is like an airplane wing—it helps the shark steer!
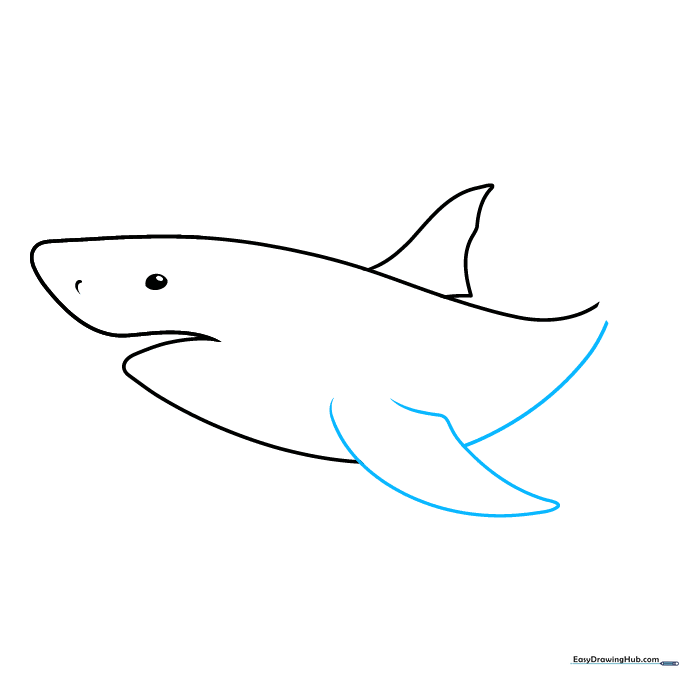
Step 5: Forming the Tail Fin

Create the tail fin by drawing two long, curved lines that meet in the middle. Teacher's Tip: Keep the tail symmetrical to help your shark look balanced and ready to swim fast.
Step 6: Adding More Fins
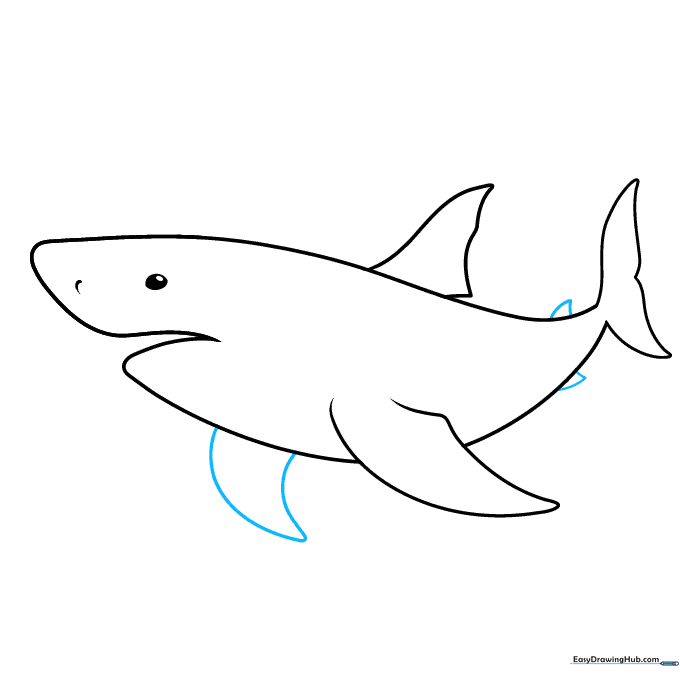
Draw a large triangular pectoral fin under the head and two smaller fins near the tail. Teacher's Tip: These smaller fins are called pelvic and anal fins; they help the shark stay stable in the water.
Step 7: Teeth and Tail Detail
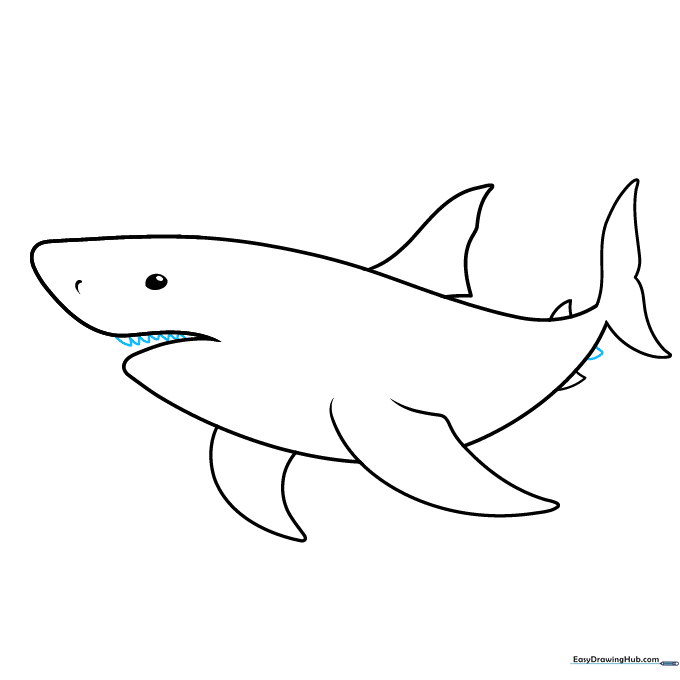
Add a small fin to the tail and draw sharp, triangular teeth inside the mouth. Teacher's Tip: Don't make the teeth too perfect; sharks have jagged, uneven teeth that look great when they aren't uniform.
Step 8: Refining the Face

Add more teeth to the bottom jaw and contour around the eye with a curved line. Teacher's Tip: Adding a small line above the eye gives your shark a bit of 'personality' or expression.
Step 9: Adding Gills and Body Lines
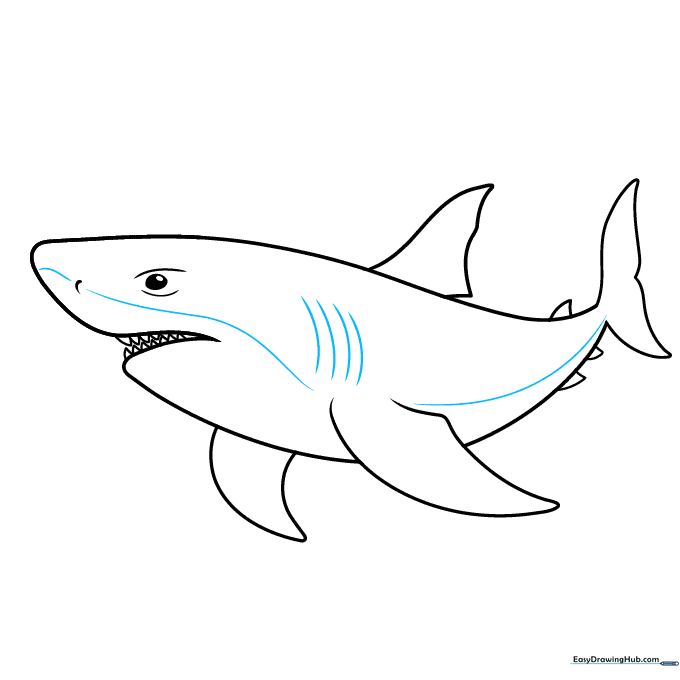
Draw curved lines across the face and tail to separate the underbelly from the top. Add four vertical curved lines for the gills. Teacher's Tip: Gills are essential for sharks to breathe underwater, so make sure they are clearly visible behind the head.
Step 10: Bringing Your Shark to Life with Color
Your shark is ready for color! Use shades of bluish-gray or brown for the top, and keep the underbelly lighter. Teacher's Tip: Use a darker shade for the top of the shark and a lighter shade for the belly to create a 3D effect.
More Tutorials


