How to Draw an Anime Girl: Easy Step-by-Step Guide
Ready to bring your own anime character to life? This guide is perfect for intermediate artists looking to refine their character proportions and facial expressions. You will need a pencil, eraser, and drawing paper to follow along as we build this character from a simple grid to a finished illustration.
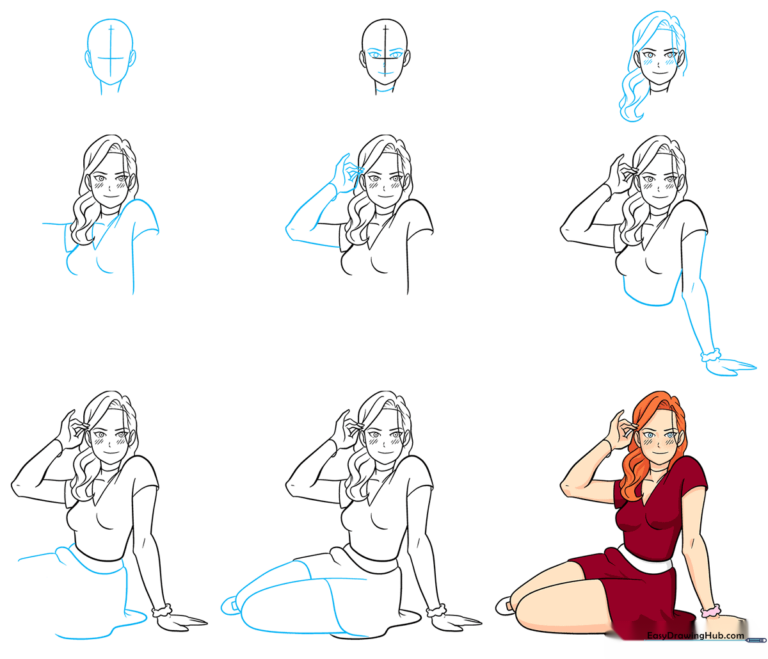
🎯 Final Result
Step-by-Step Instructions
Step 1: Establishing the Head and Guidelines
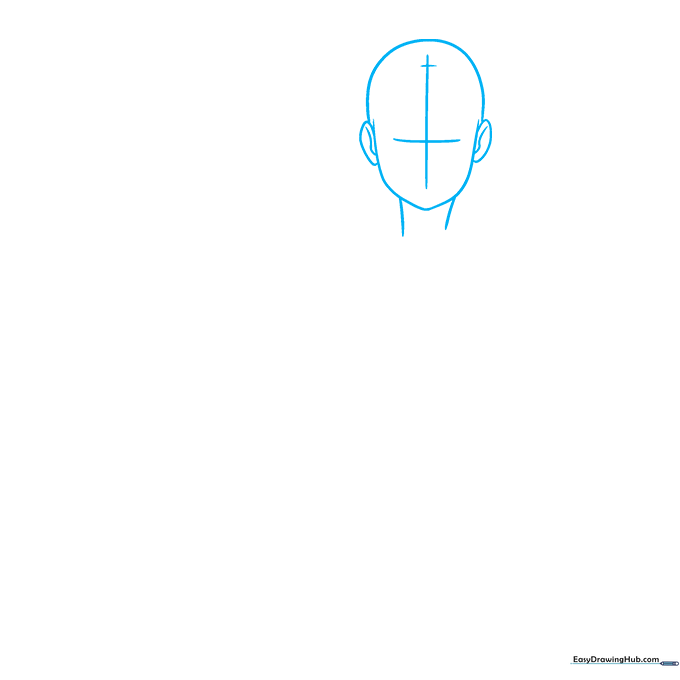
Use light, sweeping curved lines to outline the head, face, and neck. Draw a cross-grid over the face—a vertical center line and two horizontal lines for the eyes and brow placement. Tip: Keep your pencil pressure very light here; these guidelines are just a map and will be erased later.
Step 2: Placing Facial Features
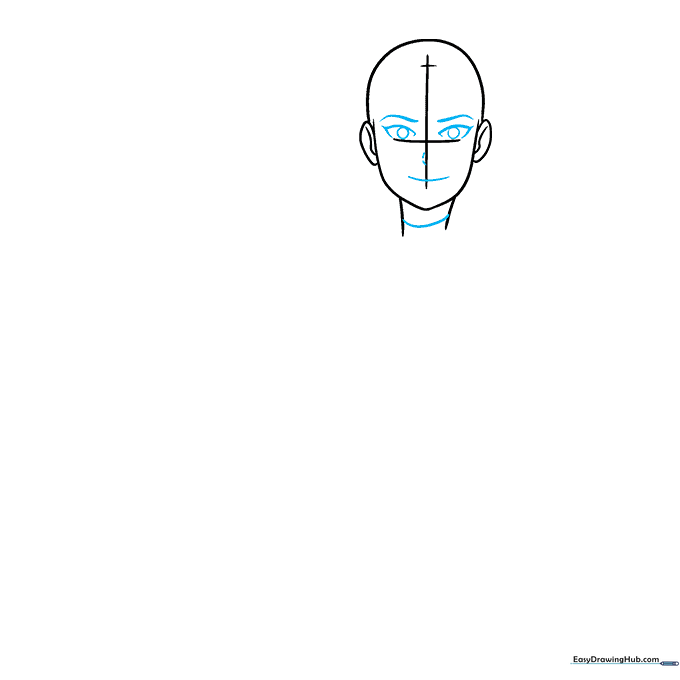
Center the mouth on the vertical line in the lower quadrant of the face. Position the nose slightly to the side. Place the pupils on the horizontal eye line, then draw the almond-shaped eyes and arched brows around them. Tip: Anime eyes are all about expression—try varying the curve of the lids to change her mood!
Step 3: Adding Hair and Details
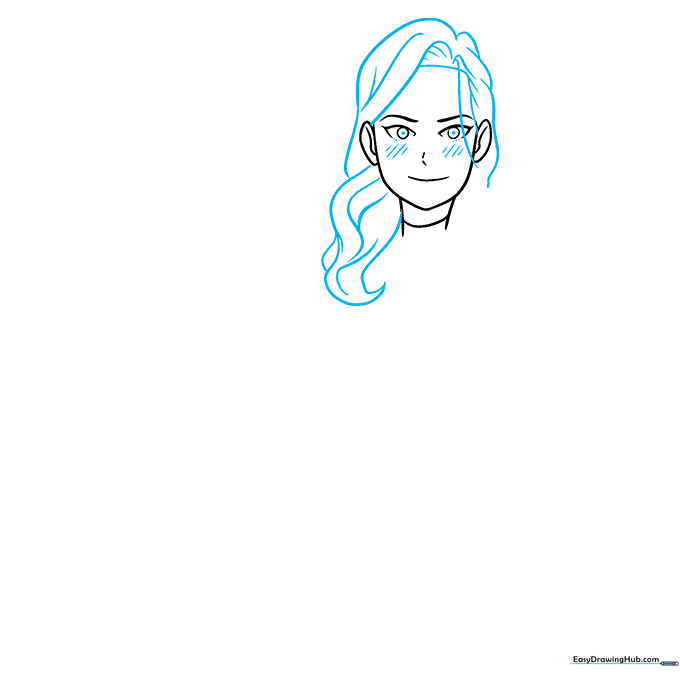
Gently erase your guidelines. Sketch the hair using long, overlapping strokes to create volume and flow. Add small diagonal lines on the cheeks to represent a soft blush. Tip: Draw hair in 'clumps' rather than individual strands to get that classic anime look.
Step 4: Sketching the Torso
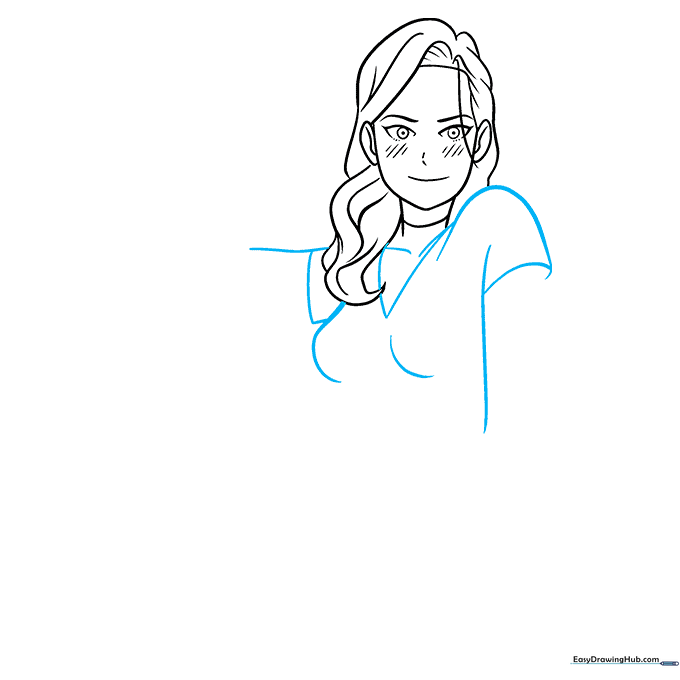
Outline the shoulders and V-neck shirt using smooth, curved lines. Remember that anime proportions often feature narrower shoulders relative to the chest area. Tip: Keep your lines fluid to suggest the fabric draping over the body.
Step 5: Drawing the Arms and Hands
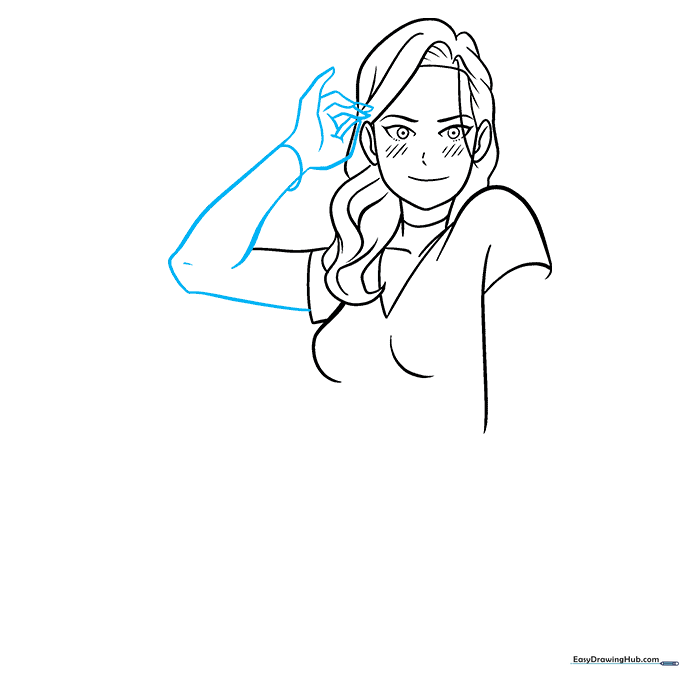
Draw one arm raised with the hand playfully touching the hair. Add a small circle at the wrist for a bracelet. Tip: Hands are tricky! Focus on the general shape of the fingers first before adding detail.
Step 6: Completing the Upper Body
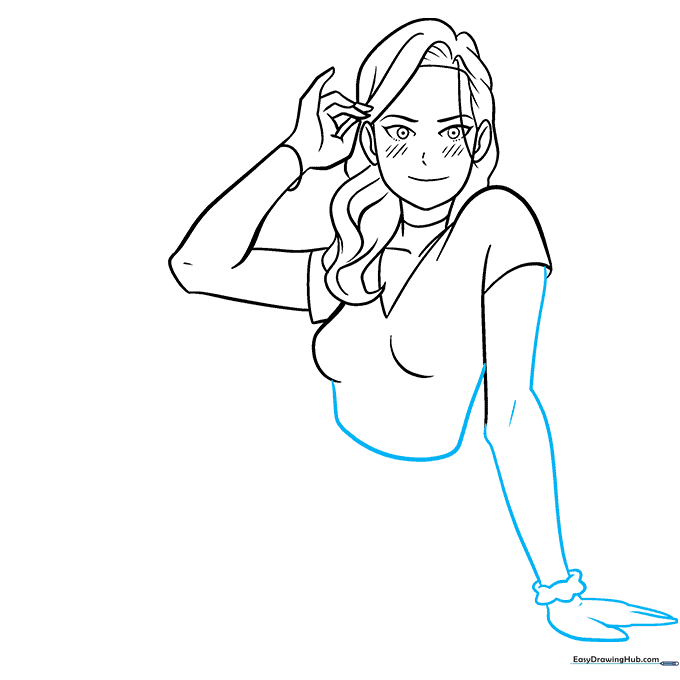
Finish the torso by drawing the second arm and hand. Pay attention to the side angle of the hand to ensure it looks natural in relation to the rest of the pose. Tip: Use a mirror to look at your own hand in a similar position to help with the perspective.
Step 7: Adding the Skirt

Draw the skirt using curved lines that bunch at the waist and pool slightly at the bottom. This adds a sense of movement and weight to your drawing. Tip: Use 'V' shaped folds to make the fabric look realistic.
Step 8: Drawing the Legs
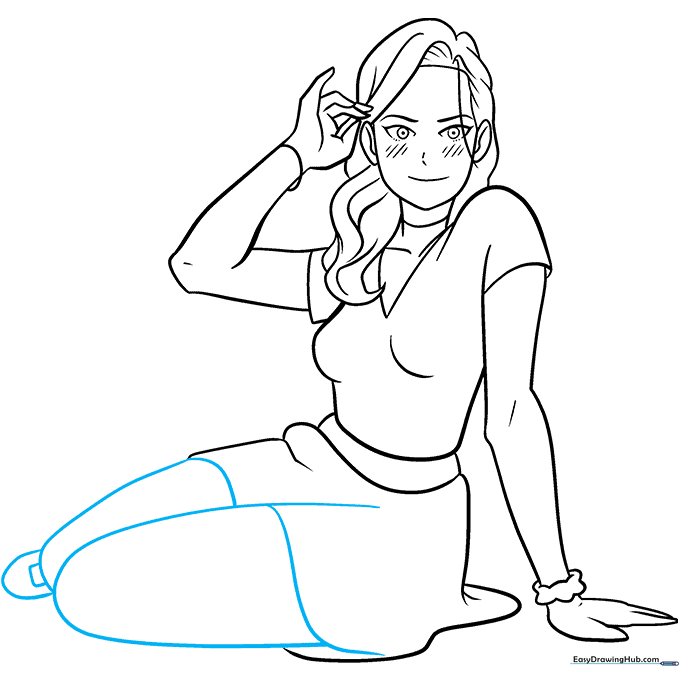
Sketch the legs, focusing on the wide hip and thigh areas. Even if the lower legs are partially hidden, ensure the upper legs are long enough to maintain the character's height proportions. Tip: Aim for the legs to take up about half of the total character height for a balanced look.
Step 9: Adding Color
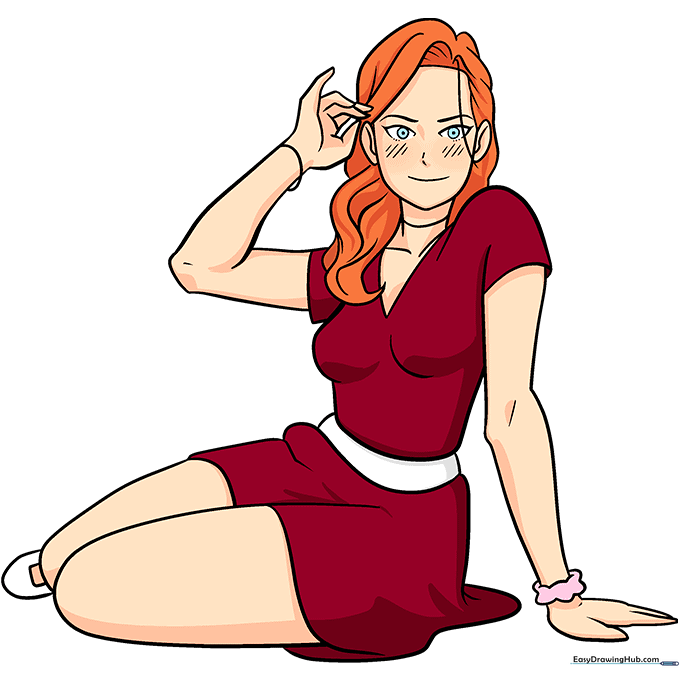
Bring your character to life with color! Use markers or colored pencils to fill in the hair and dress. Tip: Add a slightly darker shade to the folds of the clothing to create depth and shadow.
More Tutorials