How to Draw a Seahorse: Easy 10-Step Guide for Kids
Bring the magic of the ocean to your sketchbook with this simple seahorse drawing guide, perfect for artists ages 5 and up. All you need is a pencil, an eraser, and a piece of paper to get started. By the end of this lesson, you will have a beautiful, detailed seahorse ready to color.
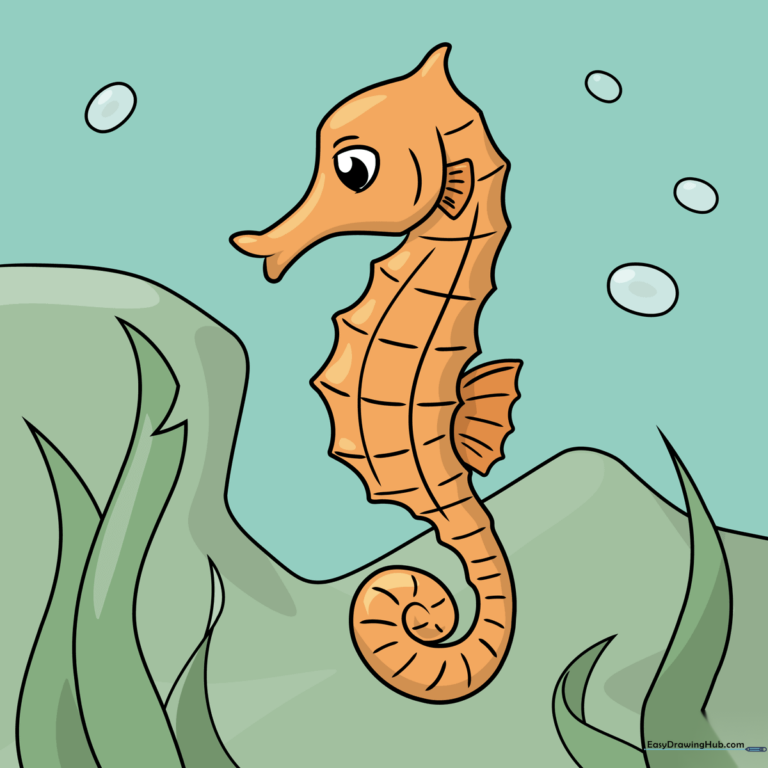
🎯 Final Result
Step-by-Step Instructions
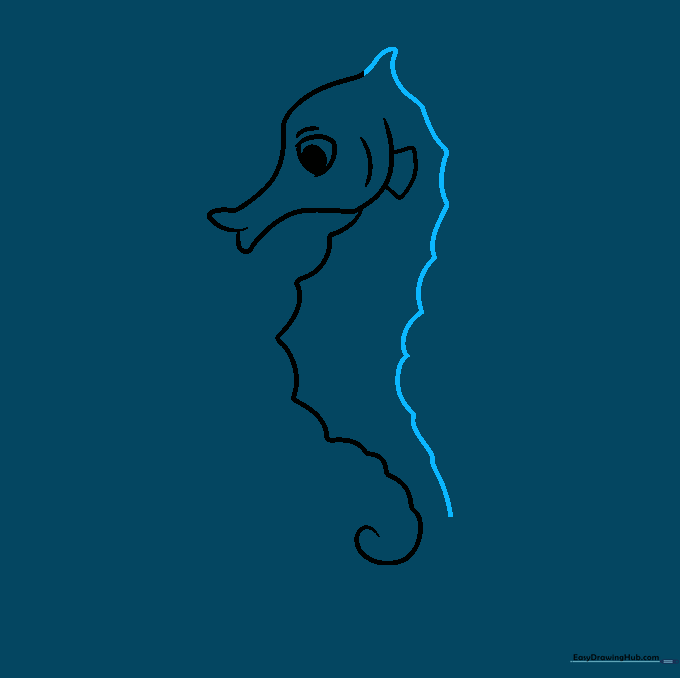
Step 1: Sketching the Head and Eye

Start by drawing a gentle, long curve for the forehead and the top of the snout. Add a small rounded triangle for the eye with a dark pupil inside. Teacher's Tip: Keep your pencil lines light and loose—this makes it much easier to erase any mistakes later!
Step 2: Defining the Snout and Fin

Complete the mouth with a curved line and add a small line for the gill. Draw a tiny trapezoid shape near the jaw to create the pectoral fin. Teacher's Tip: Think of this fin like a little steering wheel the seahorse uses to navigate the currents.
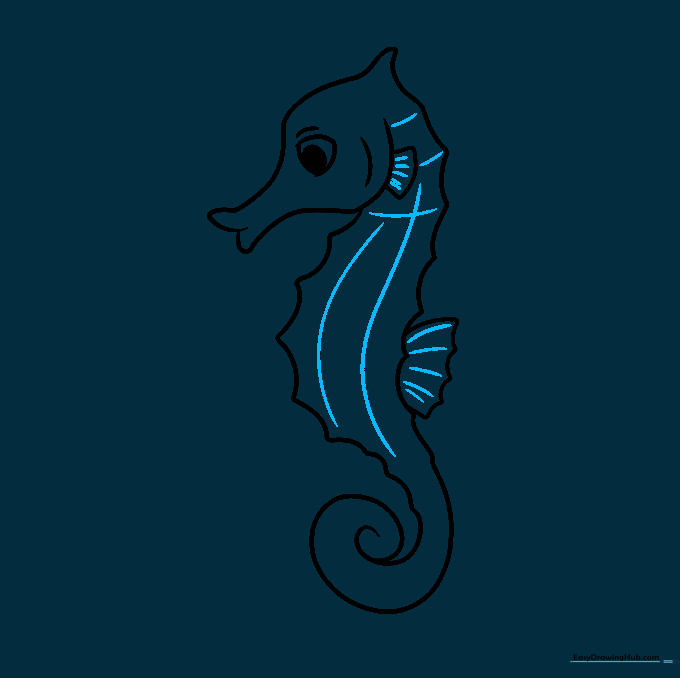
Step 3: Outlining the Belly Plates

Draw a series of curved lines along the belly that meet at soft points, creating the look of bony plates. As you move toward the bottom, let the line spiral inward to form the tail. Teacher's Tip: Don't worry about making these perfectly even; nature is full of unique shapes!
Step 4: Shaping the Back
Draw the top of the head and the back, letting the lines meet at a gentle point. Continue the pattern of bony plates along the back to match the belly. Teacher's Tip: Use short, rhythmic strokes to give the back a textured, armored appearance.
Step 5: Adding Fins and Tail

Add the dorsal fin on the back using small, connected curves. Finish the tail by drawing a long, elegant spiral. Teacher's Tip: A seahorse uses its tail to hold onto seagrass, so make sure it looks like it could wrap around something!
Step 6: Adding Texture
Add short lines to the fins to show movement. Draw vertical and horizontal lines across the body to define the segments. Teacher's Tip: Press lightly with your pencil so these grid lines look like natural armor, not a checkerboard.
Step 7: Detailing and Seaweed
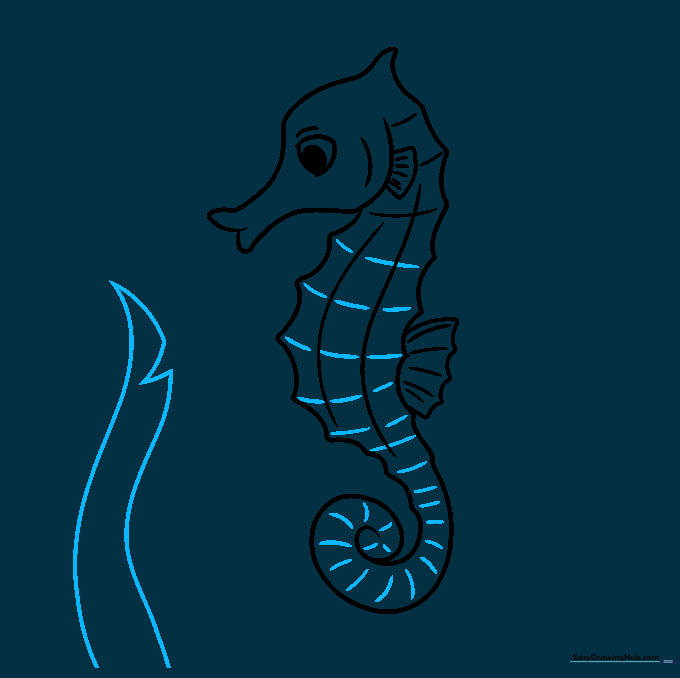
Add extra detail lines between the body segments. Start drawing the seaweed in the background using long, flowing curved lines. Teacher's Tip: Seaweed is flexible, so make your lines wavy and organic.
Step 8: Building the Underwater Scene
Continue adding more seaweed blades in the background to create depth. Use pairs of curved lines that meet at a point for each leaf. Teacher's Tip: Overlap some of the seaweed behind the seahorse to make your drawing look 3D.
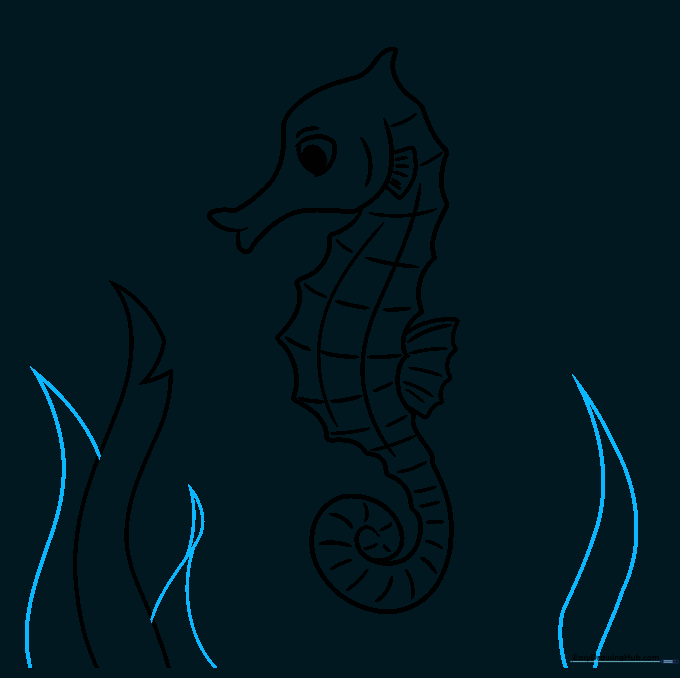
Step 9: Final Touches
Draw a horizon line for the seabed and add small circles for bubbles. This completes your underwater scene! Teacher's Tip: Vary the size of your bubbles to make the scene look more realistic.
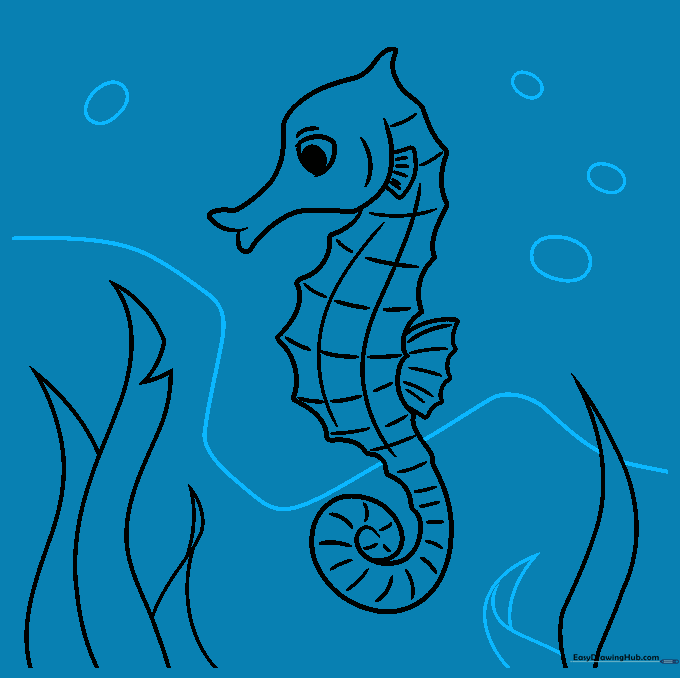
Step 10: Bring Your Seahorse to Life with Color
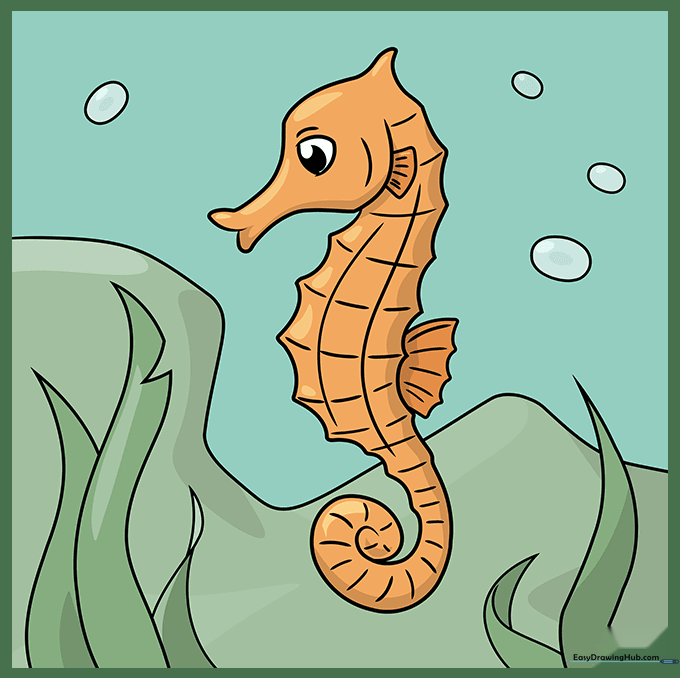
Now for the fun part! Use bright yellows, oranges, or even pinks to color your seahorse. Seahorses are masters of camouflage, so feel free to add spots or stripes. Teacher's Tip: Use a light blue for the water to make your seahorse pop!
More Tutorials


