How to Draw a Seagull: Easy 10-Step Guide for Kids
Bring the seaside to your sketchbook with this fun, beginner-friendly seagull tutorial. Designed for ages 5 and up, this activity requires only a pencil, paper, and an eraser to build confidence in character sketching. Follow along to create your own feathered friend in just a few minutes.
🎯 Final Result

Step-by-Step Instructions
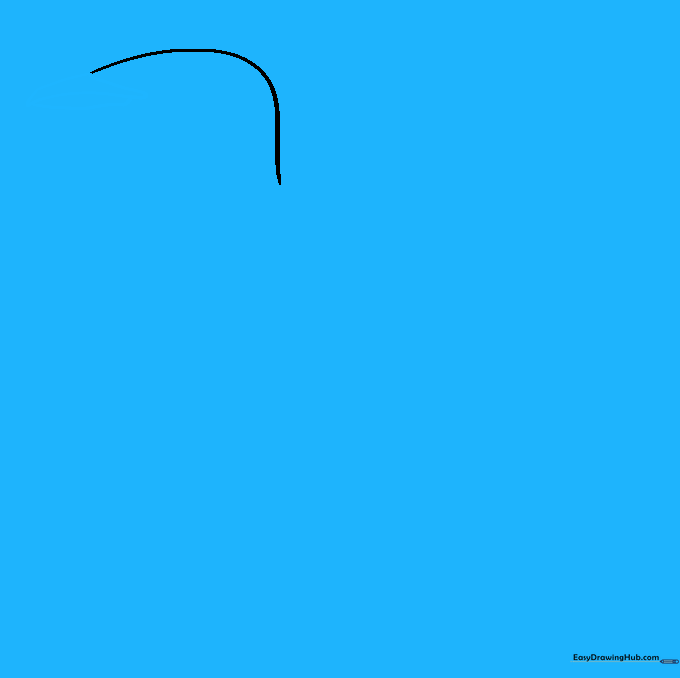
Step 1: Sketching the Head and Neck

Draw a smooth, curved line to form the top of the head and the back of the neck. Teacher's Tip: Keep this line light and fluid; imagine the shape of a gentle wave.
Step 2: Shaping the Beak
Use two curved lines to create a sharp, triangular beak. Tip: Make the top part slightly longer than the bottom to give the seagull its characteristic look.
Step 3: Defining the Neck

Draw a curved line downward from the beak to form the front of the neck. Tip: Ensure the neck isn't too thin, or the bird will look top-heavy.
Step 4: Outlining the Body
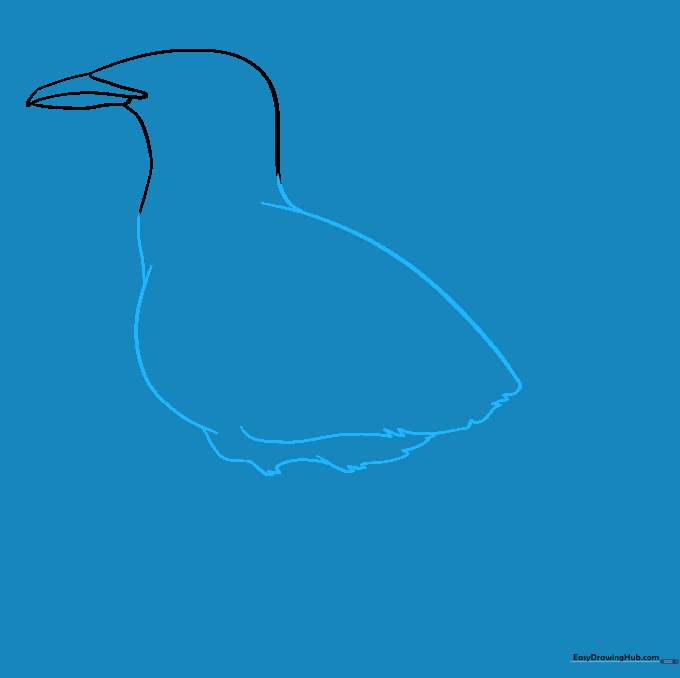
Extend long, curved lines from the neck to create the back and belly. Use small, jagged strokes to mimic the texture of feathers. Tip: Don't worry about making the feather lines perfect; the slight irregularity makes it look more natural.
Step 5: Adding the Tail
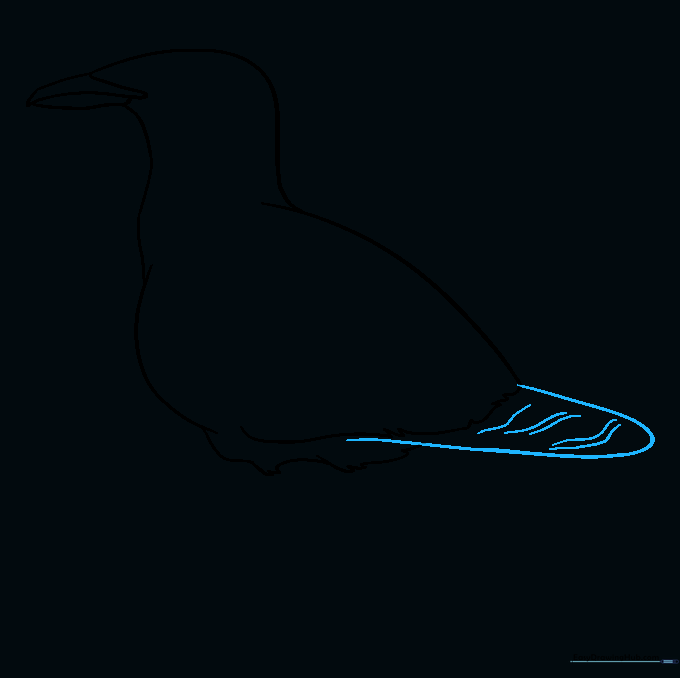
Draw a 'C' shaped line for the tail and add a few inner lines for feather detail. Tip: Keep the tail shape simple so it balances the weight of the head.
Step 6: Drawing the First Leg
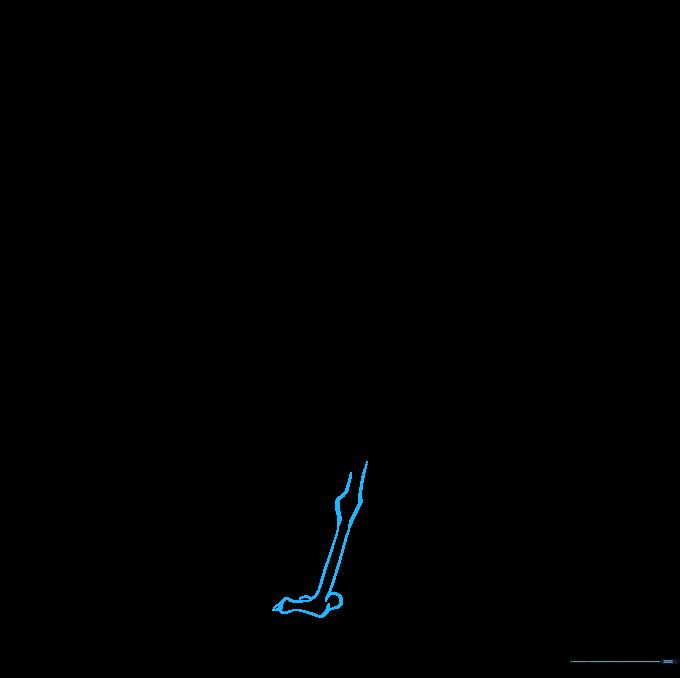
Draw two parallel lines that bulge slightly in the middle to create the leg joint. Add toes with small triangles for claws. Tip: The bulge is the 'knee'—placing it correctly gives your bird a realistic stance.
Step 7: Drawing the Second Leg
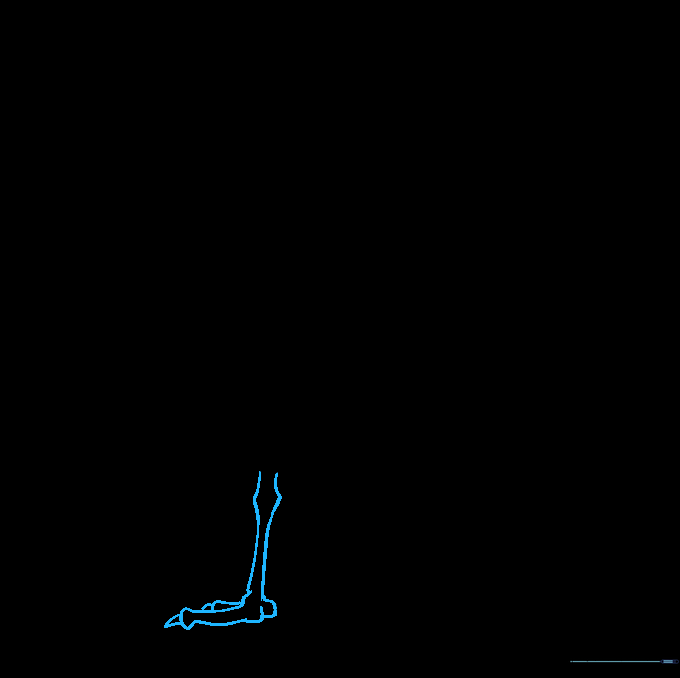
Repeat the process for the second leg, slightly offset to show perspective. Tip: Ensure the feet are level so your seagull looks like it is standing firmly on the sand.
Step 8: Detailing the Wing
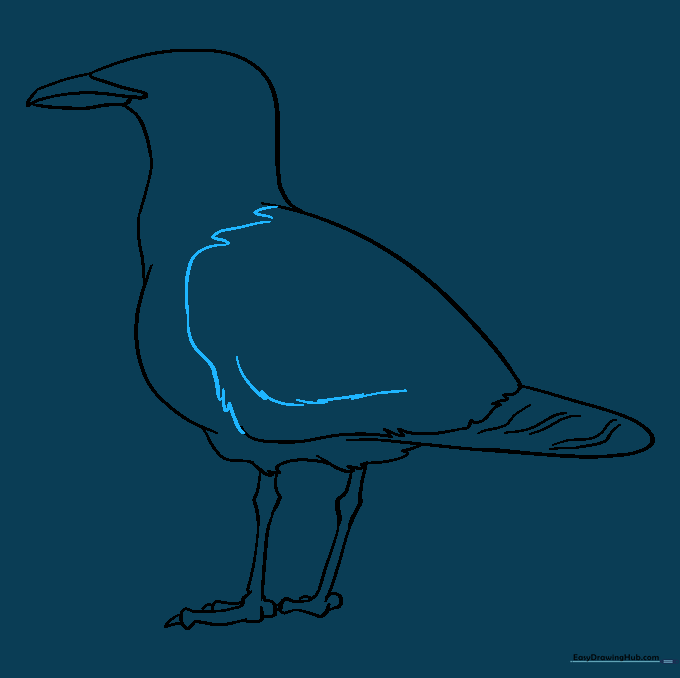
Draw a wavy line across the back to enclose the wing shape. Add short, curved lines for feather texture. Tip: Focus on the curve of the wing to show the bird is at rest.
Step 9: Final Facial Features

Draw a band on the beak and a circular eye with a shaded pupil. Tip: A small white dot left unshaded in the pupil makes the eye look bright and alive.
Step 10: Adding Color
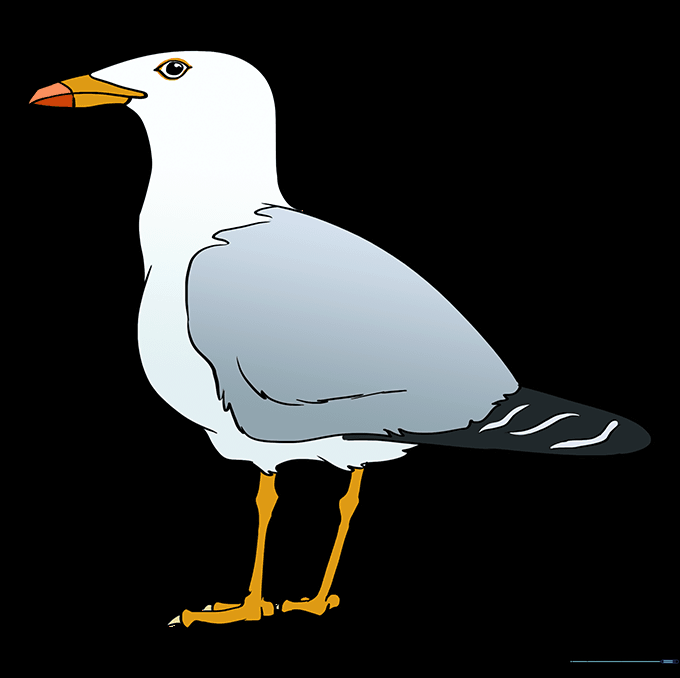
Bring your seagull to life with grey, white, and yellow. Tip: Use light grey for the wings and a bright yellow or orange for the beak to make it pop!
More Tutorials


