How to Draw a Sea Turtle: Simple 10-Step Guide for Kids
Bring the wonders of the ocean to your sketchbook with this simple sea turtle tutorial. Designed for young artists ages 5 and up, this lesson uses basic shapes to build confidence. Grab a pencil, an eraser, and some paper to start your underwater adventure today.
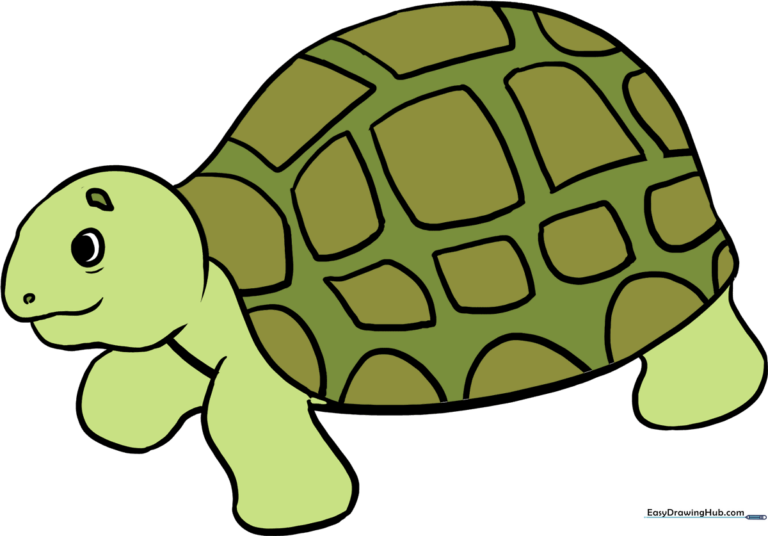
🎯 Final Result
Step-by-Step Instructions
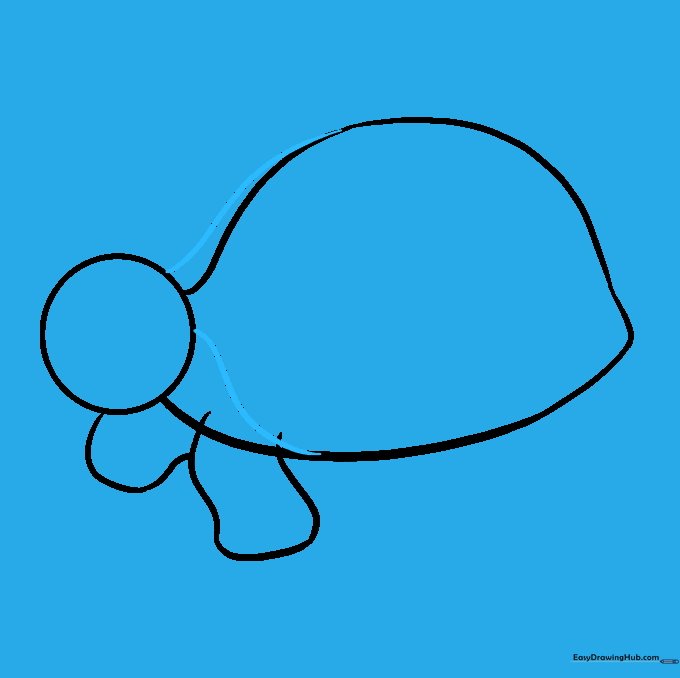
Step 1: Sketching the Head

Draw a simple circle to form the turtle's head. Teacher's Tip: Keep this circle small and near the top of your page to leave plenty of room for the shell and flippers.
Step 2: Outlining the Top Shell

Extend a long, smooth curved line from the back of the head to create the top arch of the shell. Tip: Imagine you are drawing a gentle hill.
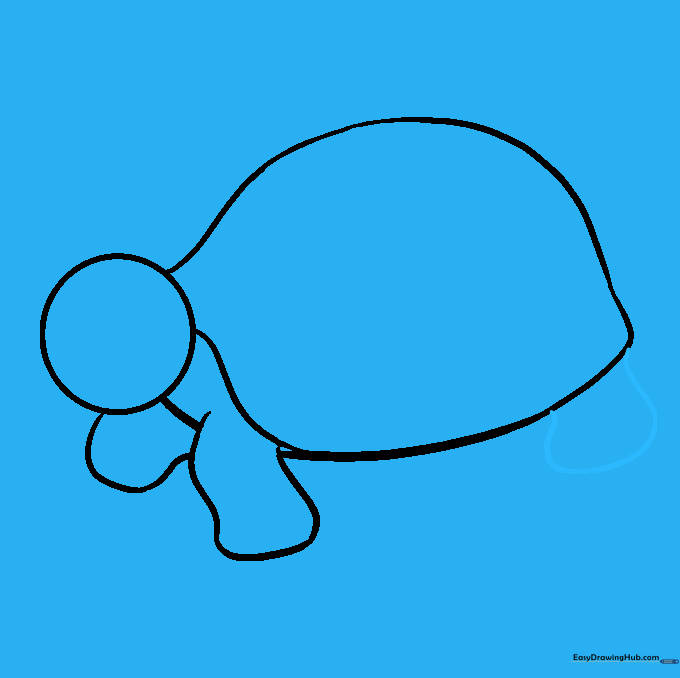
Step 3: Closing the Shell

Draw a second curved line from the head to the bottom of the shell, connecting it to the first line. This creates the classic oval shape of the turtle's body.
Step 4: Adding Front Flippers

Draw two irregular, paddle-like shapes extending from the sides of the shell. Tip: Make these look like rounded triangles to give them a natural swimming motion.
Step 5: Defining the Neck
Draw two lines connecting the head to the body to form the neck. This adds a sense of movement to your turtle. Tip: Keep the lines slightly curved to show the turtle is turning its head.
Step 6: Cleaning Up

Carefully erase any overlapping lines inside the shell and flippers. This makes your drawing look professional and clean. Tip: Use a soft eraser to avoid tearing the paper.
Step 7: Adding Rear Flippers
Draw smaller, rounded flippers at the back of the shell. These help the turtle steer through the water.
Step 8: Facial Features

Draw the mouth and nose using simple curved lines. A small, gentle curve makes the turtle look friendly. Tip: Keep the mouth line short so it doesn't look too wide.
Step 9: Final Details
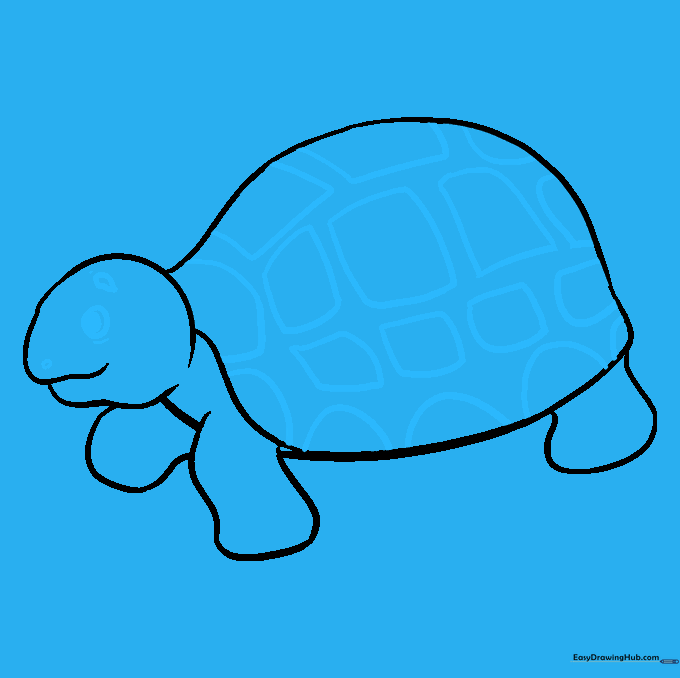
Add the eye, nostril, and the pattern on the shell. Draw a circle for the eye with a smaller shaded circle inside. Add irregular shapes on the shell to represent the scutes (the plates on the shell).
Step 10: Bring It to Life with Color
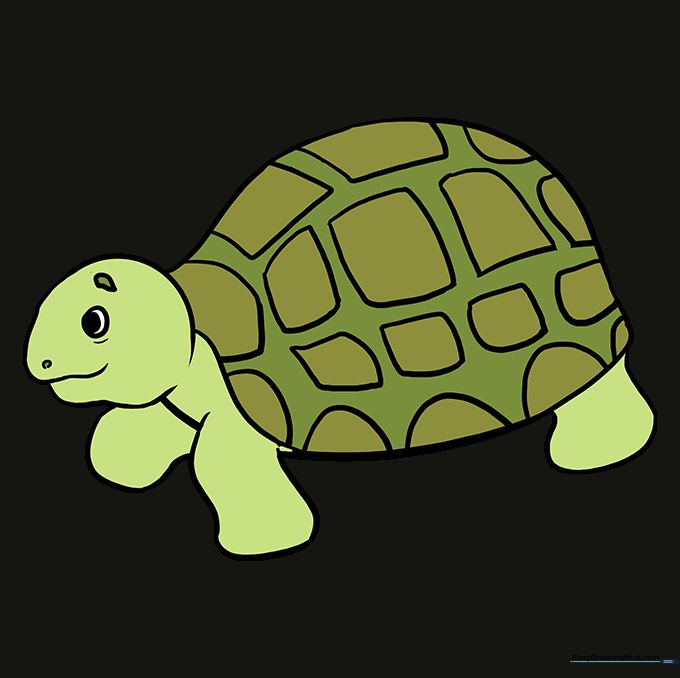
Use shades of olive green, brown, and tan to color your turtle. Try using a darker green for the shell patterns to make them stand out!
More Tutorials


