How to Draw a Sea Lion: Easy 9-Step Guide for Kids
Ready to bring a playful sea lion to life? This tutorial is perfect for young artists ages 5 and up. All you need is a pencil, an eraser, and a piece of paper to practice these simple shapes and lines.
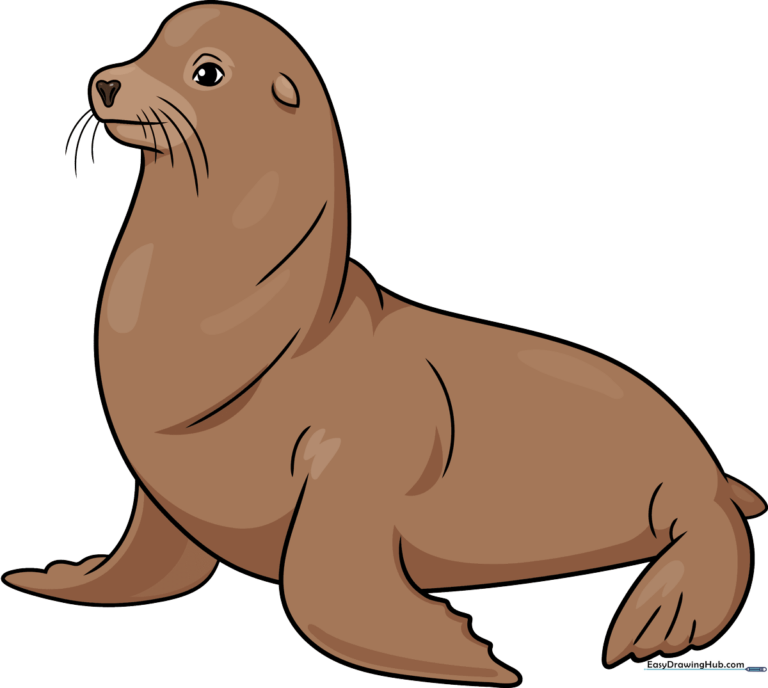
🎯 Final Result
Step-by-Step Instructions
Step 1: Sketching the Eye

Start by drawing the sea lion's eye. Use two curved lines that almost meet at the corners. Shade a small circle inside for the pupil and add a soft arch above for the eyelid. Teacher's Tip: Keep the eye small to make the sea lion look extra cute!
Step 2: Shaping the Head and Snout
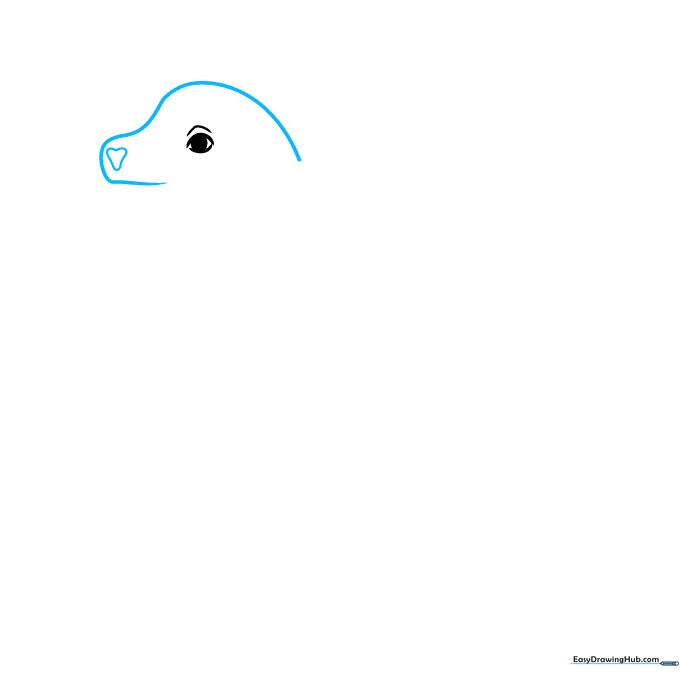
Use a smooth, curved line to draw the top of the head and the snout. Add a small heart shape at the very tip for the nose. Teacher's Tip: If the heart shape is tricky, a small triangle works just as well!
Step 3: Adding Jaw and Ear Details

Shade two teardrop shapes inside the nose for nostrils. Add a curved line for the lower jaw, then extend a long line down for the chest. Draw a small, pointed ear near the eye. Teacher's Tip: Use short, light strokes to keep the jaw looking soft.
Step 4: Drawing the Back and Flipper
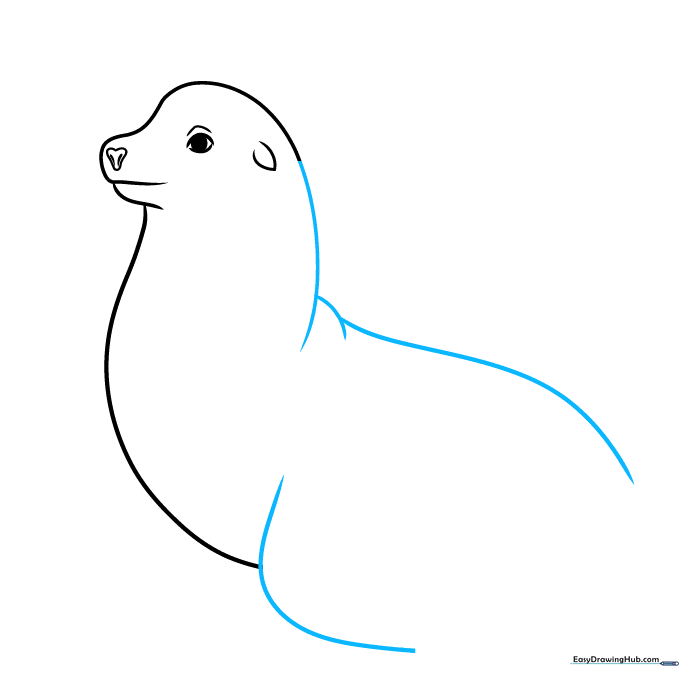
Continue the head line, using overlapping strokes to create the back. Start the first front flipper with a long, sweeping line. Teacher's Tip: Imagine the flipper is like a gentle wave to get that natural curve.
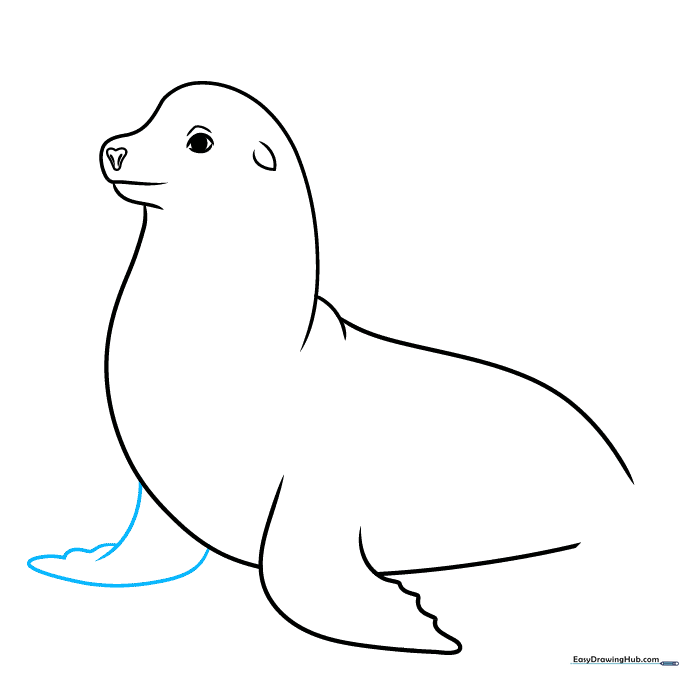
Step 5: Defining the Belly
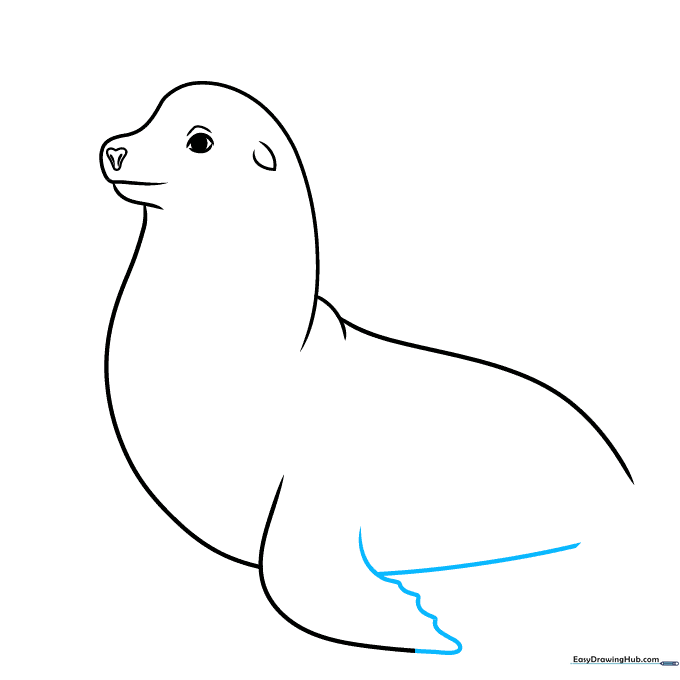
Give the flipper a scalloped edge to show movement. Extend a long, smooth line from the flipper to form the belly. Teacher's Tip: Keep this line fluid—sea lions are very graceful swimmers!
Step 6: Adding the Second Flipper
Draw the second front flipper by extending a curved line from the chest. Double it back to meet the first line, creating a scalloped finish. Teacher's Tip: This adds depth to your drawing, making the sea lion look 3D.
Step 7: Drawing Rear Flippers
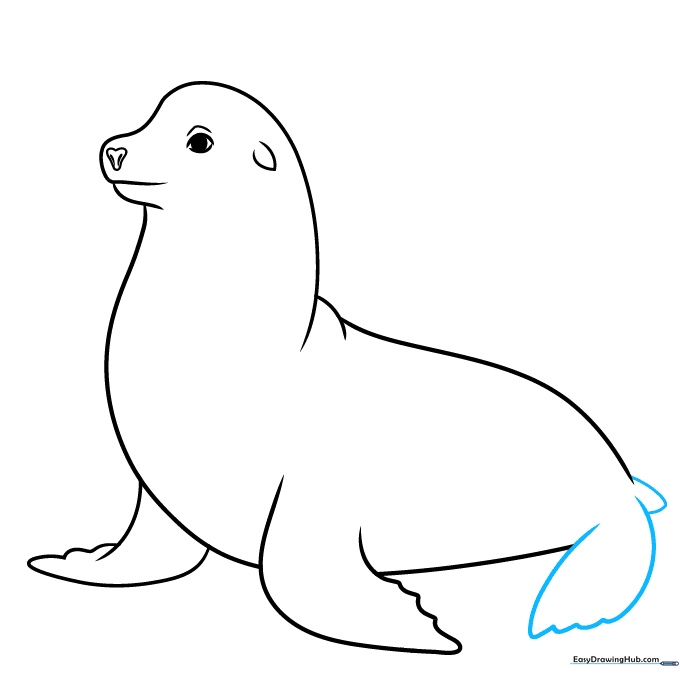
Use a series of curved lines to sketch the rear flippers. Add a scalloped edge to the tips to match the front flippers. Teacher's Tip: These act as the sea lion's 'feet' for steering in the water.
Step 8: Neck and Whiskers
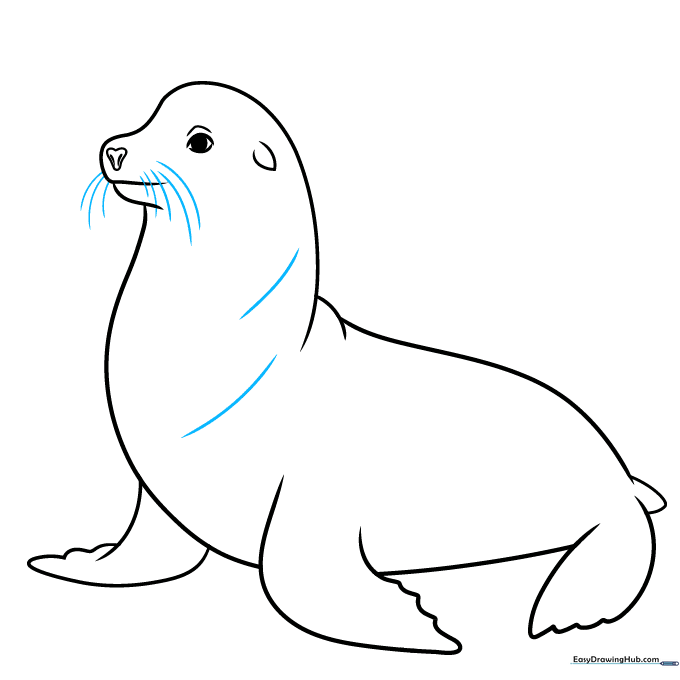
Contour the neck with long, smooth curves. Add whiskers on both sides of the snout using lines of varying lengths. Teacher's Tip: Whiskers are sensitive, so draw them with quick, light flicks of your pencil.
Step 9: Final Touches
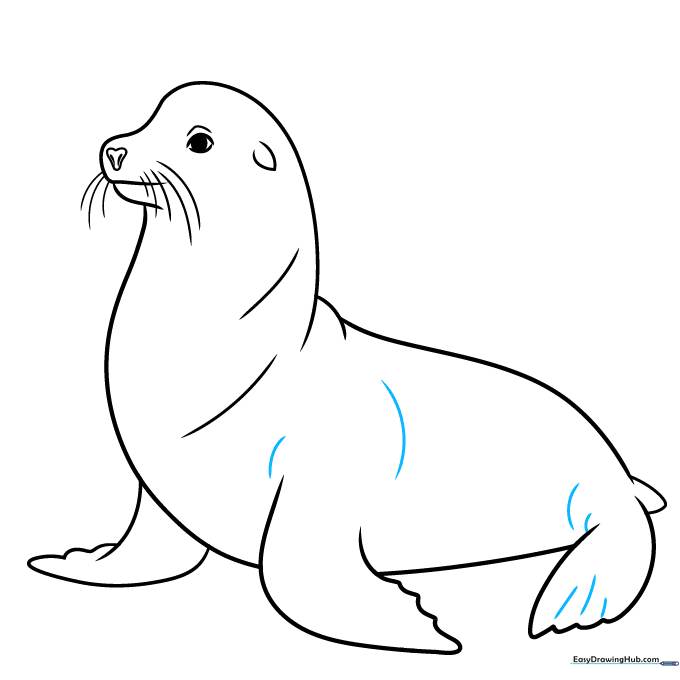
Refine the shoulders and hips with gentle curves. Add a bit of texture to the rear flipper tips. Teacher's Tip: Now is the time to erase any extra guidelines so your drawing looks clean and professional.
Step 10: Color Your Masterpiece
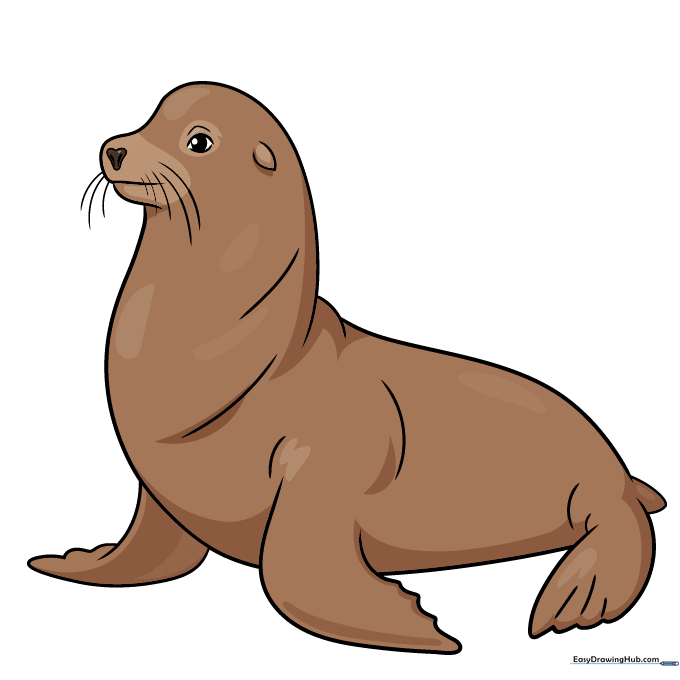
Your outline is complete! Use shades of light and dark brown to color your sea lion. Teacher's Tip: Try using a lighter brown for the belly and a darker brown for the back to give it a realistic, shaded look.
More Tutorials


