How to Draw a Sea Anemone: Easy 9-Step Art Guide
Bring the wonders of the ocean to your sketchbook with this fun sea anemone drawing guide. Designed for artists ages 5 and up, this activity requires only a pencil, eraser, and paper to create a vibrant underwater scene. Follow along to master the art of drawing organic, flowing shapes.
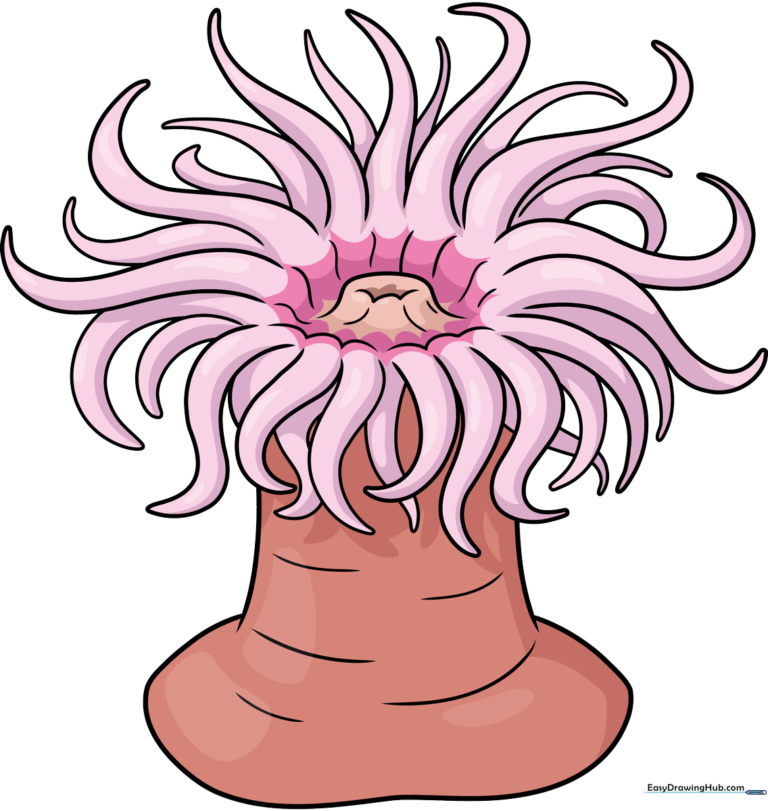
🎯 Final Result
Step-by-Step Instructions
Step 1: Sketching the Oral Disk
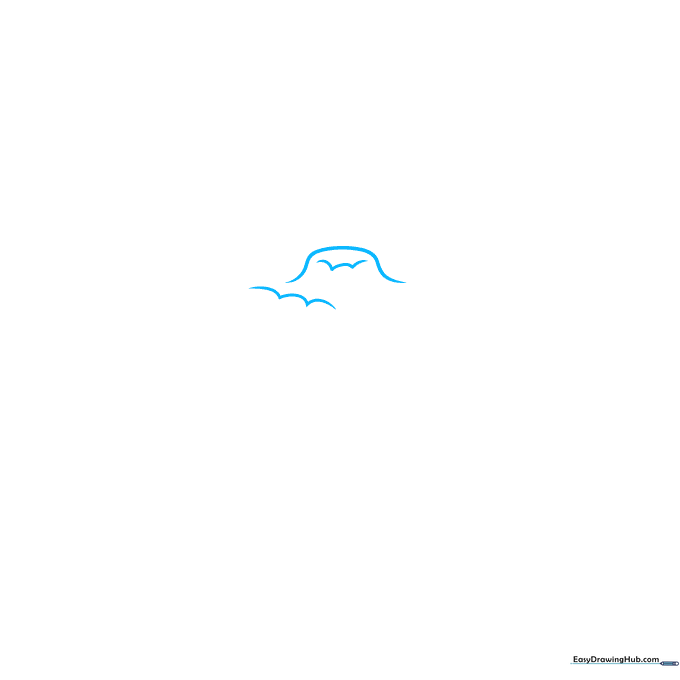
Start by drawing a soft, curved line to represent the top of the anemone. Add a series of three connected, wavy lines inside and beside it to form the mouth area. Teacher's Tip: Keep these lines loose and fluid—anemones are soft, not rigid!
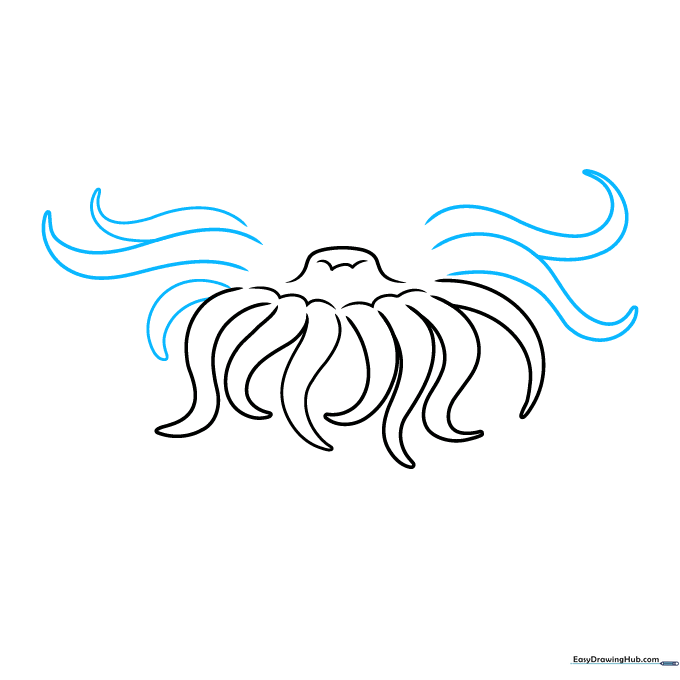
Step 2: Starting the Tentacles
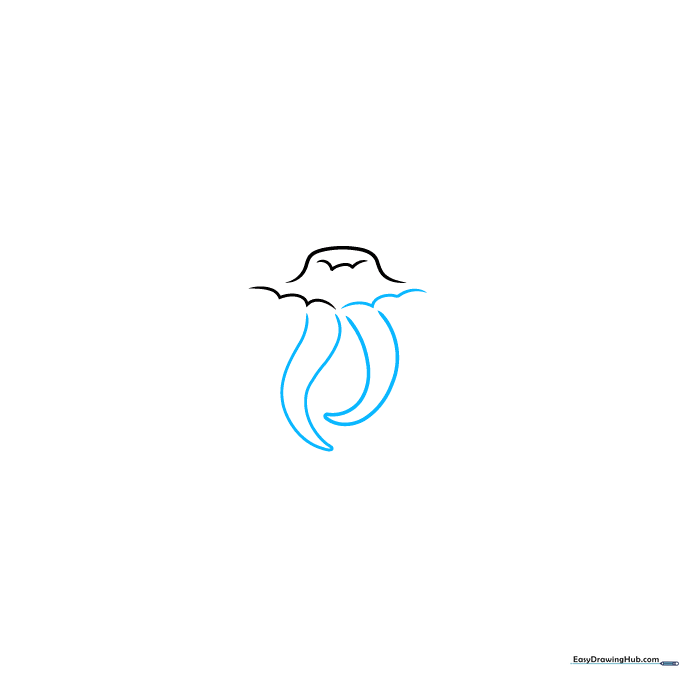
Draw another set of three connected curves at the base of the mouth. Extend pairs of curved lines downward, letting each set meet at a gentle point. Tip: Think of these as soft, rounded triangles.
Step 3: Building Tentacle Volume
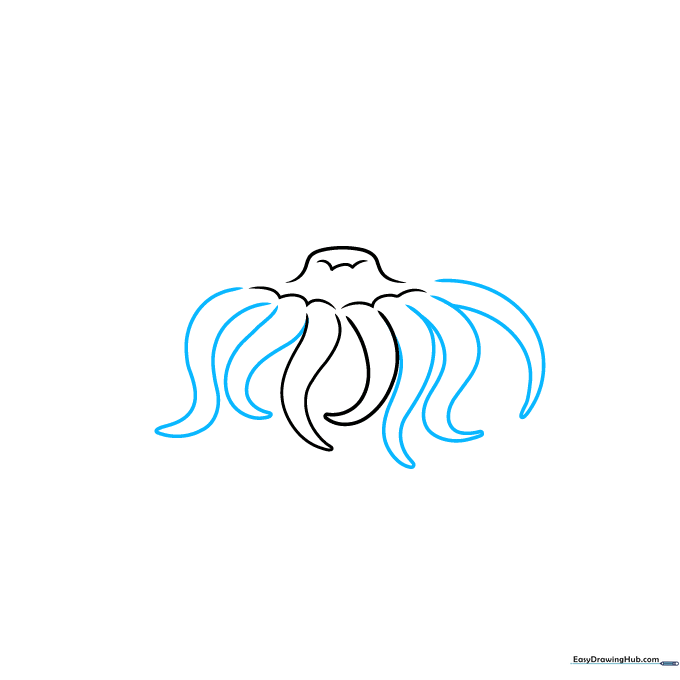
Continue adding more tentacles by drawing pairs of curved lines that meet at a point. Tip: Don't worry about making them perfect; anemones are naturally irregular and messy.
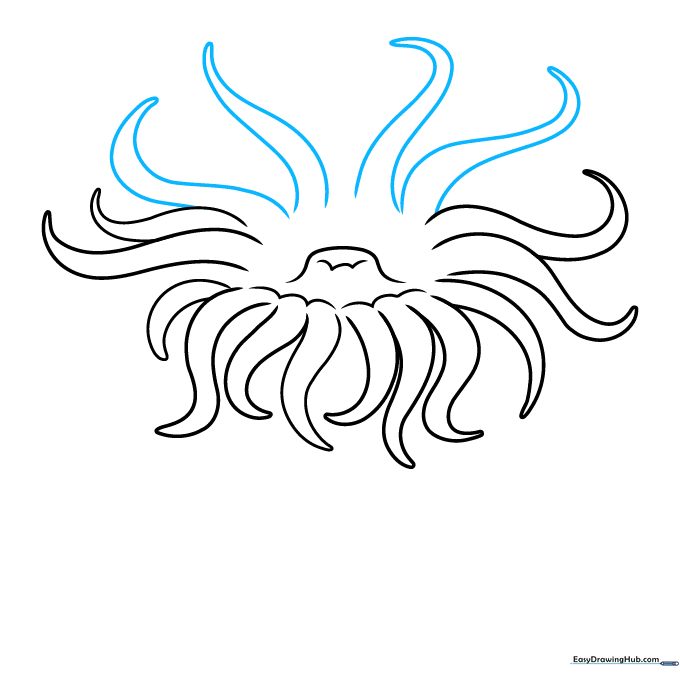
Step 4: Filling the Sides
Add more tentacles along the sides of your anemone. Use the same technique of curved lines meeting at a point. Tip: Try to vary the length of these tentacles to create a sense of depth.
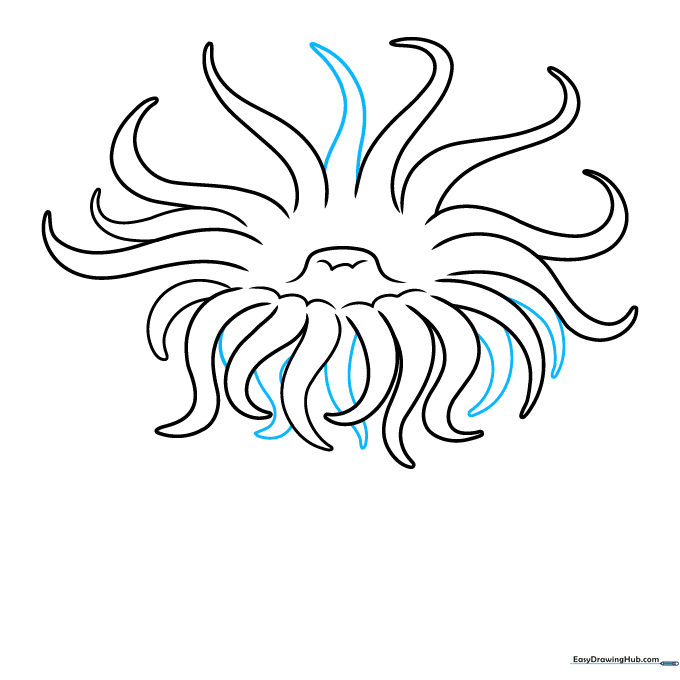
Step 5: Adding Top Details
Draw a few more tentacles around the top edge. Tip: Overlap some of these lines slightly to make the anemone look dense and full.
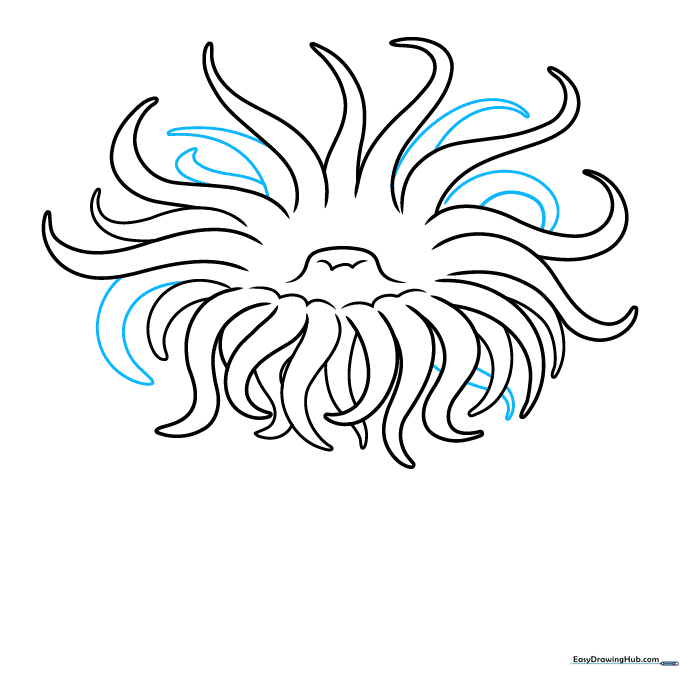
Step 6: Layering Tentacles
Fill in the gaps between existing tentacles with more shapes. Tip: Notice how some tentacles appear behind others; this 'layering' is key to making your drawing look 3D.
Step 7: Filling the Gaps
Continue adding tentacles in any empty spaces. Tip: Keep your pencil pressure light so you can erase any overlapping lines later if you want a cleaner look.
Step 8: Drawing the Column

Draw the main body, or column, by extending two curved lines down from the tentacles. Connect them at the bottom with a long, rounded line to form the pedal disk. Tip: This base acts like a suction cup to keep the anemone attached to rocks.
Step 9: Adding Texture
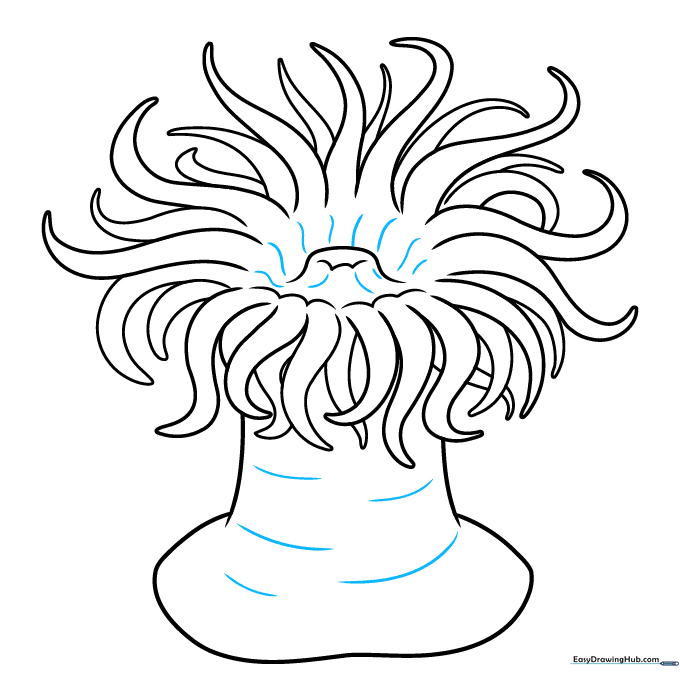
Add final details by drawing short, light curved lines along the column and near the mouth to suggest texture. Tip: Less is more here—just a few lines will give it that organic, squishy feel.
Step 10: Adding Color
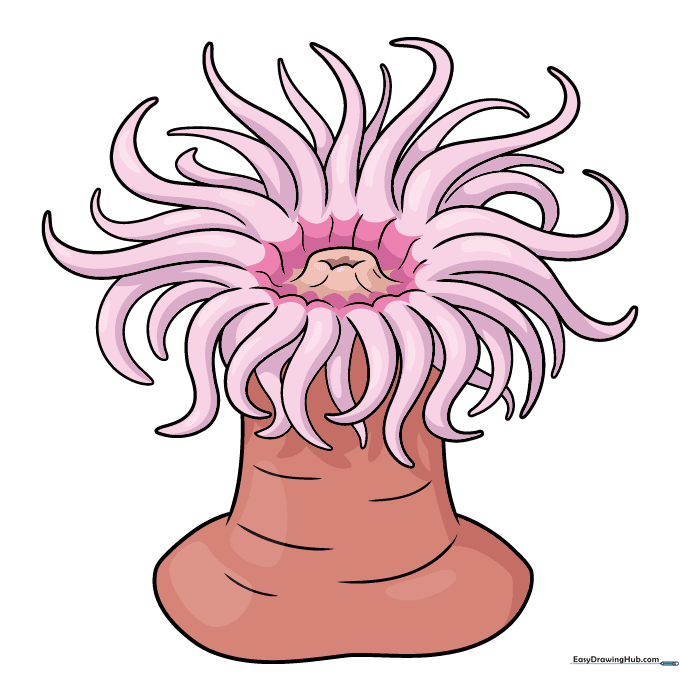
Your outline is complete! Now, bring your anemone to life with color. We chose vibrant pinks, but feel free to use blues, greens, or oranges to match your favorite ocean species.
More Tutorials


