How to Draw a Scroll: Easy 10-Step Guide for Kids
Bring a touch of history to your sketchbook with this fun, beginner-friendly scroll tutorial. Designed for ages 5 and up, this activity requires only a pencil, paper, and an eraser. Follow along to master the art of drawing rolled parchment and elegant ribbons.
🎯 Final Result

Step-by-Step Instructions
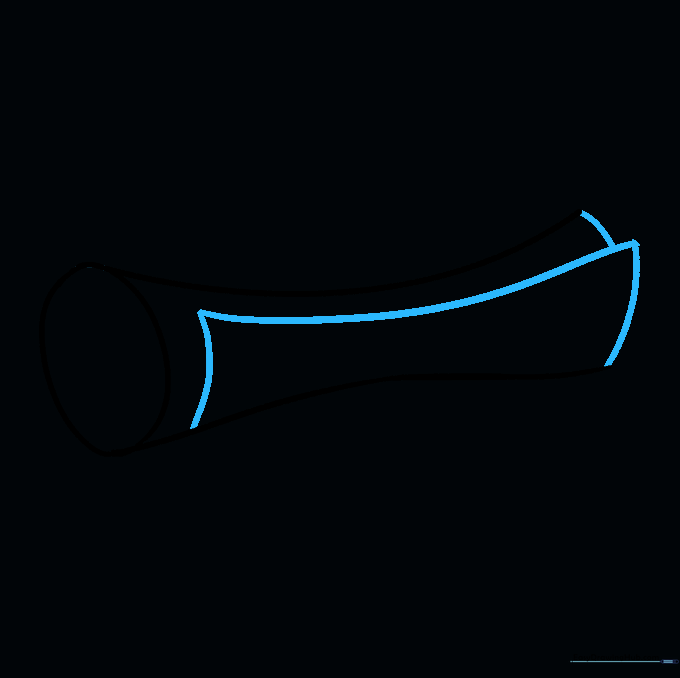
Step 1: Sketching the Base Curves

Draw two gentle, parallel curved lines. Keep them closer together in the center and wider at the ends. Teacher's Tip: Think of these as the 'spine' of your scroll; keep your pencil pressure light!
Step 2: Closing the Ends

Use a small oval to connect the ends of your curved lines. This creates the illusion of the paper rolling inward. Tip: Imagine you are drawing the side view of a soda can.
Step 3: Defining the Roll
Draw a small curved rectangle inside the scroll body to represent the paper edge. Close the shape with a short, curved line. Tip: Keep this line crisp to make the paper look thick.
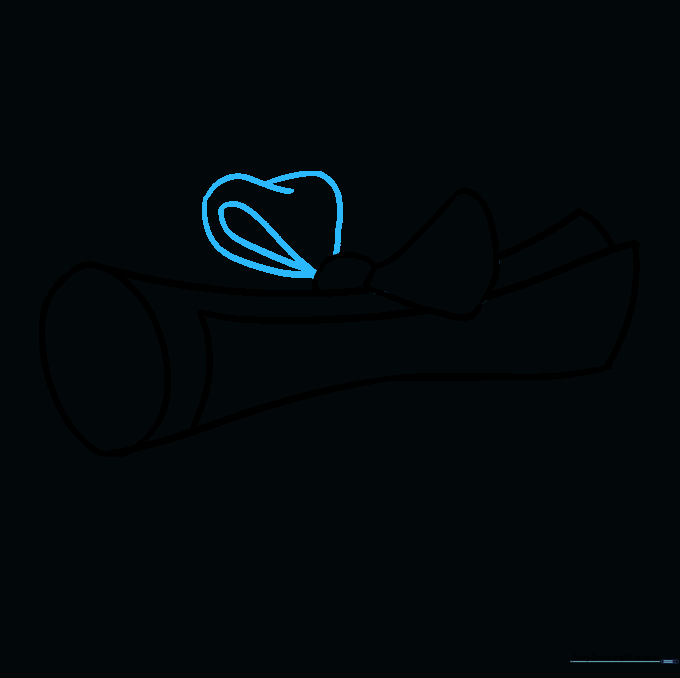
Step 4: Sketching the Bow Knot

Draw an irregular, rounded shape on top of the scroll for the bow's knot. Add a rounded triangle extending from it. Tip: Don't worry about perfection; ribbons are naturally flowy and organic.
Step 5: Cleaning Up

Gently erase any overlapping guide lines inside the bow area. Tip: Use a soft eraser to avoid smudging your paper.
Step 6: Adding the Ribbon Loop
On the other side of the knot, draw a teardrop shape for the second bow loop. Enclose it with a flowing ribbon shape. Tip: Make this loop slightly different from the first to give it a natural look.
Step 7: Drawing the Ribbon Tails

Extend two pairs of curved lines from the knot, letting them widen as they go down. Connect the ends with a 'V' shape. Tip: These tails should look like they are hanging loosely.
Step 8: Final Cleanup

Erase any remaining guide lines from the ribbons to make them pop. Tip: Check your work against the reference image to ensure all lines are connected.
Step 9: Adding Texture and Detail
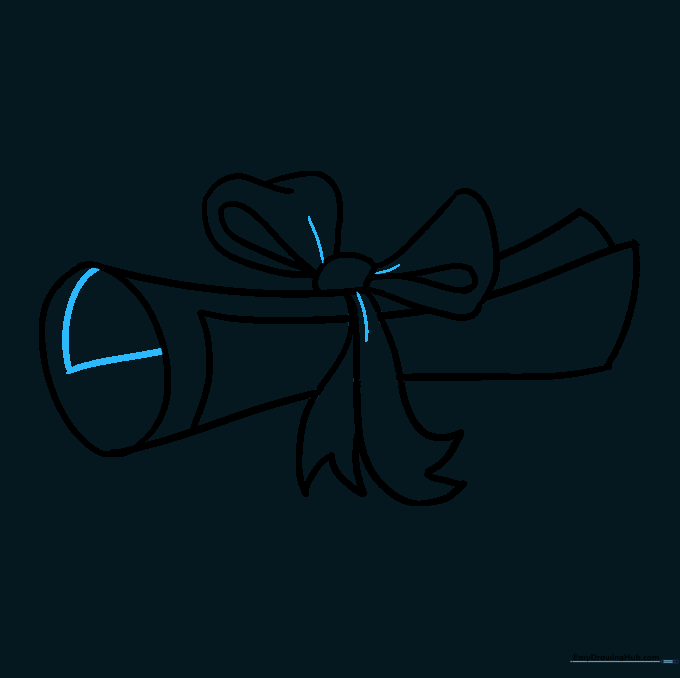
Add a small curved triangle inside the scroll end to show the paper roll. Add tiny lines near the knot for texture. Tip: These small details add a professional touch to your drawing.
Step 10: Bringing it to Life with Color

Color your scroll! Use warm yellows or tans for the parchment and a bold color for the ribbon. Tip: Use light shading on the edges of the scroll to make it look 3D.
More Tutorials


