How to Draw a Screwdriver: Easy 10-Step Guide for Kids
Ready to build your drawing skills? This tutorial is perfect for young makers and beginners who want to draw a classic flat-head screwdriver. All you need is a pencil, an eraser, and a piece of paper to get started on this fun, technical drawing exercise.
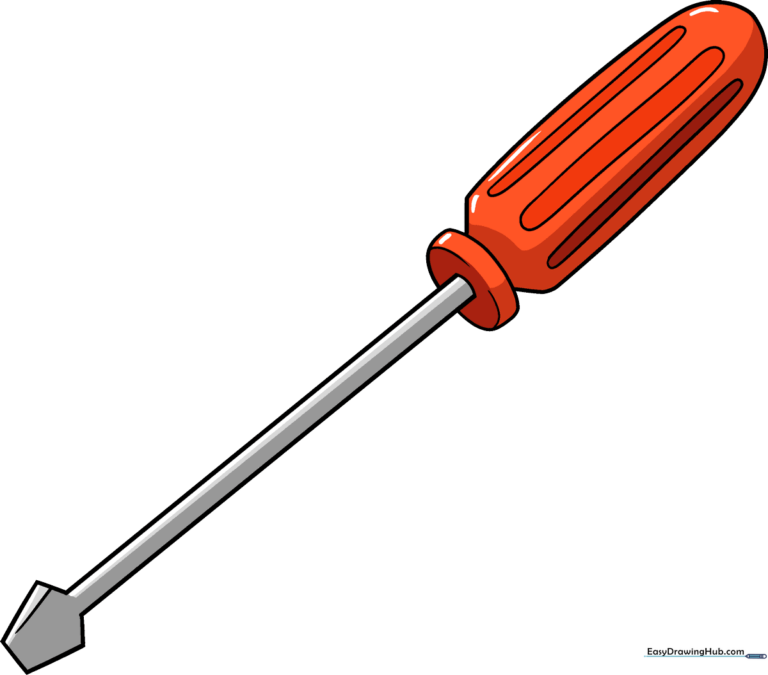
🎯 Final Result
Step-by-Step Instructions
Step 1: Sketching the Blade Tip

Draw a partial pentagon shape to form the tip of the screwdriver. Tip: Leave one corner open—this is where the metal shaft will attach. Keep your lines sharp and angular.
Step 2: Defining the Metal Shank

Extend a long, straight line from the blade to start the shank. Add a small connecting line to the head. Tip: Use a ruler if you struggle with perfectly straight lines, but try freehand first to build muscle memory!
Step 3: Completing the Shaft

Draw a second line parallel to the first one. Connect them at the base to create a solid, rectangular shaft. Tip: Ensure the distance between the two lines is consistent for a professional look.
Step 4: Adding Depth to the Base
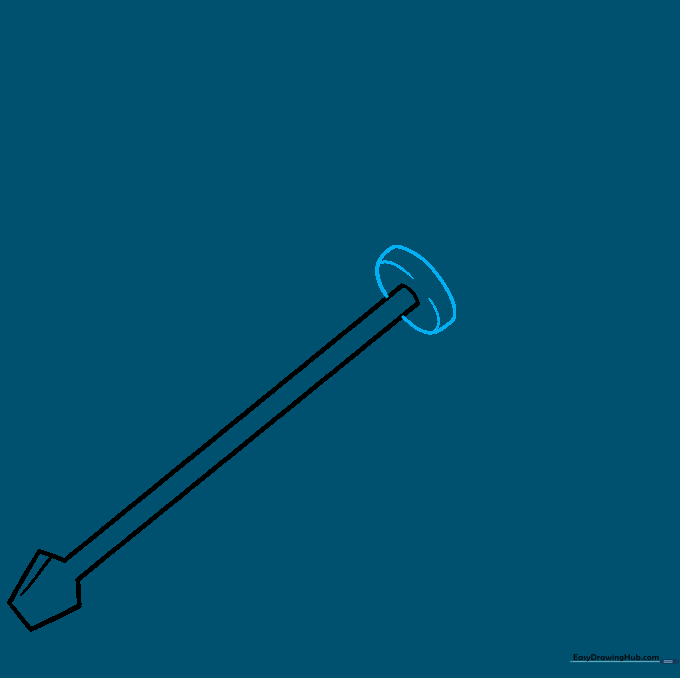
Draw an oval at the base of the shaft, then add curved lines inside it. Tip: This creates a 'cylindrical' effect, making the flat drawing look 3D.
Step 5: Starting the Handle

Sketch the start of the handle using one short straight line and one long curved line. Tip: Imagine the handle is a comfortable grip for your hand.
Step 6: Shaping the Handle
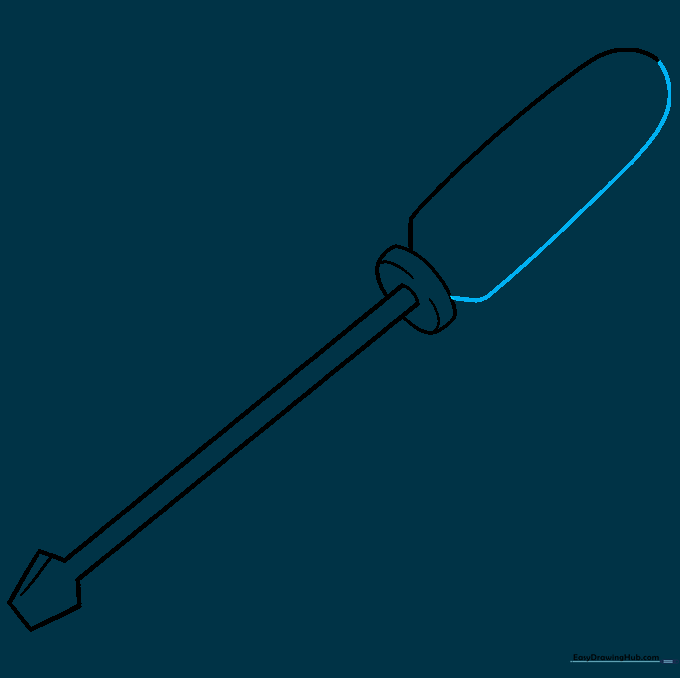
Use a long, sweeping curved line to finish the outline of the handle. Tip: Keep your wrist loose to get a smooth, natural curve.
Step 7: Adding Grip Texture
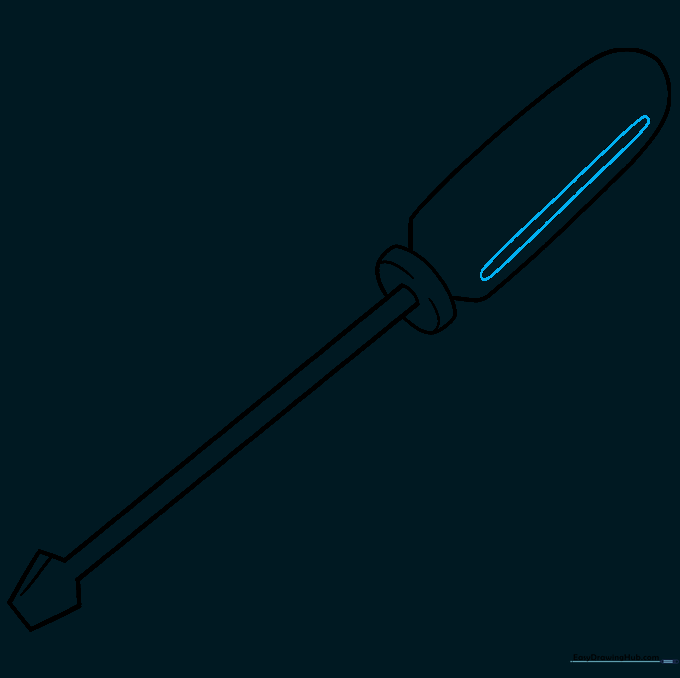
Draw parallel lines along one side of the handle and connect them with small curves. Tip: This creates the 'ribbed' texture found on real tool handles for better grip.
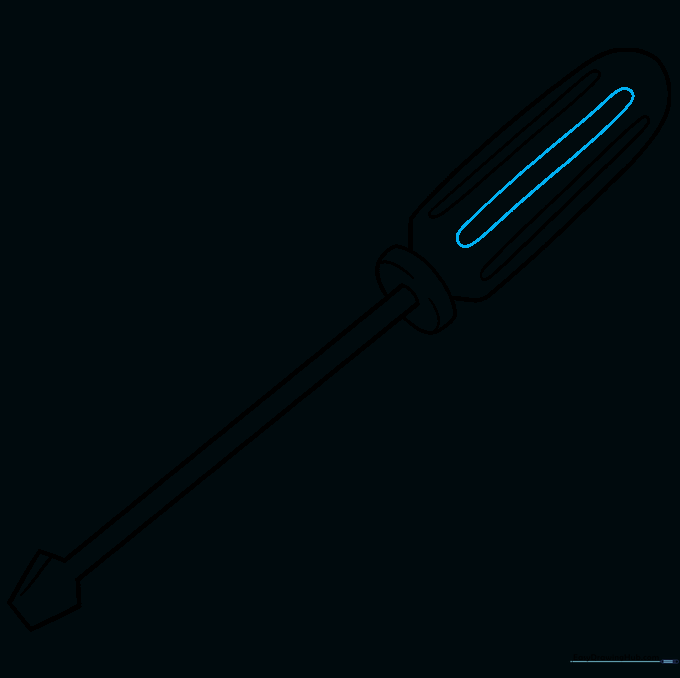
Step 8: Balancing the Texture
Repeat the process on the opposite side of the handle. Tip: Try to keep the spacing between your lines even to maintain symmetry.
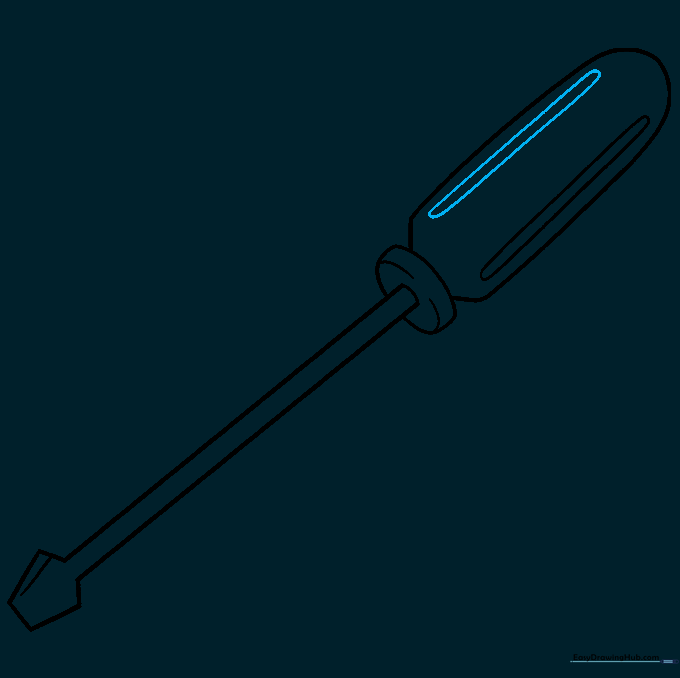
Step 9: Final Handle Details
Add a set of parallel lines down the center of the handle, connecting them with curves. Tip: This final detail makes the handle look rounded and realistic.
Step 10: Bring It to Life with Color
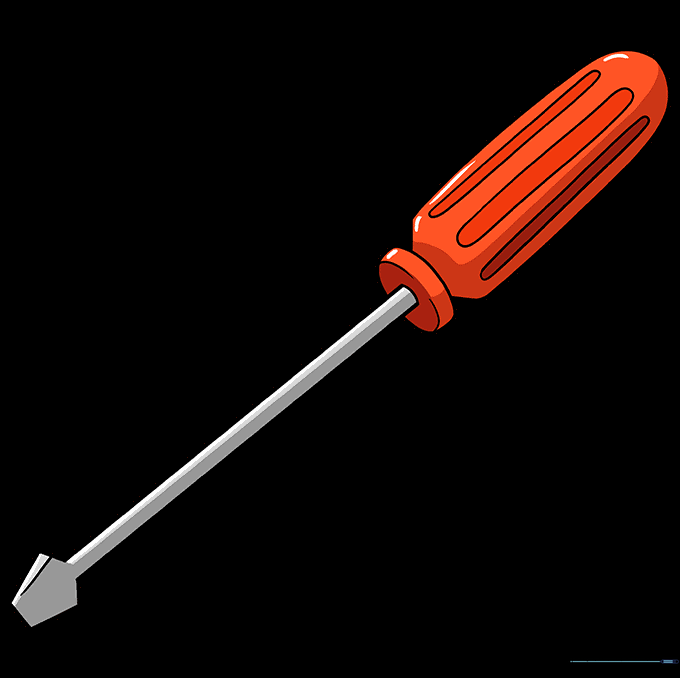
Time to color! Use a bright red for the handle to make it pop, and use light grey or silver for the metal parts. Tip: Add a tiny white streak on the metal to represent a 'shine' or reflection.
More Tutorials


