How to Draw a Scorpion: Easy 10-Step Guide for Kids
Ready to draw a desert predator? This tutorial is perfect for young artists ages 8+ looking to master insect anatomy. Grab your pencil, eraser, and paper to follow along as we break down this complex creature into simple, manageable shapes.
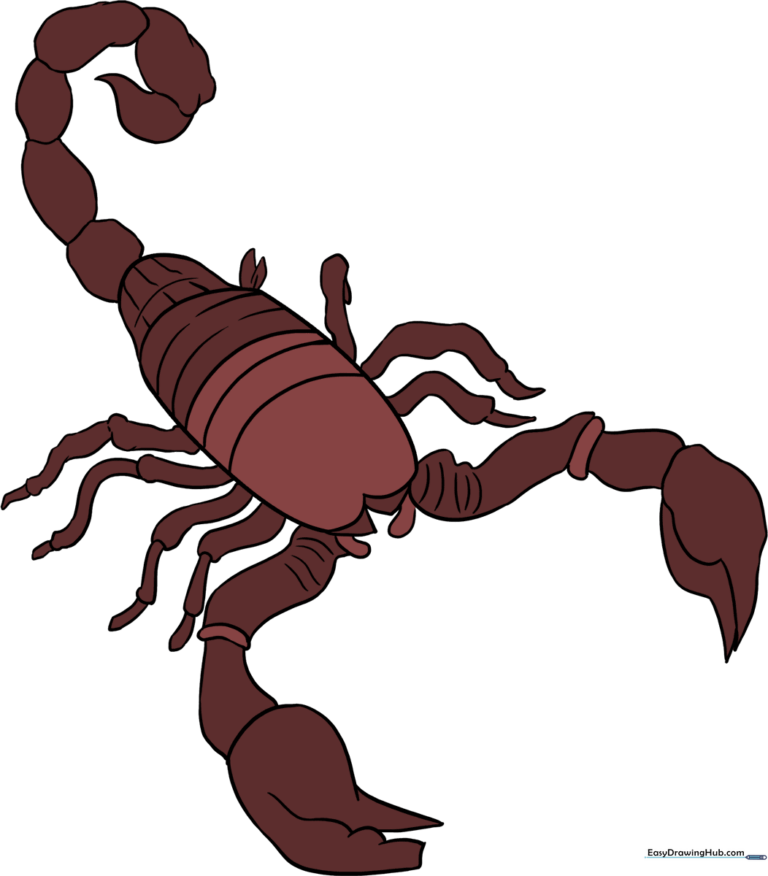
🎯 Final Result
Step-by-Step Instructions
Sketching the Main Body

Start by drawing a long, horizontal oval to act as the scorpion's main body. Teacher's Tip: Keep your pencil pressure light; this is just a guide that we will refine later.
Adding Body Segments

Divide the oval into sections using curved lines. Add a pointed curve at the front and back to define the head and tail base. Tip: Think of these as the armor plates of the scorpion.
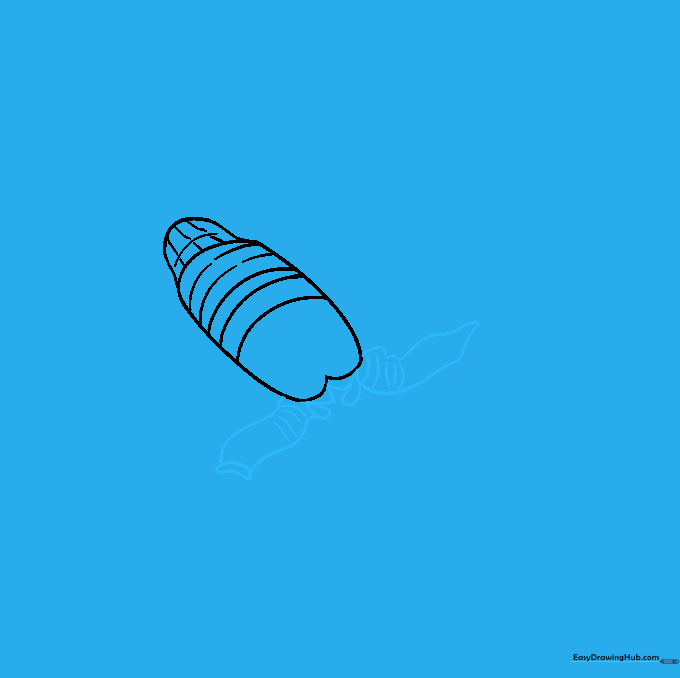
Refining the Body Shape

Erase the unnecessary parts of your original oval to create a more natural, segmented body shape. Tip: Use a soft eraser to avoid smudging your paper.
Adding Abdominal Detail
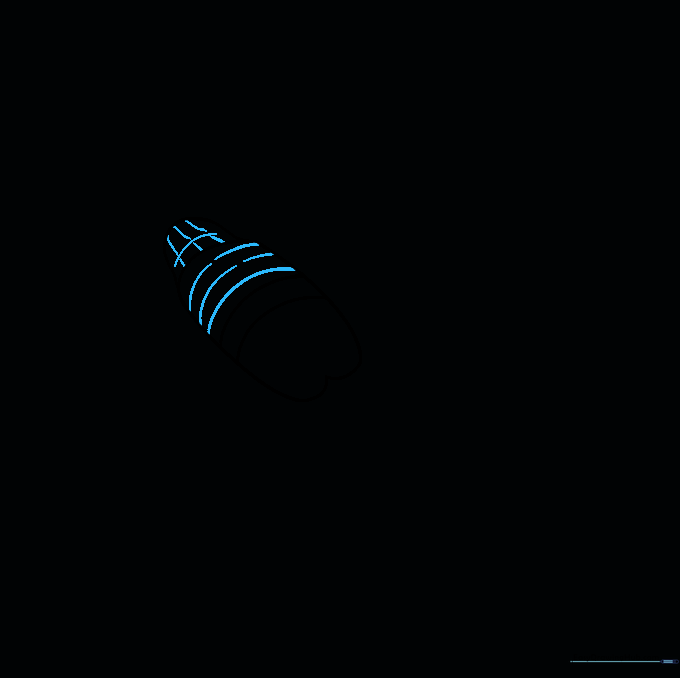
Add more curved lines across the abdomen to show the texture of the shell. Use small perpendicular lines to create a ribbed effect. Tip: Keep your lines consistent in spacing for a realistic look.
Drawing the Pedipalps (Arms)
Draw the mouth area with a 'W' shape and add small triangles. Extend curved lines outward to form the base of the arms. Tip: Ensure the arms look symmetrical on both sides.
Adding the Claws
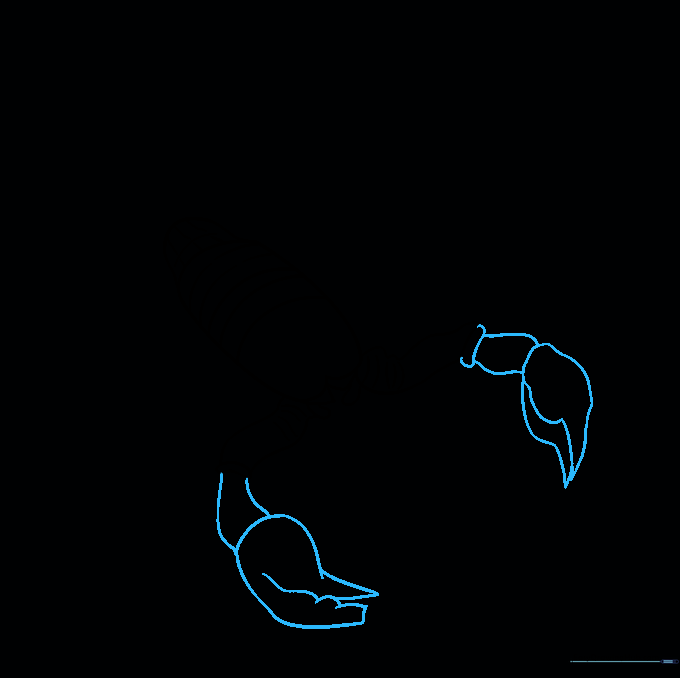
Draw the second section of the arms and the pincers. Add a rounded bulge at the base of the claw for a realistic touch. Tip: Make the pincers look jagged to show they are ready for action!
Sketching the Legs
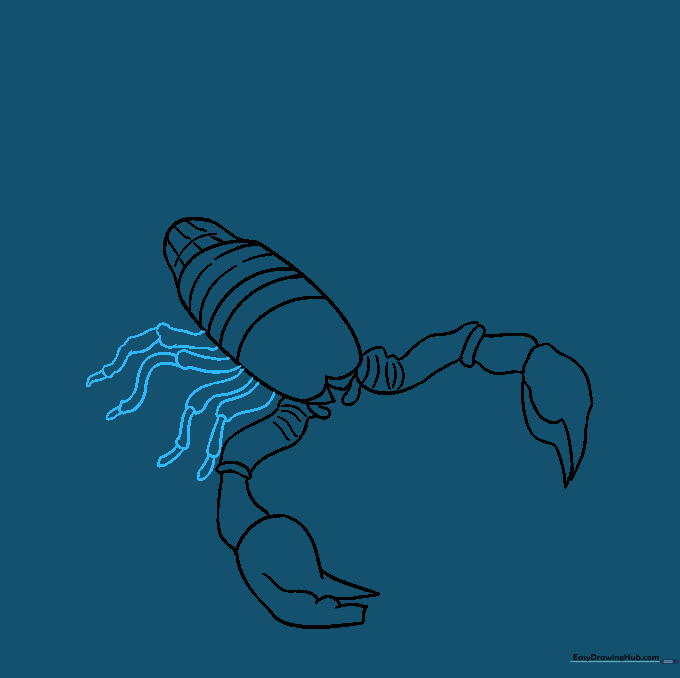
Scorpions have eight legs! Draw four on each side, using three sections per leg that get thinner toward the tip. Tip: Keep the legs close to the body so they don't look like they are floating.
Completing the Leg Details
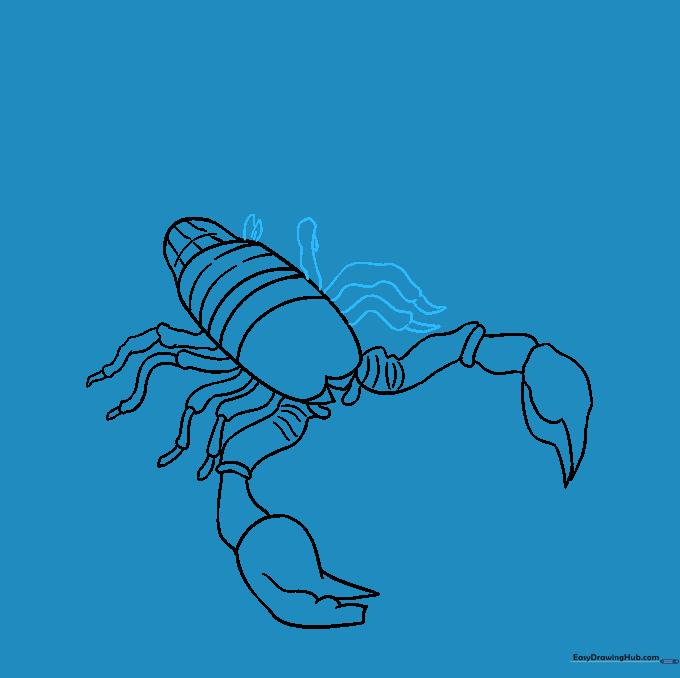
Add the legs on the opposite side. Remember to curve the back legs away from the viewer to create depth. Tip: Vary the angles of the legs to make the scorpion look like it's walking.
Drawing the Stinger Tail

Sketch the tail using several rounded, stacked shapes. End with a sharp, curved stinger. Tip: Make the tail segments slightly smaller as they get closer to the stinger.
Adding Color
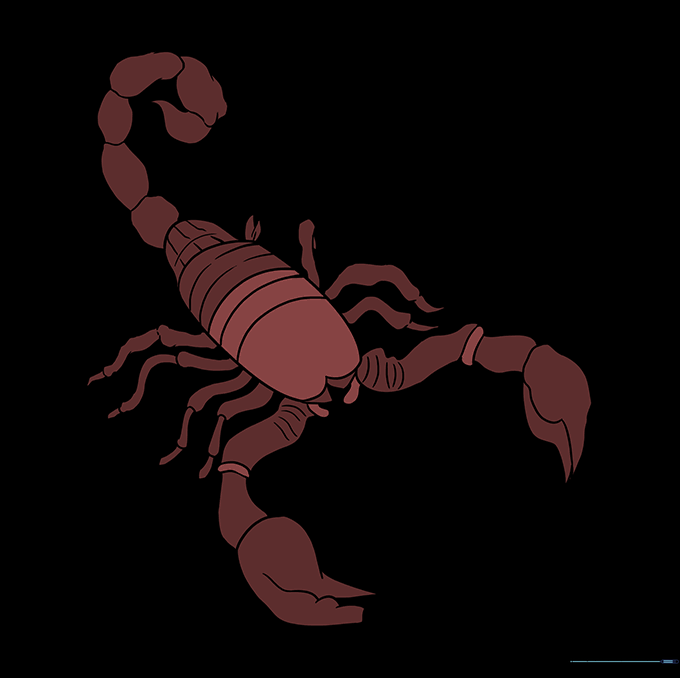
Bring your scorpion to life with color! Use earthy tones like brown, tan, or black. Fun Fact: Did you know scorpions glow blue under a black light? Try adding a blue highlight for a cool effect!
More Tutorials


