How to Draw a Schoolgirl: Easy 10-Step Guide for Kids
Ready to bring a character to life? This tutorial is perfect for young artists ages 5 and up. All you need is a pencil, an eraser, and a piece of paper to start building your drawing skills today.
🎯 Final Result

Step-by-Step Instructions
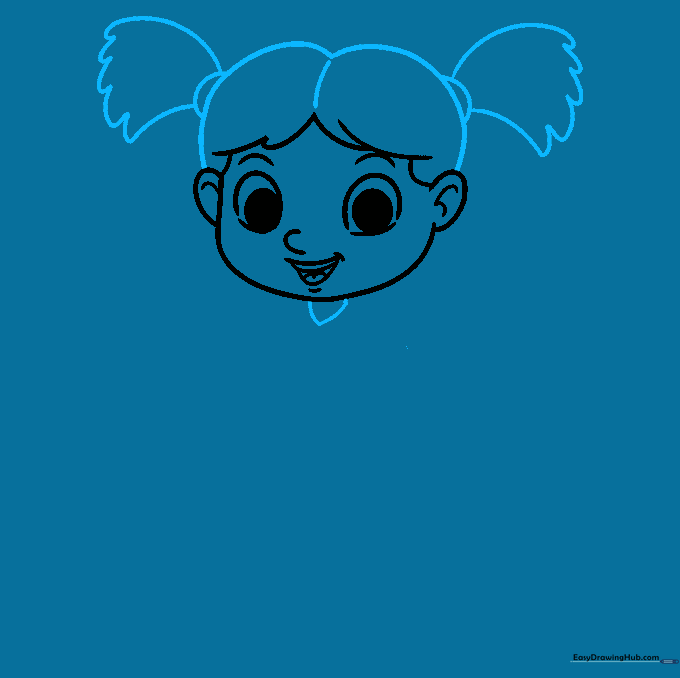
Step 1: Sketching the Happy Face

Start by drawing the facial features. Use light, curved lines for the eyebrows, nose, and a cheerful mouth. For the eyes, draw two rounded shapes with pointed corners, then shade in a dark circle for each pupil. Teacher's Tip: Keep your pencil pressure light so you can easily adjust the expression if needed.
Step 2: Defining the Face and Ears

Outline the face using a long, smooth curved line for the chin. Add 'C' shaped lines on the sides for the ears. Use short, delicate strokes to add detail to the chin and ears. Teacher's Tip: Try to make the chin line symmetrical for a balanced look.
Step 3: Adding Hair and Pigtails
Draw the top of the hair with a soft curve and a part in the center. Add two circles on the sides for hair ties, then draw the pigtails flowing downward. Finish with a small 'V' shape at the neck for the shirt collar. Teacher's Tip: Use long, sweeping strokes for the hair to make it look smooth.
Step 4: Sketching the Book
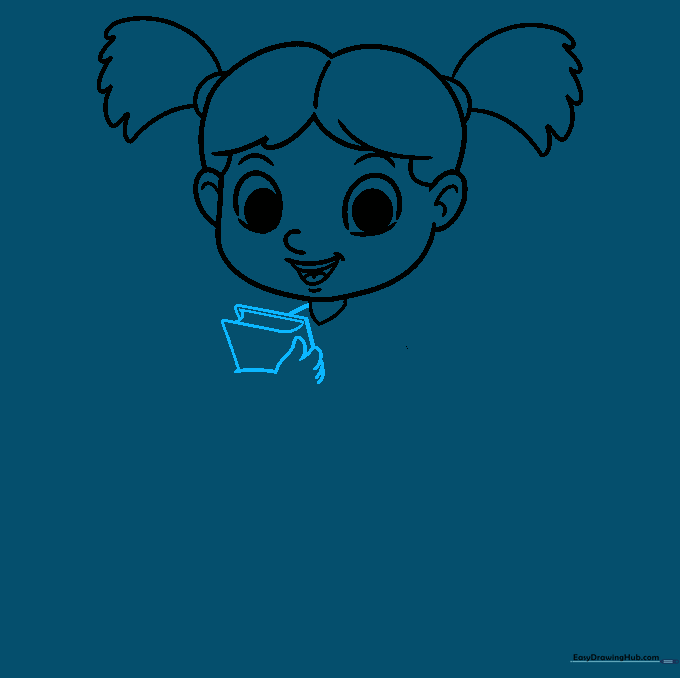
Draw the arm holding a book. Use straight lines for the book's edges and curved lines to represent the pages inside. Teacher's Tip: Keep the book lines parallel to ensure it looks like a flat, rectangular object.
Step 5: Completing the Arms
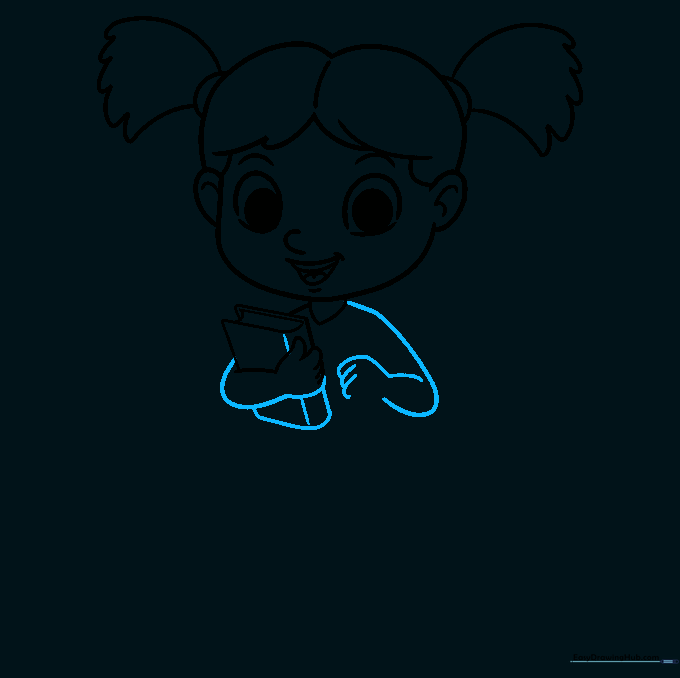
Finish the arm by drawing the shoulder and the other arm hanging at her side. Use smooth, curved lines to connect the sleeve to the hand. Teacher's Tip: Ensure the arms look proportional to the head size.
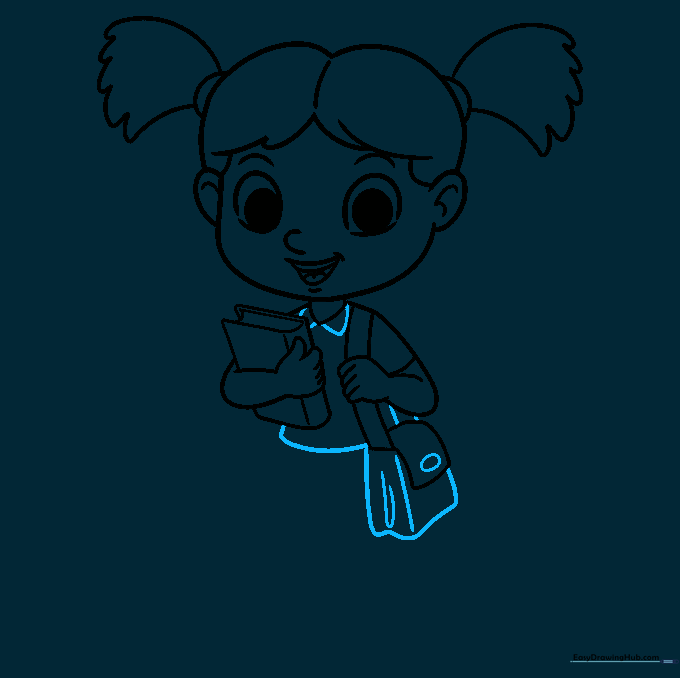
Step 6: Adding the Messenger Bag
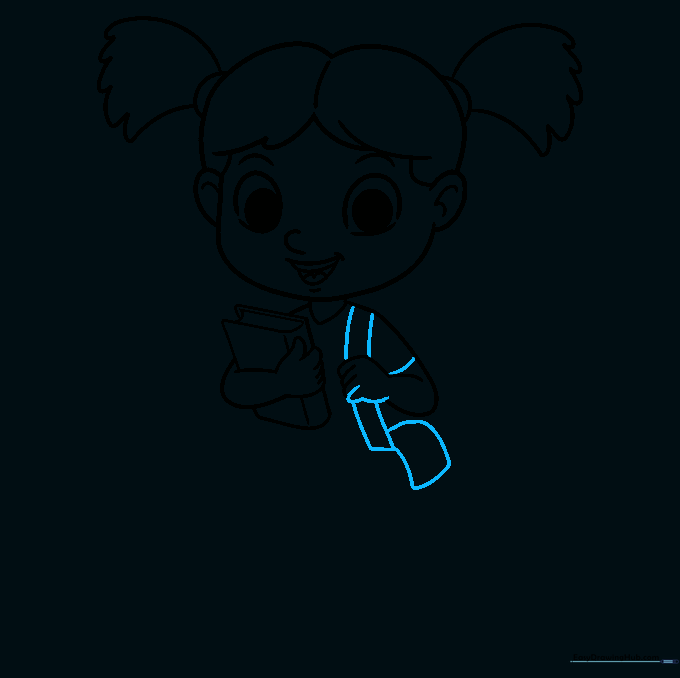
Draw a messenger bag strap across her chest and the bag flap using a rounded rectangle. This adds a fun, realistic detail to her school outfit. Teacher's Tip: Draw the strap as two parallel lines for a clean, professional look.
Step 7: Detailing the Bag and Shirt
Add a small oval to the bag for a clasp and use curved lines to show the folds in the fabric. Finish the shirt collar and the bottom hem of the shirt. Teacher's Tip: Folds in fabric are just simple curved lines—don't overthink them!
Step 8: Drawing the Skirt and Legs
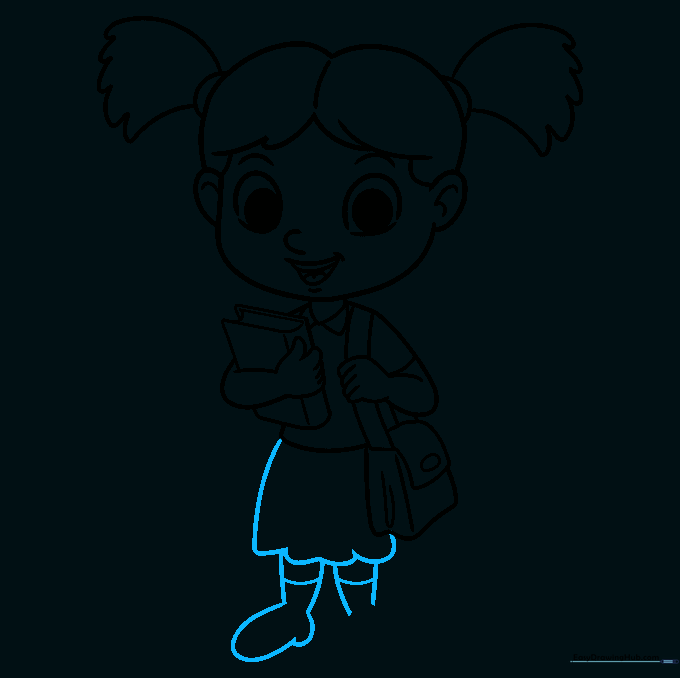
Draw a skirt with a scalloped bottom edge. Sketch the legs and shoes, adding a horizontal line on each leg to represent the tops of her socks. Teacher's Tip: Make the skirt slightly wider than the waist to give it a natural flow.
Step 9: Adding Texture and Final Touches
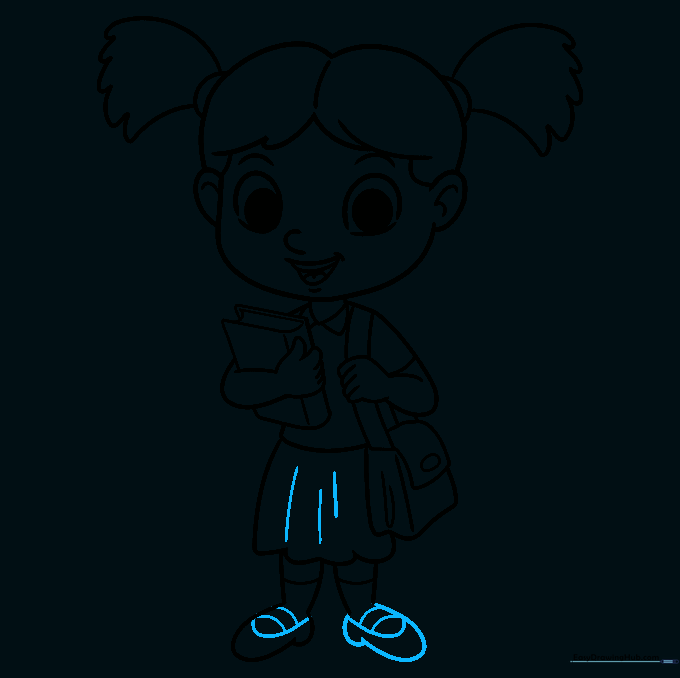
Add vertical lines to the skirt to create a pleated look. Finish the shoes with a 'U' shape and extra curved lines for the laces. Teacher's Tip: Pleats look best when the lines are spaced evenly apart.
Step 10: Bring Your Drawing to Life with Color

Now for the fun part! Use your favorite markers or colored pencils to fill in your schoolgirl. Try using bright colors for her outfit to make her pop. Teacher's Tip: Use a darker shade of the same color to add shadows under the skirt and hair for a 3D effect.
More Tutorials


