How to Draw a School: Easy 10-Step Guide for Kids
This step-by-step tutorial is perfect for young artists ages 5 and up. You will need a pencil, an eraser, and your favorite coloring supplies to bring your school building to life. Follow along to practice drawing geometric shapes while building confidence in your architectural sketching skills.
🎯 Final Result

Step-by-Step Instructions
Step 1: Sketching the Foundation

Draw a long, narrow rectangle to serve as the base of the building. Teacher's Tip: Keep your pencil pressure light; these are just guide lines to help you get the proportions right before we add details.
Step 2: Building the Main Walls

Stack a second, larger rectangle on top of the first one. Connect them with vertical lines to create the front wall. Tip: Use a ruler if you want your lines to be perfectly straight, or embrace the hand-drawn look for character!
Step 3: Sketching the Roof
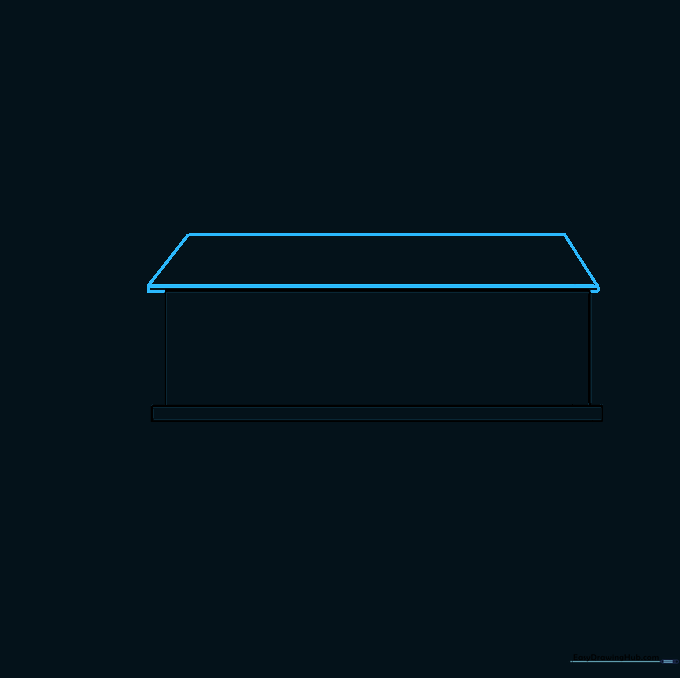
Draw a trapezoid above the top wall and connect the corners to the building. This creates a classic sloped roof. Tip: Make sure the top of the trapezoid is parallel to the ground for a balanced look.
Step 4: Adding the Overhang
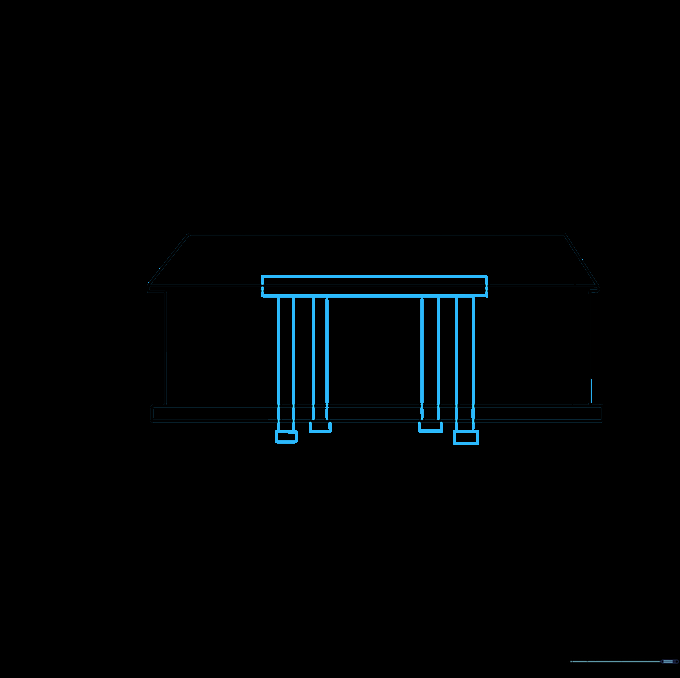
Draw a horizontal rectangle for the overhang and add four vertical columns underneath. Tip: Space your columns evenly to make the building look sturdy and professional.
Step 5: Cleaning Up
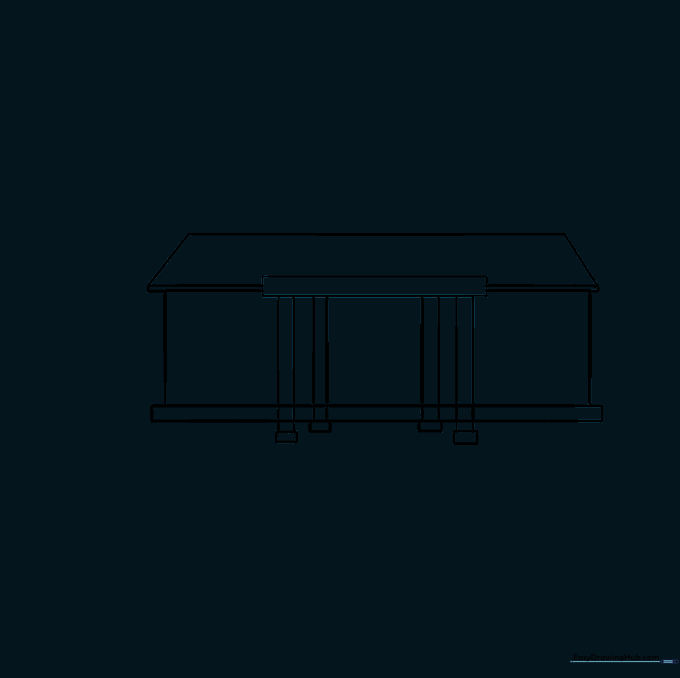
Carefully erase the extra guide lines inside the overhang area. Tip: Use a soft eraser and brush away the crumbs so you don't smudge your drawing.
Step 6: Detailing the Entrance Roof
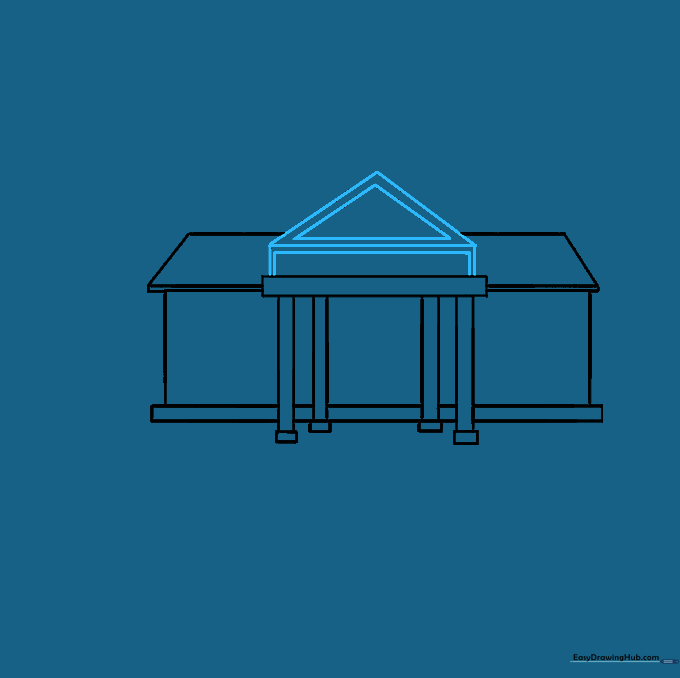
Add a small rectangle and a triangle on top of the overhang to create a decorative roof feature. Tip: Keep these shapes small so they don't overpower the main building.
Step 7: Doors and Windows
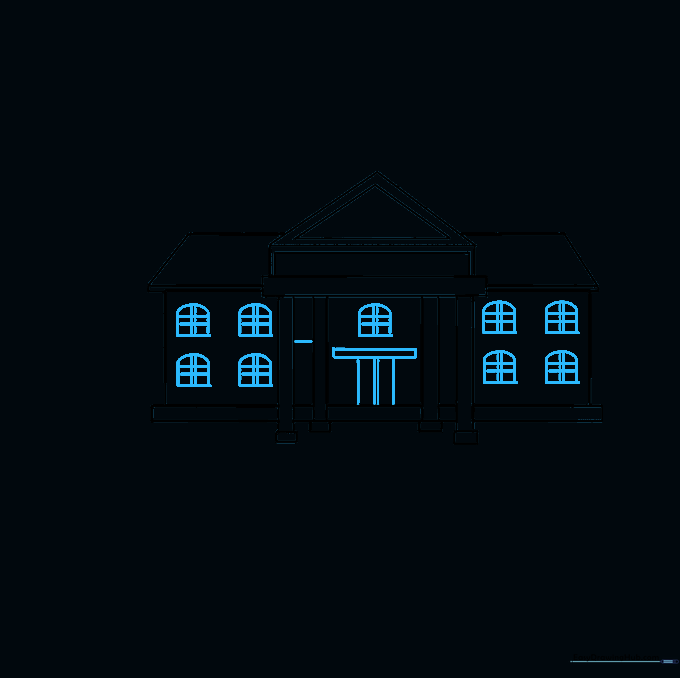
Draw the double doors in the center and add arched windows along the walls. Tip: For the windows, draw the square first, then add the curved top to get that perfect arch every time.
Step 8: Adding Character
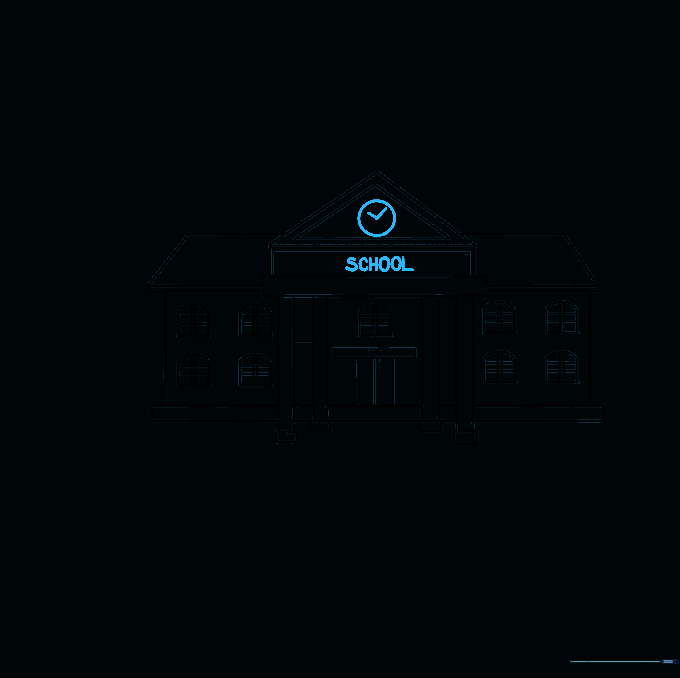
Draw a clock in the triangular roof peak and write 'SCHOOL' on the overhang. Tip: Use block letters for 'SCHOOL' to make it stand out clearly.
Step 9: Final Touches
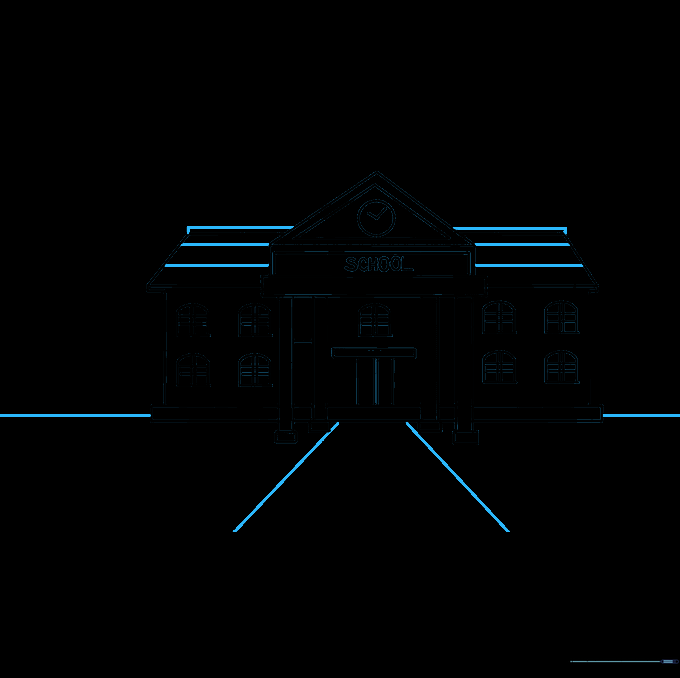
Add texture to the roof with horizontal lines and draw a path leading to the door. Tip: Use diagonal lines for the path to create a sense of depth and perspective.
Step 10: Bring It to Life with Color

Color your school! Use bright yellows for the walls and warm browns for the roof. Tip: Try using different shades to add shadows and make your building look 3D.
More Tutorials


