How to Draw a Scary Scarecrow: Easy 10-Step Guide
Ready to add some spooky flair to your sketchbook? This tutorial is perfect for artists ages 6 and up who want to master a classic Halloween character. Grab your pencil, eraser, and markers, and follow along to create a fun, slightly eerie scarecrow with a pumpkin head.
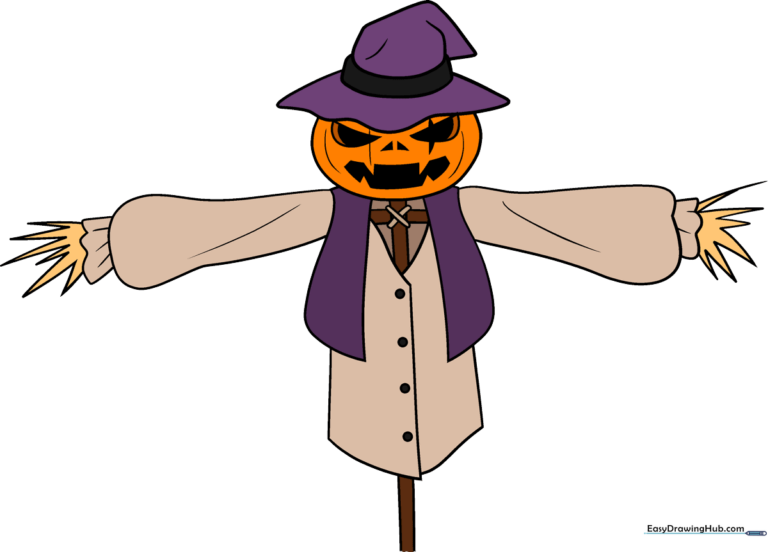
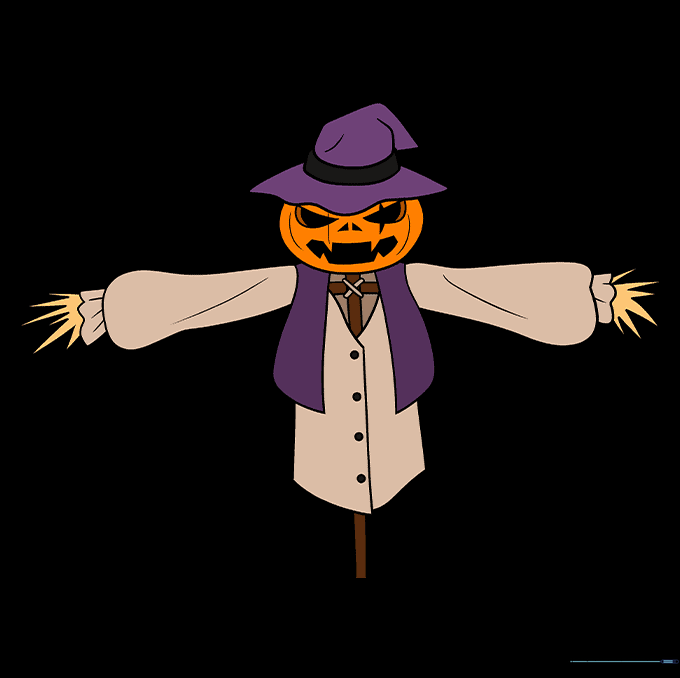
🎯 Final Result
Step-by-Step Instructions
Step 1: Sketching the Hat Brim and Head

Start by drawing a wide, wavy line for the hat brim. Below it, sketch a partial circle for the head. Teacher's Tip: Keep the head shape slightly uneven to give it that rustic, handmade scarecrow look.
Step 2: Shaping the Hat

Add parallel curved lines to create the hatband, then draw the pointed, bent top of the hat using overlapping curves. Tip: Imagine the hat is made of old, worn fabric—don't make the lines too stiff!
Step 3: Creating the Jack-o'-Lantern Face
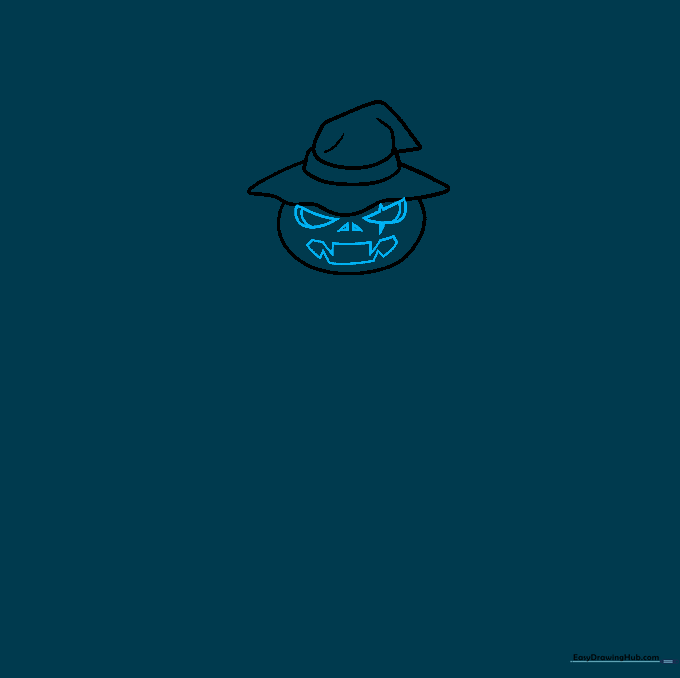
Draw a jagged mouth with triangular teeth and a small triangular nose. Add semicircular eyes with a 'scar' line over one eye for a spooky effect. Tip: Adding a small curved line inside the eyes creates a 3D depth that makes the face pop.
Step 4: Adding Texture and Vest
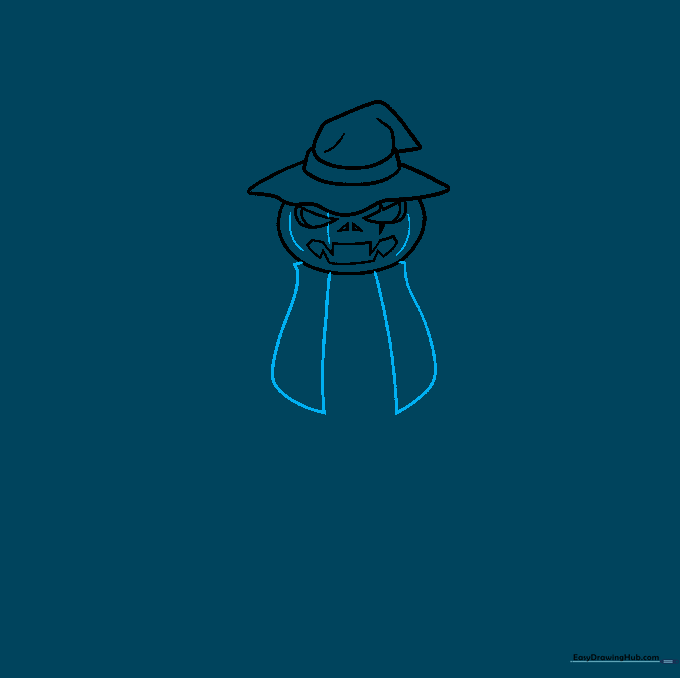
Use curved lines to add ridges to the pumpkin head. Then, draw the vest by extending two sets of lines from the head that meet at a point. Tip: The ridges should follow the curve of the head to look natural.
Step 5: Sketching the Clothing
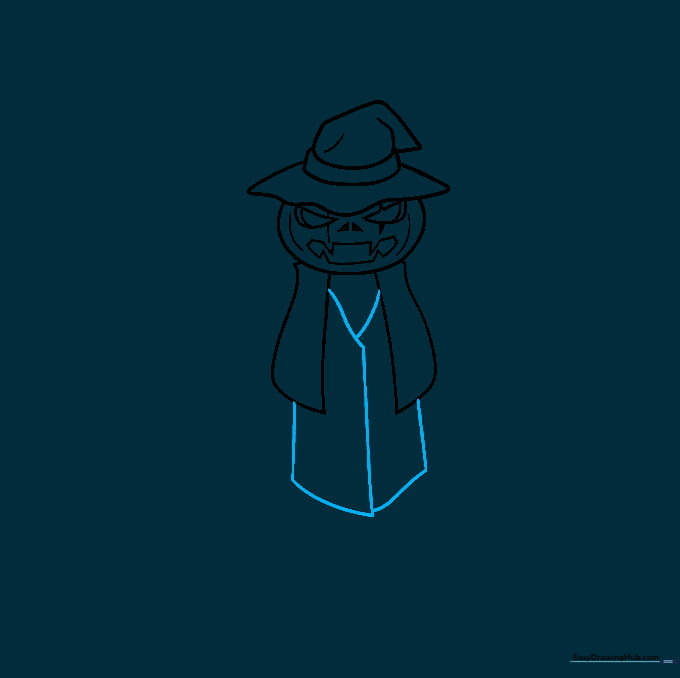
Use overlapping curved lines to sketch the shape of the garment. Tip: Think of these as fabric folds; keep your lines loose and flowing rather than perfectly straight.
Step 6: Drawing the Support Poles
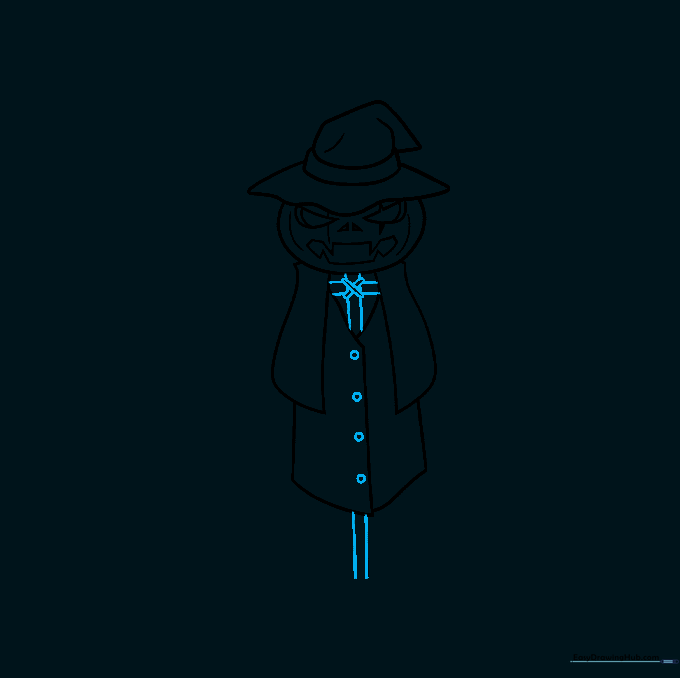
Draw two perpendicular lines behind the garment to form the wooden cross. Add an 'X' at the center for the rope binding, and small circles on the vest for buttons. Tip: Use a ruler if you want the wood to look straight, or freehand it for a rustic look.
Step 7: Drawing the First Sleeve
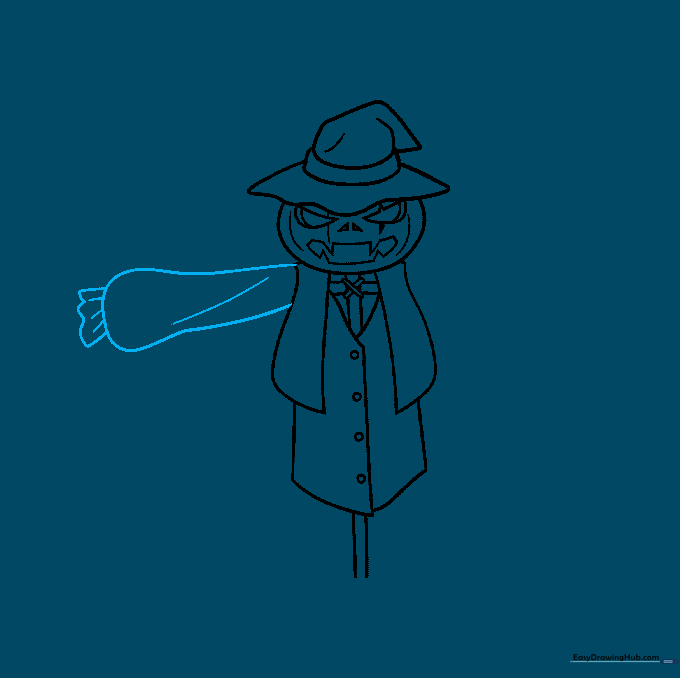
Extend a long curved line and loop it back to create the sleeve. Add a wavy cuff at the end. Tip: Add a few short, curved lines on the sleeve to suggest fabric texture.
Step 8: Drawing the Second Sleeve
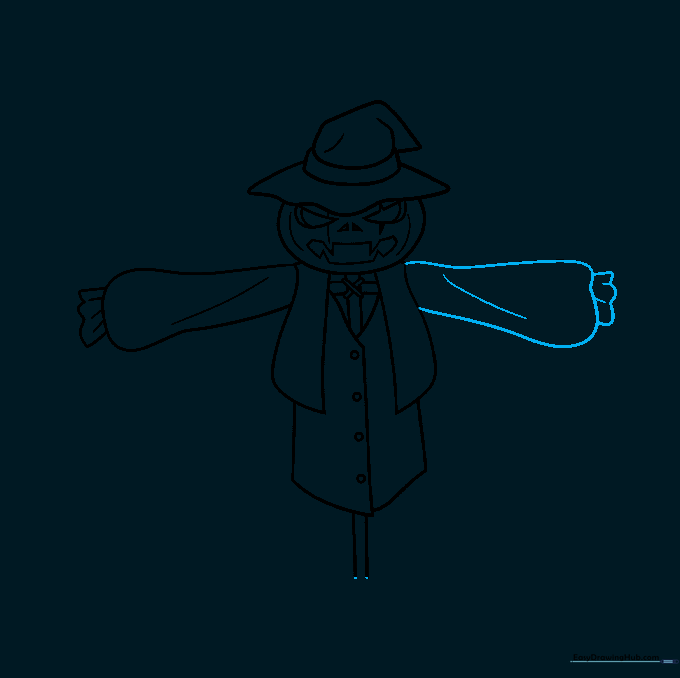
Repeat the process for the second sleeve, ensuring it matches the angle of the first. Tip: Symmetry is great, but don't stress if one arm is slightly longer—it adds character!
Step 9: Adding Straw Details
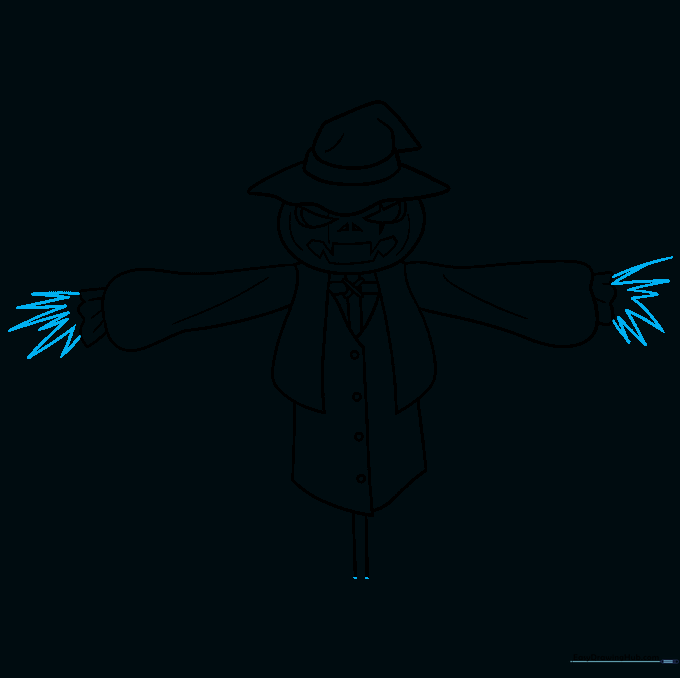
Draw jagged, sharp lines erupting from the sleeves to represent straw. Tip: Vary the length of the lines to make the straw look wild and unkempt.
Step 10: Bringing it to Life with Color
Time to color! Use orange for the pumpkin head, yellow for the straw, and earthy tones like beige or brown for the clothes. Tip: Use a darker shade of orange to shade the edges of the pumpkin for a more realistic look.
More Tutorials


