How to Draw a Scarf: Easy 10-Step Guide for Kids
Ready to add some winter flair to your character drawings? This step-by-step guide is perfect for artists ages 5 and up. All you need is a pencil, an eraser, and your favorite markers to bring this cozy accessory to life.
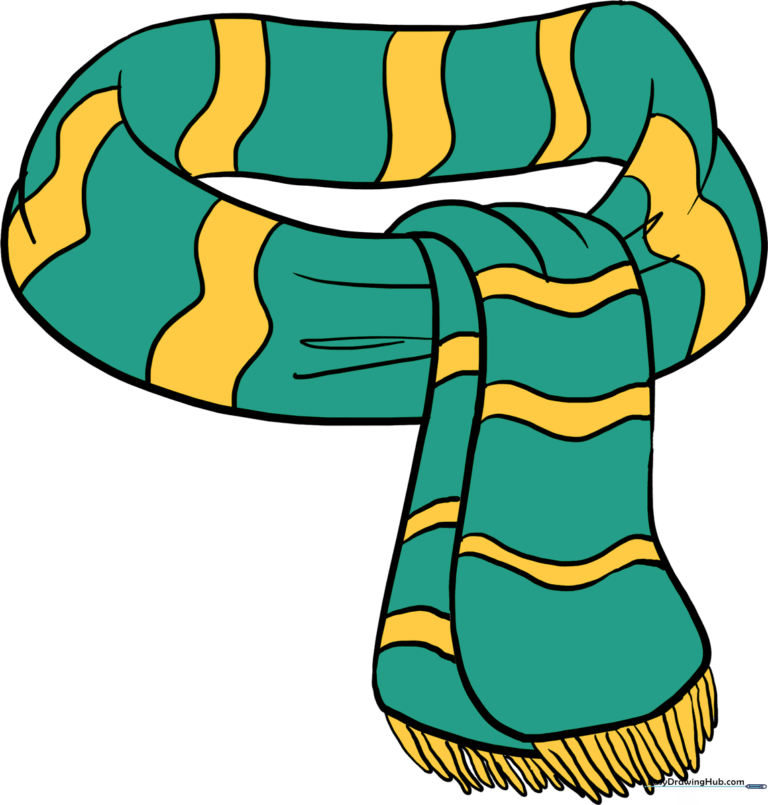
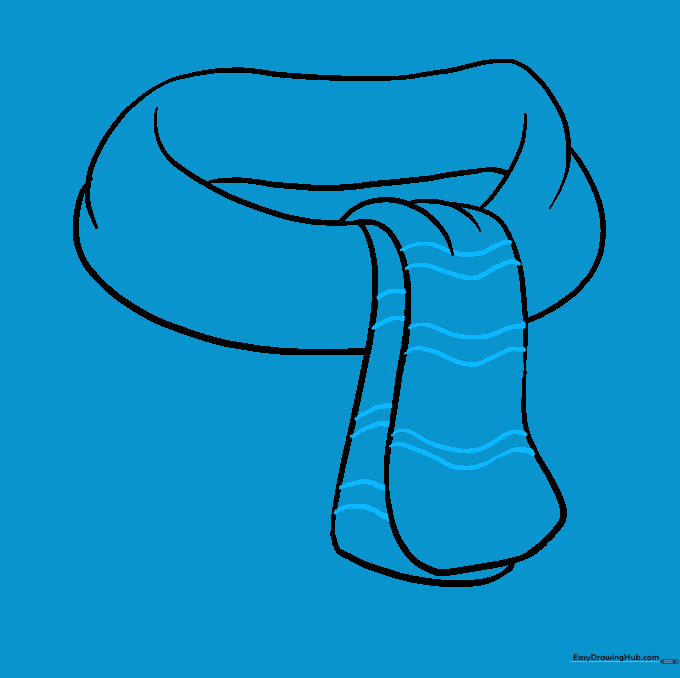
🎯 Final Result
Step-by-Step Instructions
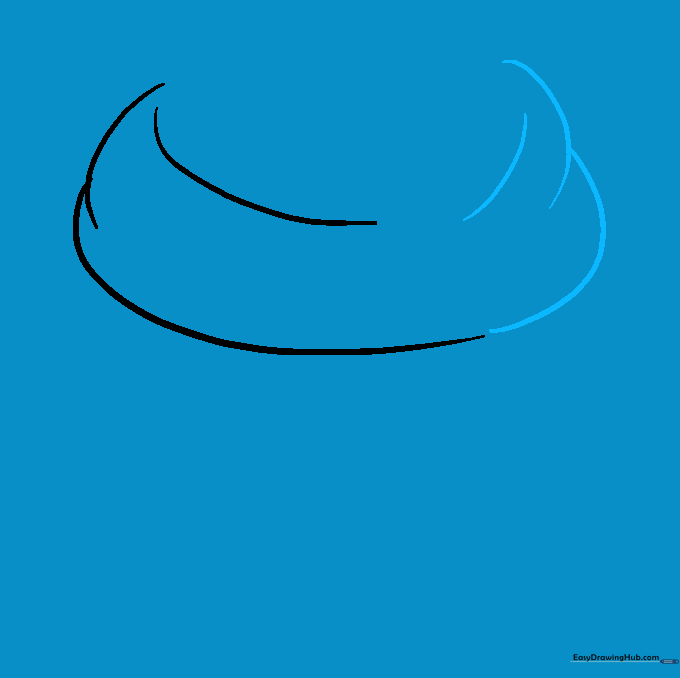
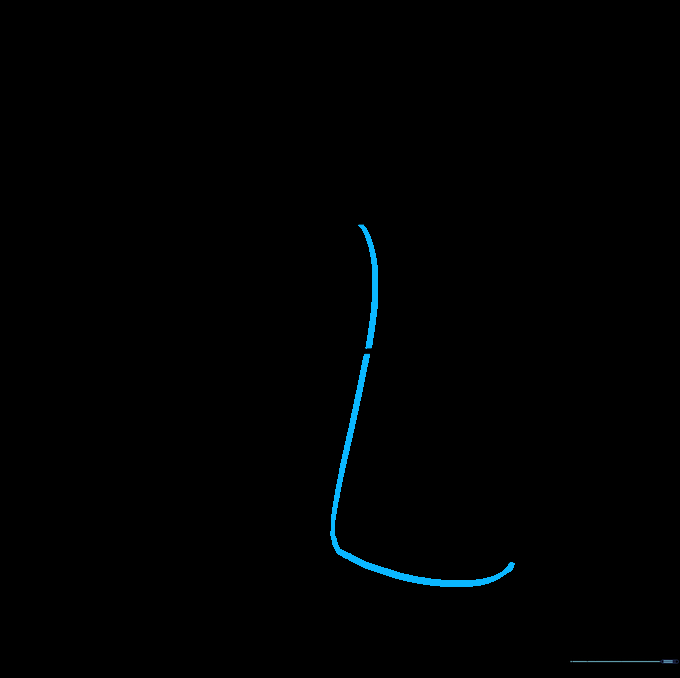
Step 1: Sketching the Inner Fold

Start by drawing a soft, curved line. Then, add two overlapping curved lines to create the outer edge of the scarf. Teacher's Tip: Keep your pencil grip loose to make these curves look natural and flowy.
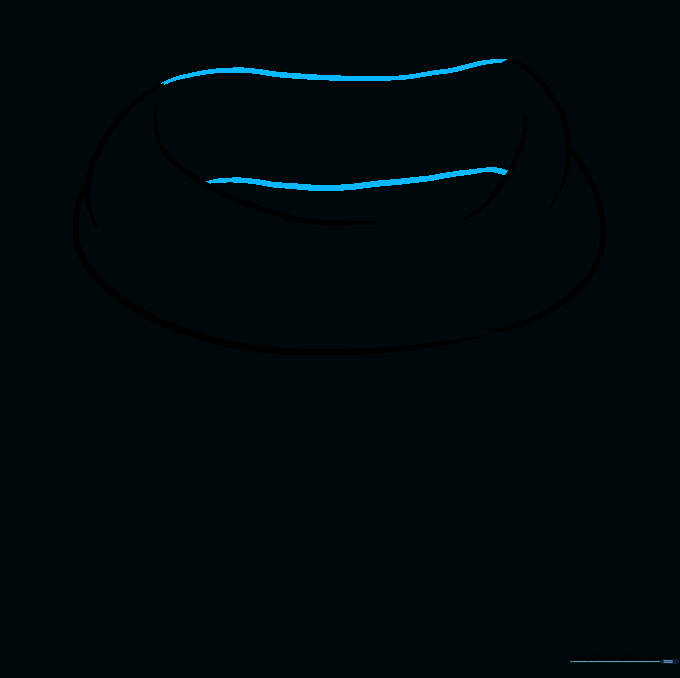
Step 2: Building the Volume
Draw another curved line that follows the first, but leave a small gap. Add a second outer line that overlaps the first. Tip: Don't worry about perfect symmetry; scarves are fabric and naturally bunch up!
Step 3: Connecting the Coils
Use a long, sweeping curved line to connect the top outer edges. Connect the inner lines near the middle. You now have the main body of your coiled scarf. Tip: Imagine the scarf wrapping around a neck to help visualize the curves.
Step 4: Drawing the First End
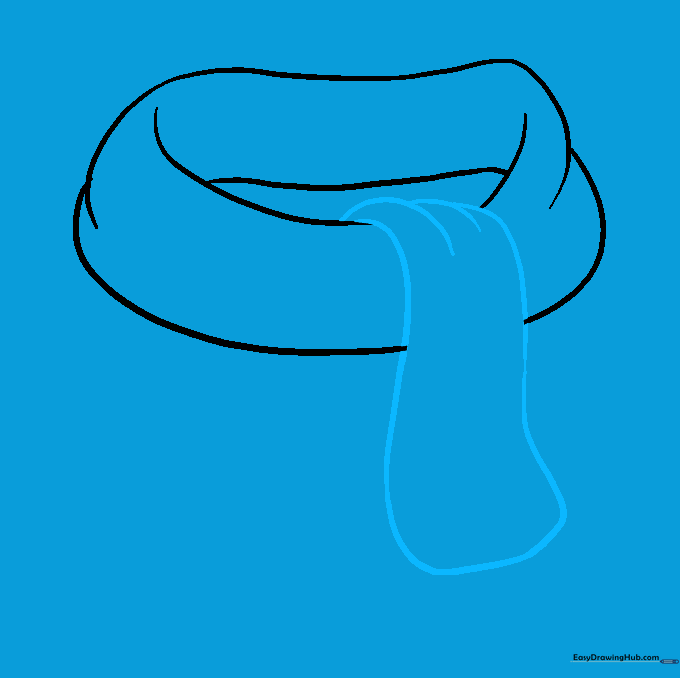
Draw a long, flowing line descending from the inner fold. Curve it back up to create the hanging end of the scarf. Tip: Use short, light strokes to connect the end to the main body so it looks like it's tucked in.
Step 5: Adding the Second End
Extend a second curved line from behind the scarf to form the opposite end. Connect it to the first end to complete the shape. Tip: Make sure this line looks like it's coming from 'behind' the knot.
Step 6: Cleaning Up

Carefully erase any overlapping guide lines inside the scarf. Tip: Use a kneaded eraser if you have one—it's great for picking up graphite without smudging your paper.
Step 7: Adding Stripe Details
Draw pairs of narrow, parallel curved lines across the ends of the scarf to create stripes. Tip: Keep the lines parallel to the curve of the scarf so they look like they are wrapping around the fabric.
Step 8: Completing the Pattern
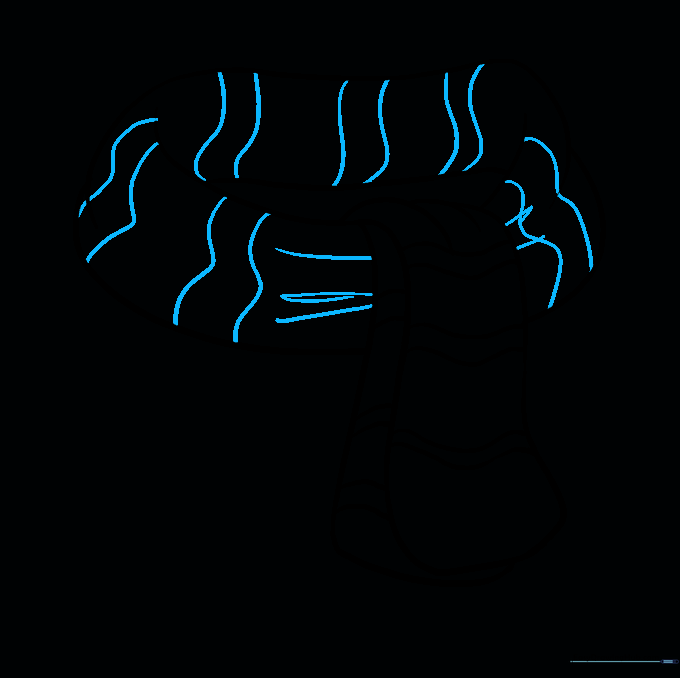
Continue the stripe pattern up the rest of the scarf. Add small lines near the knot to show where the fabric is creased. Tip: Crease lines should be very short and thin to look realistic.
Step 9: Adding Fringe
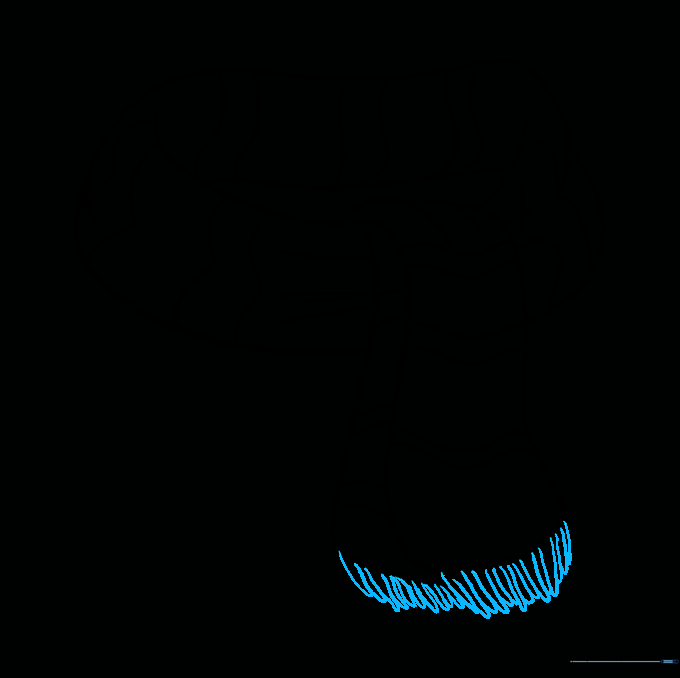
Draw small, sharp, curved lines at the ends of the scarf to create fringe. Tip: Make them different lengths and slightly messy to make the scarf look soft and cozy.
Step 10: Adding Color
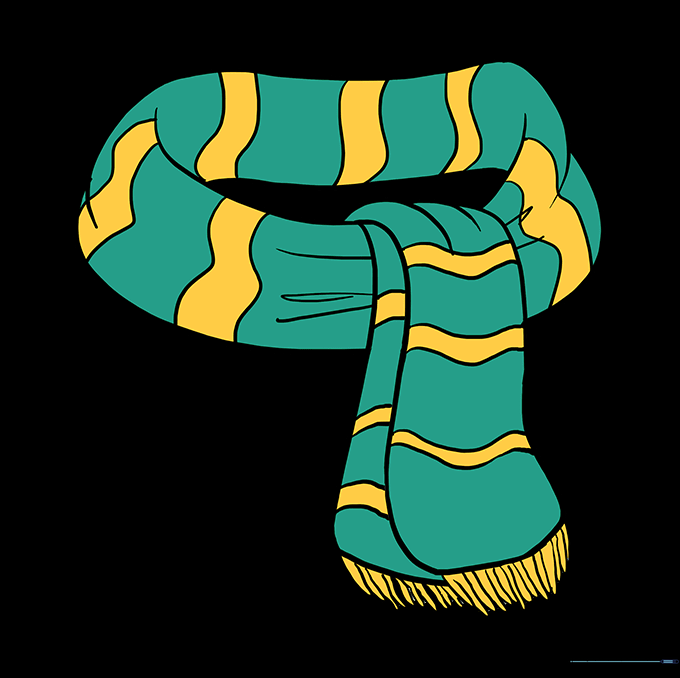
Bring your scarf to life with color! Use your favorite shades to match an outfit or create a bold pattern. Tip: Use a darker shade of your color to add a little shadow under the folds for a 3D effect.
More Tutorials


