How to Draw a Saxophone: Easy 10-Step Guide for Kids
Bring the smooth sounds of jazz to your sketchbook with this beginner-friendly saxophone tutorial. Designed for young artists ages 6+, this activity requires only a pencil, eraser, and paper. Follow along to master the iconic 'J' shape and intricate key details of this classic brass instrument.
🎯 Final Result

Step-by-Step Instructions
Step 1: Sketching the Bell

Start by drawing a wide oval for the bell, then add a 'C' shape inside to create the opening. Extend a long, sweeping curve from the bottom to form the base of the bow. Teacher's Tip: Keep the curve smooth and fluid to give the instrument its signature elegant shape.
Step 2: Shaping the Body
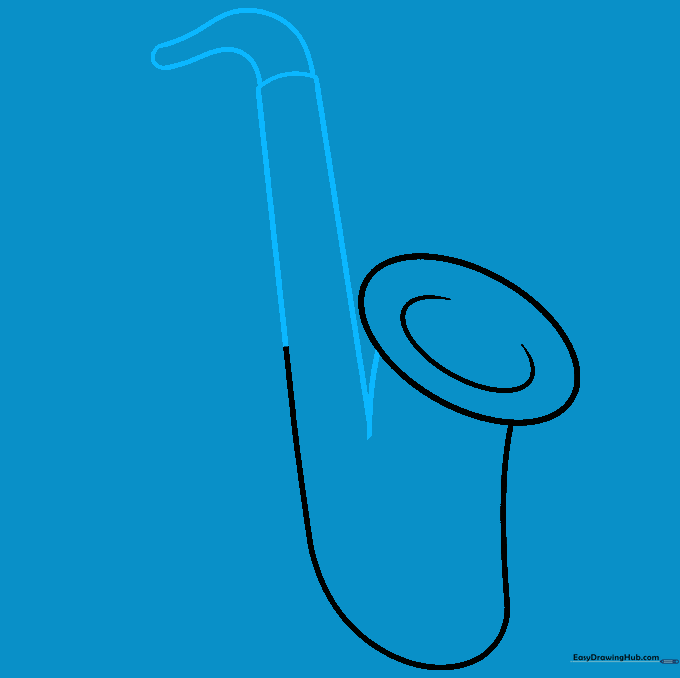
Use two parallel curved lines to build the 'J' shaped body. Connect them at the top, then draw a shorter curved line that doubles back to form the neck. Tip: Imagine the saxophone is a long, bent pipe; keep your lines consistent in width.
Step 3: Adding the Mouthpiece
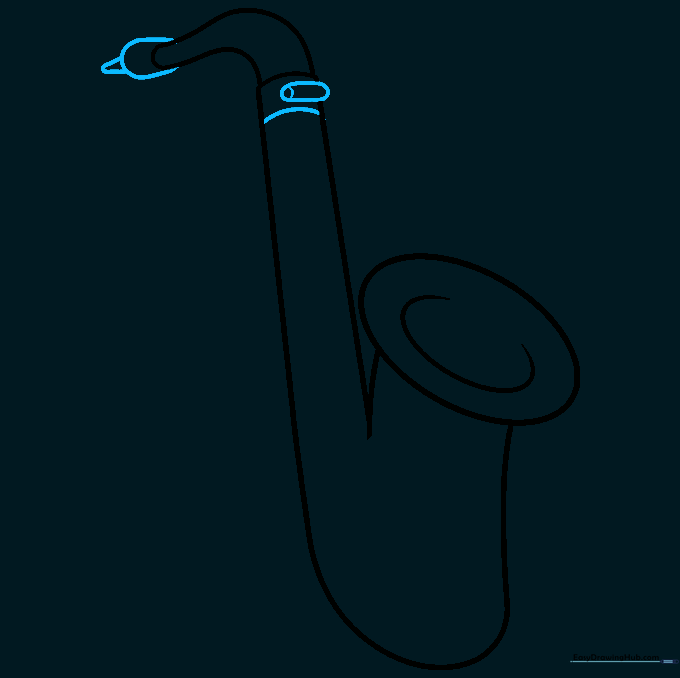
Extend the neck with a small, tapered mouthpiece and add a tiny triangle at the tip for the reed. Draw a flattened oval near the top to represent the neck screw. Tip: Erase any overlapping lines inside the neck to keep the drawing clean.
Step 4: Drawing the Keyguard
Sketch an irregular shape on the side of the bell for the keyguard. Add a center line and small circles to represent the protective cage. Tip: Use light pressure here, as these are small, intricate details.
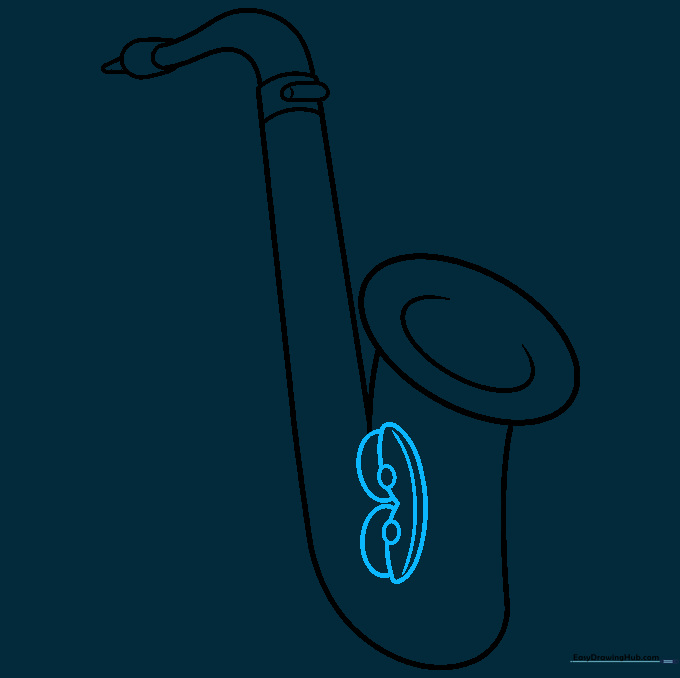
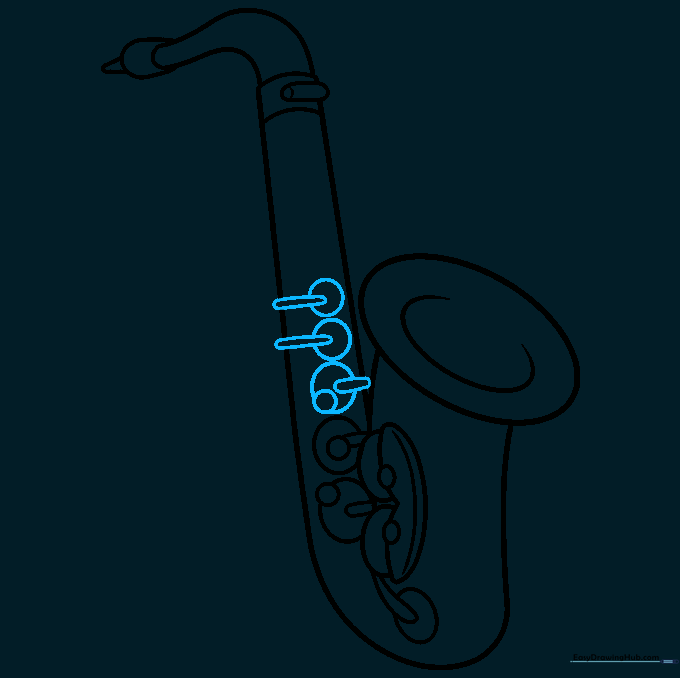
Step 5: Starting the Keys
Begin adding the main keys by drawing a series of circles along the body. Overlap them with smaller curved shapes to create depth. Tip: Don't worry about perfect circles; real saxophone keys are slightly irregular.
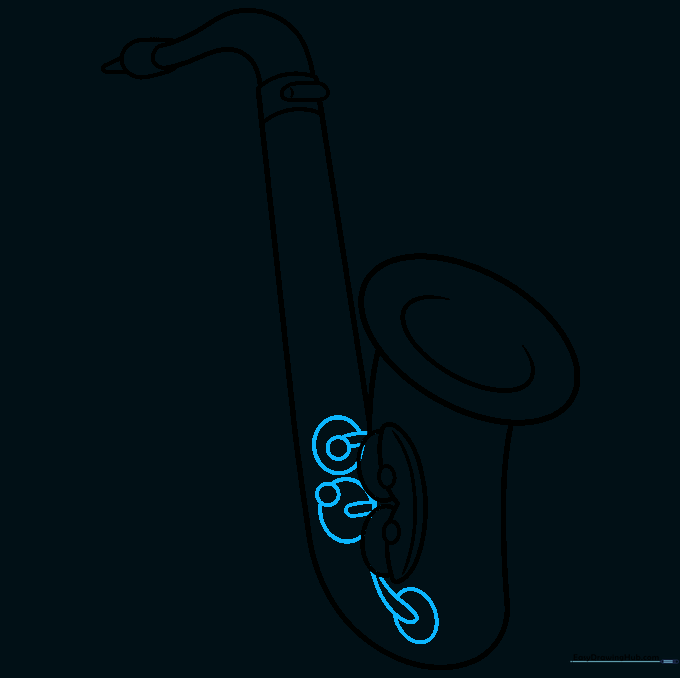
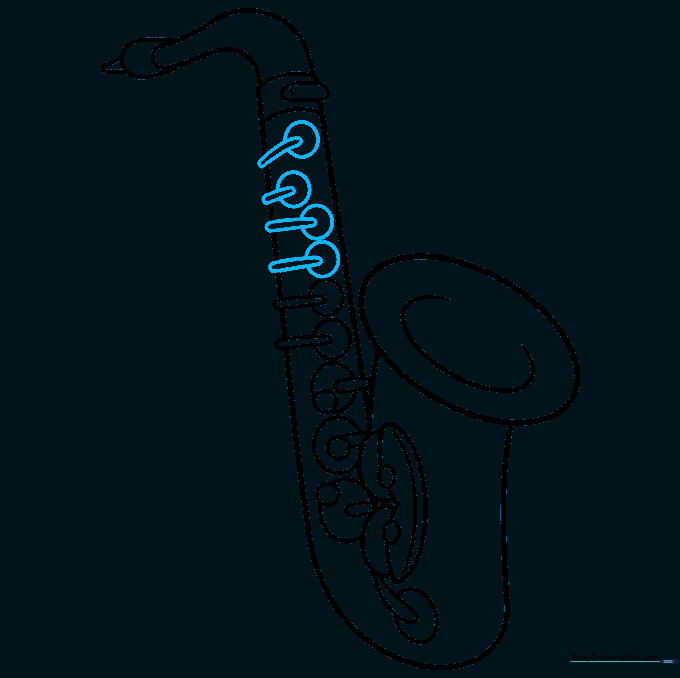
Step 6: Adding More Keys
Continue adding keys down the length of the instrument. Repeat the pattern of circles and overlapping curves. Tip: Keep your spacing even so the instrument looks balanced.
Step 7: Filling the Body
Add the final set of keys near the bow. Use smaller circles to show the mechanical complexity of the instrument. Tip: If you make a mistake, use your eraser to soften the line before redrawing.
Step 8: Upper Body Details
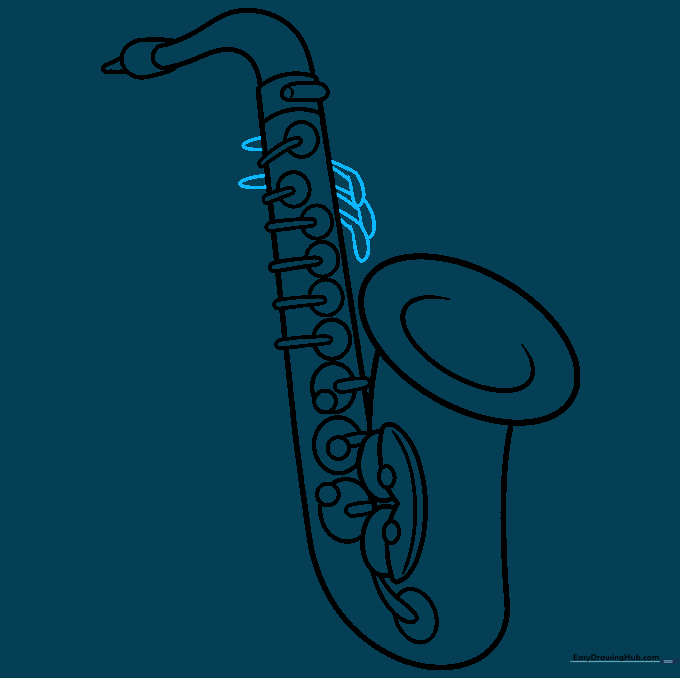
Draw the smaller keys extending from the top of the body. Use curved lines that double back to show the levers. Tip: These are delicate parts, so use a sharp pencil point.
Step 9: Final Outline
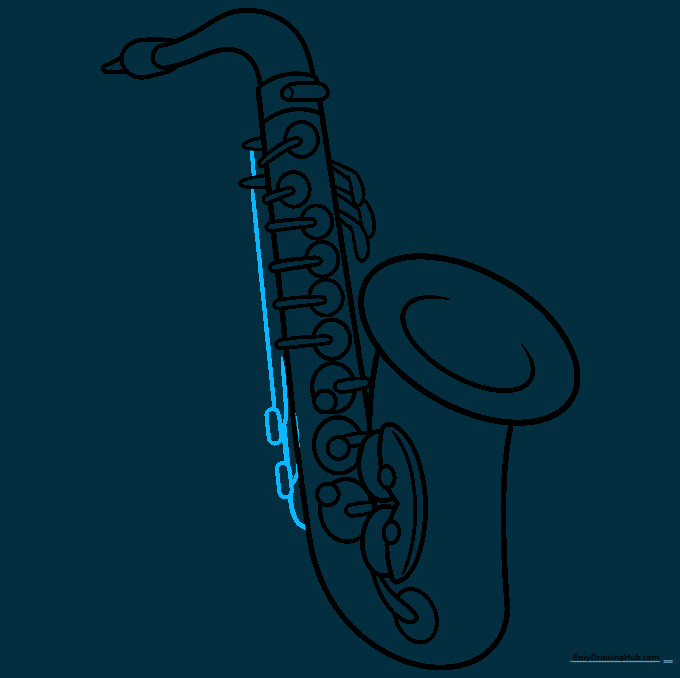
Add parallel lines along the body to define the tubing and finish with any remaining oblong keys. Tip: Go over your final lines with a darker pencil to make the saxophone stand out.
Step 10: Bring it to Life with Color

Color your saxophone using shades of gold, yellow, or silver. Use a darker shade on the shaded side to create a metallic, 3D effect. Tip: Leave a few white spots for 'highlights' to make the brass look shiny!
More Tutorials


