How to Draw a Satellite: Easy 10-Step Guide for Kids
Blast off into creativity with this space-themed drawing lesson! Designed for young artists and beginners, this activity uses basic geometric shapes to build a complex-looking satellite. Grab your pencil and paper to practice spatial awareness and steady line control.
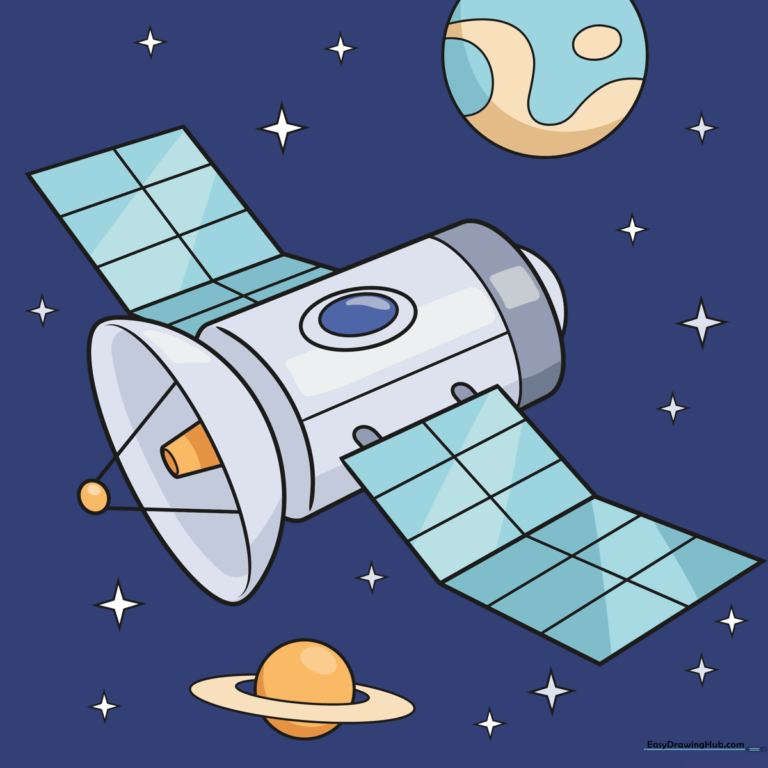
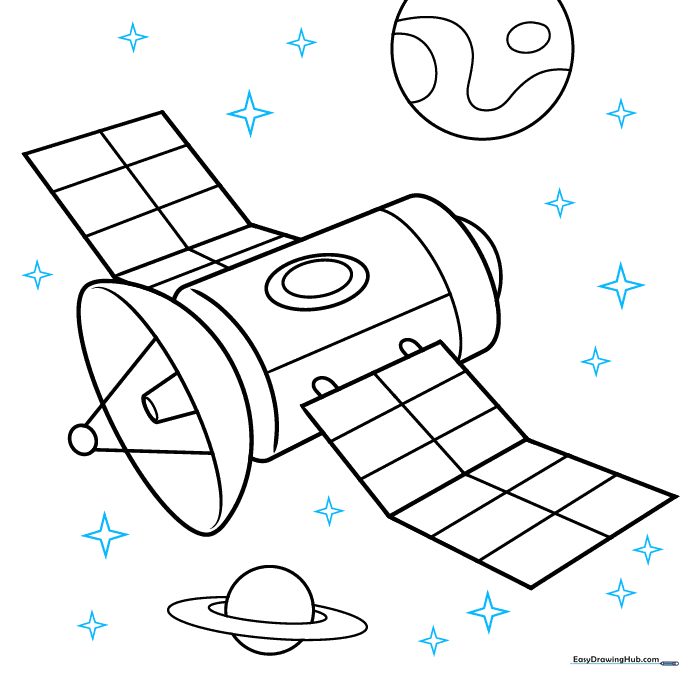
🎯 Final Result
Step-by-Step Instructions
Step 1: Establishing the Main Body
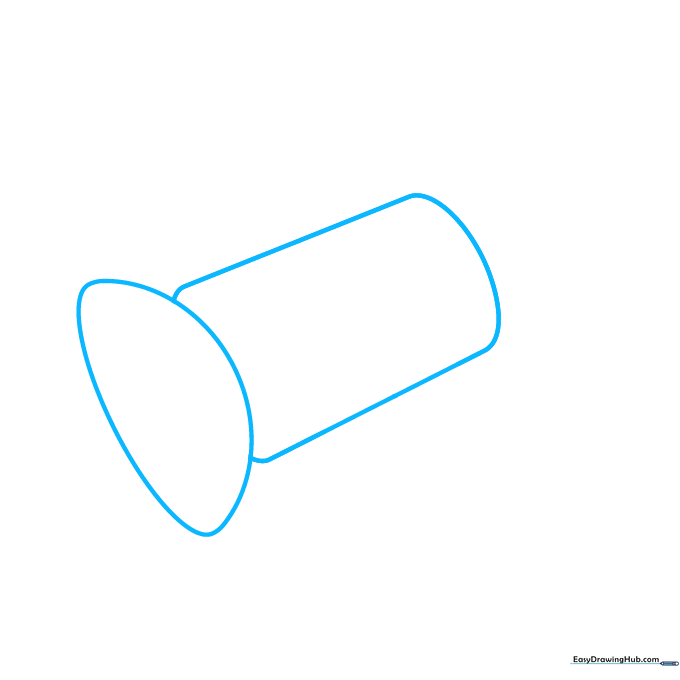
Draw a clean semicircle with a flat base, then sketch a cylinder extending behind it. Teacher's Tip: Use a circular object like a soda can to trace the curve if you're struggling to keep it steady—it's all about building confidence with your shapes!
Step 2: Adding Structural Depth
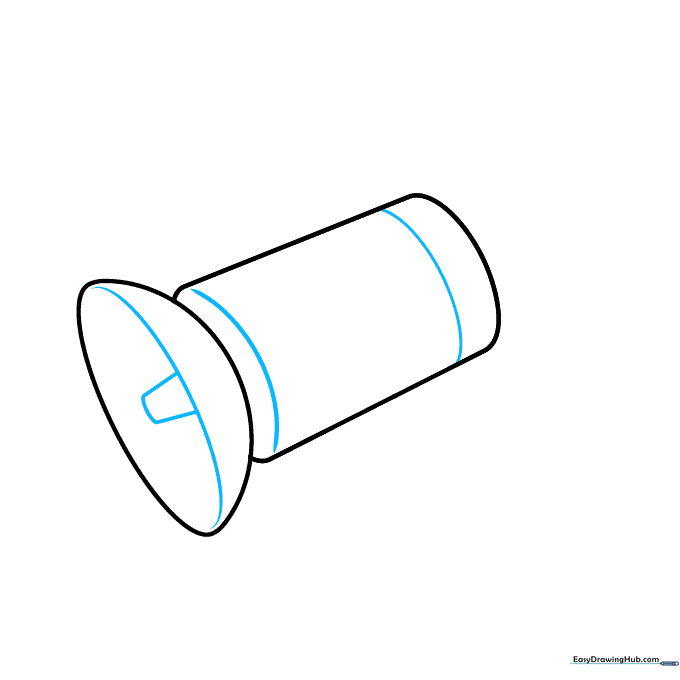
Sketch a curve inside the dish, then add two diagonal lines connected by a curve to form the support arm. Add two curved lines inside the cylinder to give it a 3D look. Tip: Keep your pencil strokes light so you can easily erase any overlapping guidelines later.
Step 3: Detailing the Dish and Sensors

Draw an oval outside the dish, connecting it with two diagonal lines. Sketch a narrow oval inside the dish for the receiver. Add a tilted oval on the side with a smaller one inside. Tip: Think of these as 'layers'—drawing smaller shapes inside larger ones creates instant detail.
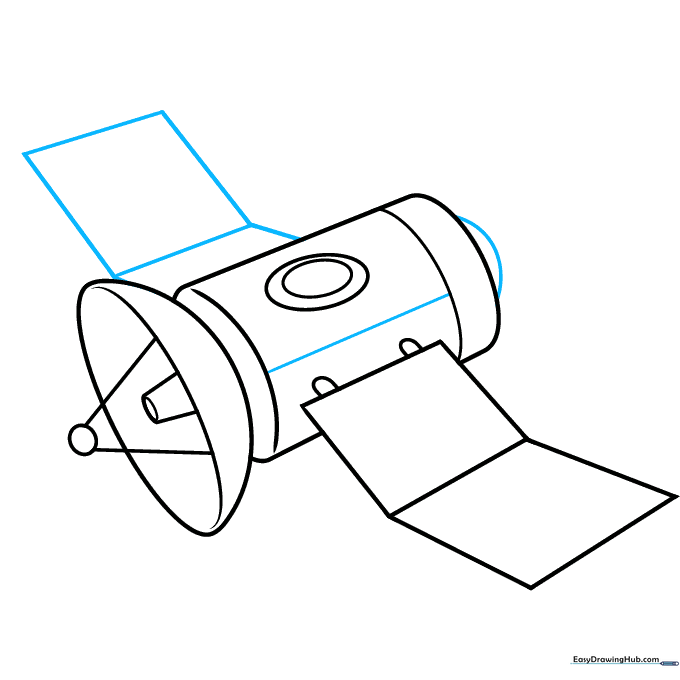
Step 4: Sketching Solar Panels
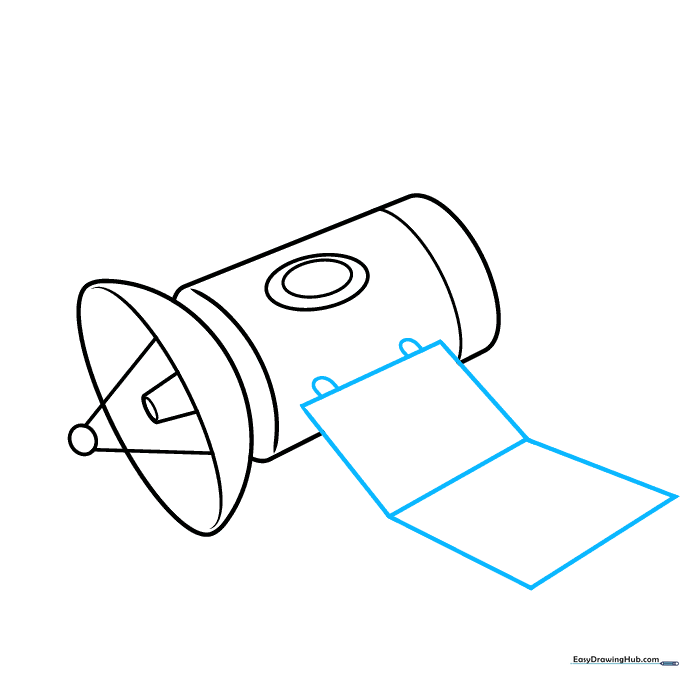
Use a ruler to draw two squares tilted at opposite angles. Add two loops on top of the first square. These should overlap the cylinder to show they are attached. Tip: If your lines aren't perfectly straight, don't worry—space is full of unique shapes!
Step 5: Connecting the Components
Draw another angled square on the left, connecting it to the main body with a line. Add a straight line inside the cylinder and a small dome on the right. Tip: Use a consistent angle for your connecting lines to make the satellite look balanced.
Step 6: Adding Solar Panel Grids
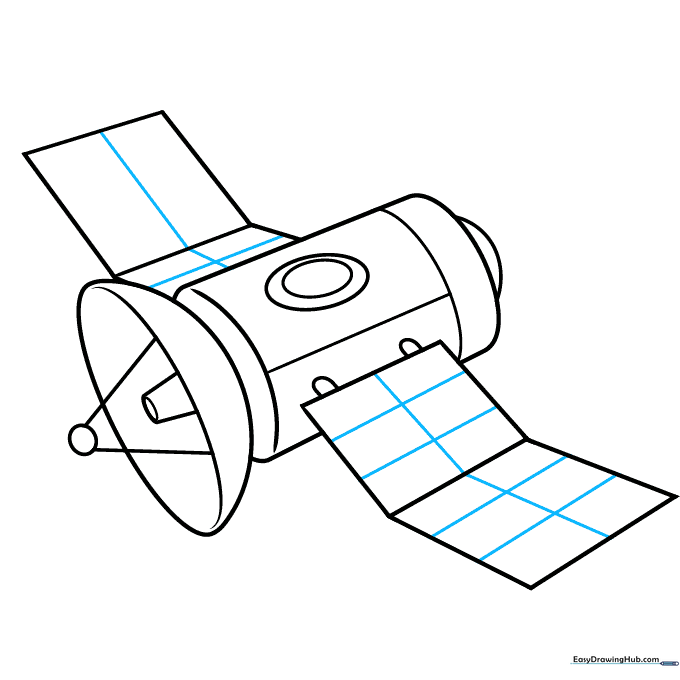
Draw a grid of rectangles inside your squares to represent the solar panels. Tip: Take your time with these small boxes; it helps develop fine motor control and patience.
Step 7: Creating the Background Planet
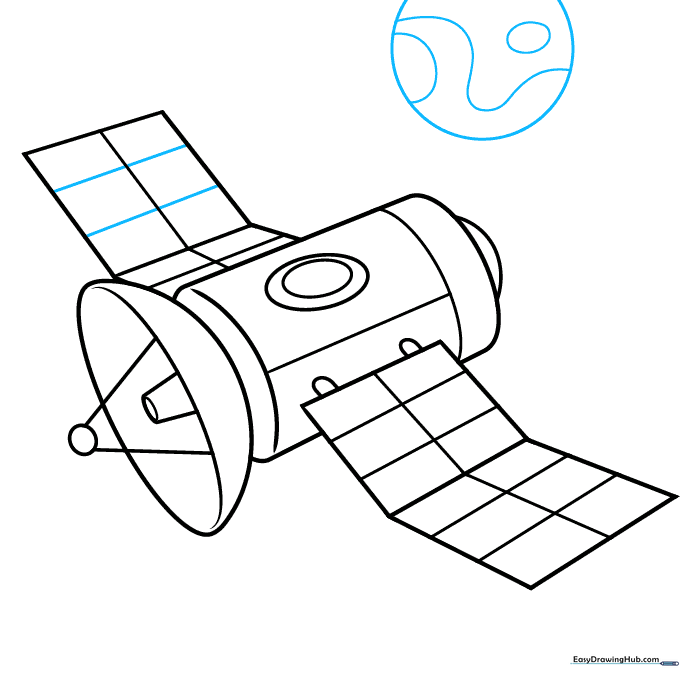
Add the final details to the left square, then draw a circle with a smaller inner circle and swirly lines to represent a cartoon planet. Tip: Use loose, wavy lines for the planet's surface to give it a fun, artistic feel.
Step 8: Adding Planetary Rings
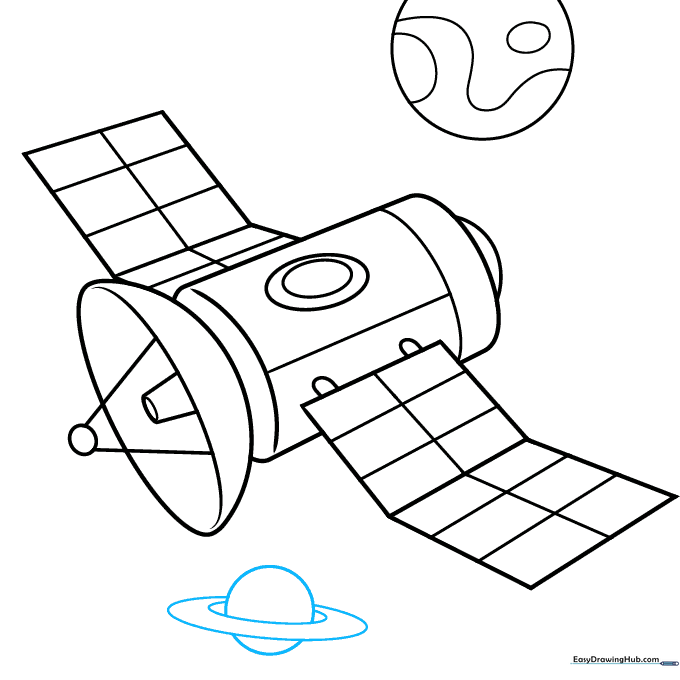
Draw another circle underneath the satellite and add two angled ovals to form a ring around it. Tip: Make sure the ring overlaps the planet slightly to show it's wrapping around the back.
Step 9: Adding Stars
Use straight lines to draw pointed stars scattered throughout the space background. Vary the sizes to create a sense of depth. Tip: Draw some stars near the edges of your paper to make the scene feel expansive.
Step 10: Final Touches and Coloring

Outline your drawing with black ink and erase your pencil guidelines. Color the sky dark blue, use shades of gray for the satellite, and teal for the solar panels. Tip: Use a light touch with your coloring pencils to blend the grays for a metallic effect!
More Tutorials


