How to Draw a Santa Claus Face: Easy 10-Step Guide
Bring the holiday spirit to life with this fun Santa Claus face tutorial, perfect for artists ages 5 and up. All you need is a pencil, an eraser, and a piece of paper to get started. Follow these simple steps to build confidence and master character drawing techniques.
🎯 Final Result

Step-by-Step Instructions
Step 1: Sketching the Eyes
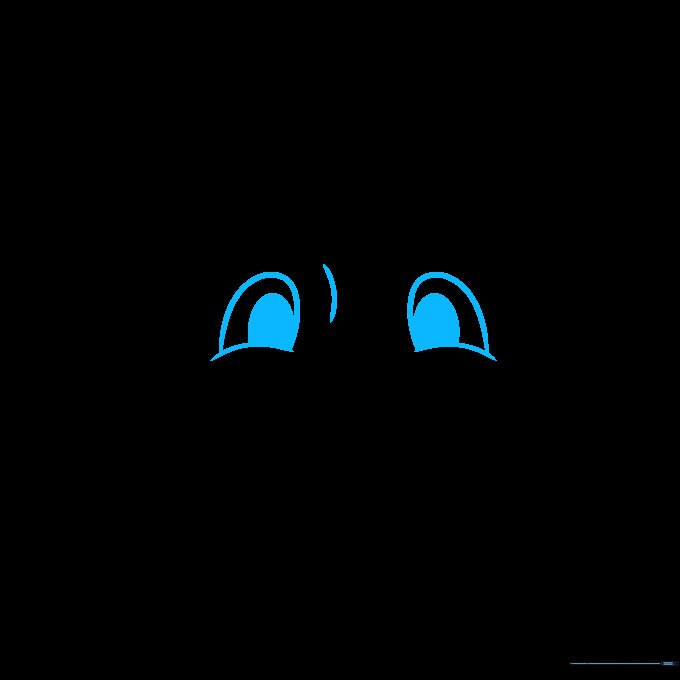
Draw two curved lines for the eyes, then add small, shaded ovals inside for the pupils. Connect them with a gentle curve to mark the bridge of the nose. Teacher's Tip: Keep your pencil pressure light so you can easily adjust the spacing if the eyes look a bit lopsided.
Step 2: Adding the Nose and Brows

Draw a small oval for the nose and extend curved lines outward to start the mustache. Add bushy, cloud-like eyebrows above the eyes. Teacher's Tip: Use short, quick strokes for the eyebrows to give them a fluffy, textured look.
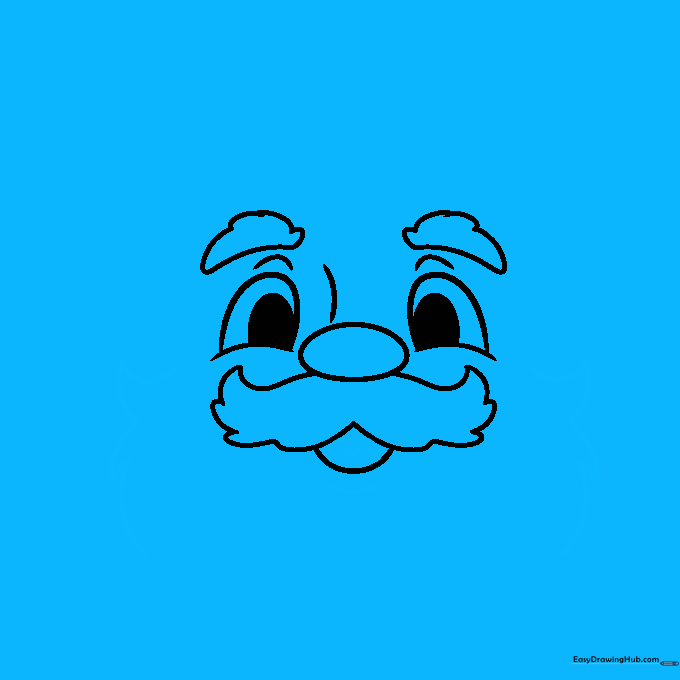
Step 3: Shaping the Mustache

Use connected curved lines to outline the full mustache, then add a 'U' shape below it for the mouth. Teacher's Tip: Imagine the mustache is made of two soft pillows meeting in the middle.
Step 4: Defining the Mouth and Beard
Draw the tongue and teeth inside the mouth, then add a chin line. Start sketching the beard with jagged, uneven lines. Teacher's Tip: Varying the length of your beard lines makes it look more natural and less like a perfect circle.
Step 5: Completing the Beard
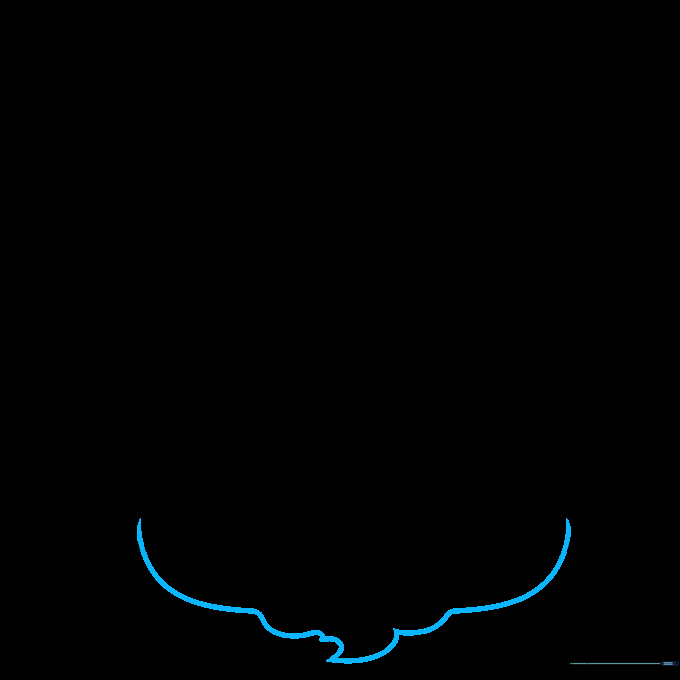
Finish the beard by drawing long, overlapping curved lines that meet at a point at the bottom. Teacher's Tip: Think of these as large, flowing waves of hair.
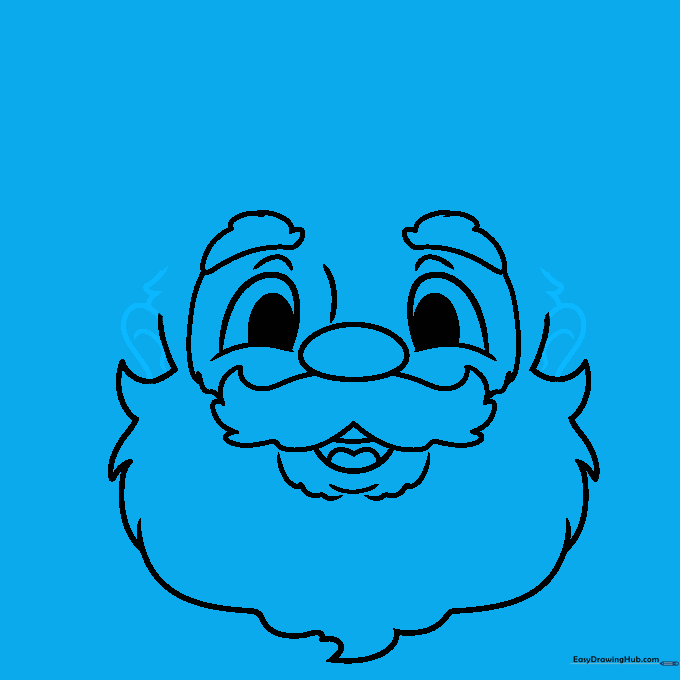
Step 6: Framing the Face

Use soft, curved lines to define the sides of Santa's face and add detail around the mouth. Teacher's Tip: Keep these lines light to suggest the roundness of his cheeks.
Step 7: Adding Ears and Hair
Draw the ears on the sides of the head with internal details, and add a bit of hair peeking out above them. Teacher's Tip: Ears should align roughly between the eyebrows and the nose.
Step 8: Drawing the Hat Base
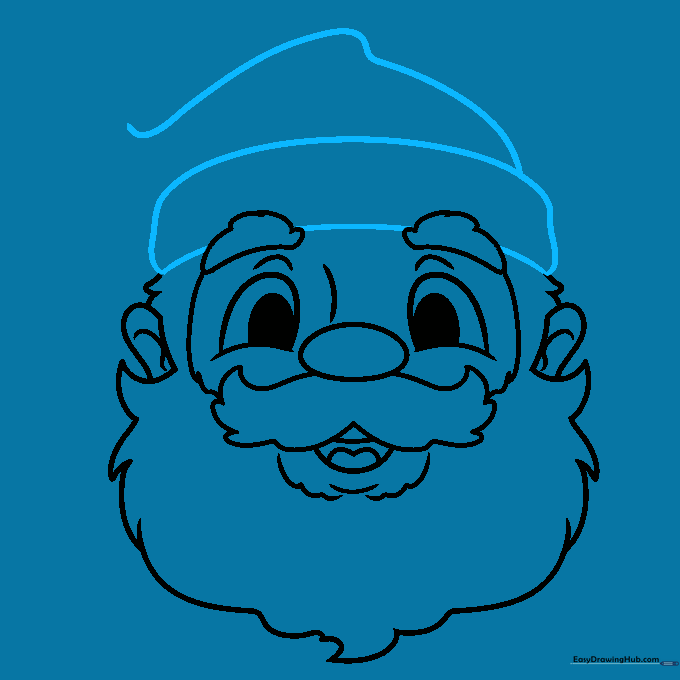
Sketch the bottom of the hat using a curved rectangle across the forehead. Extend a long, sweeping line from the side. Teacher's Tip: The hat brim should look thick and soft, like a band of fur.
Step 9: Finishing the Hat
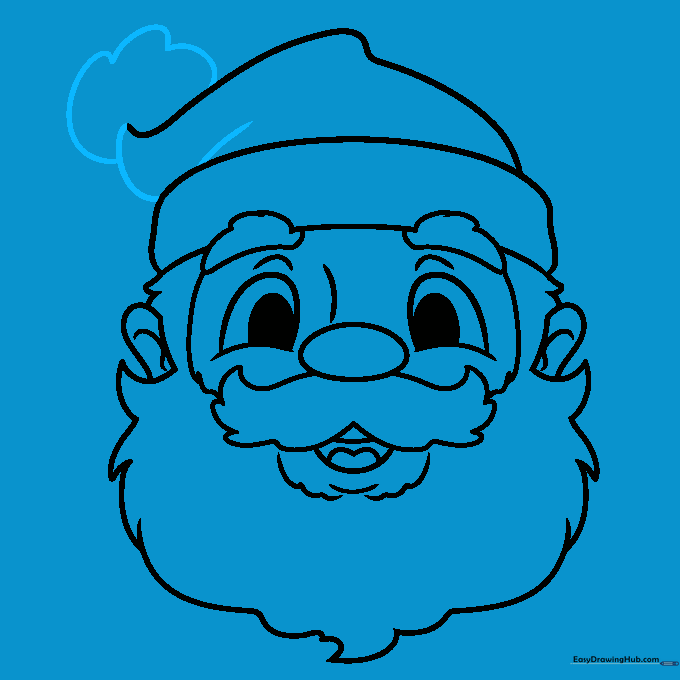
Complete the hat outline with overlapping curves and add a round pom-pom at the tip. Teacher's Tip: Make the pom-pom slightly fuzzy by using small, circular motions with your pencil.
Step 10: Bringing Santa to Life with Color

Time to color! Use bright red for the hat, soft pink for the cheeks, and leave the beard and mustache white. Teacher's Tip: Use a light blue or grey pencil to add subtle shadows to the white beard to give it depth.
More Tutorials


