How to Draw a Sand Castle: Easy 10-Step Guide for Kids
Bring the beach to your sketchbook with this fun, beginner-friendly sand castle tutorial. Designed for ages 5 and up, this activity requires only a pencil, eraser, and paper to build confidence in basic shape construction. Follow along to create your own whimsical seaside fortress in minutes.
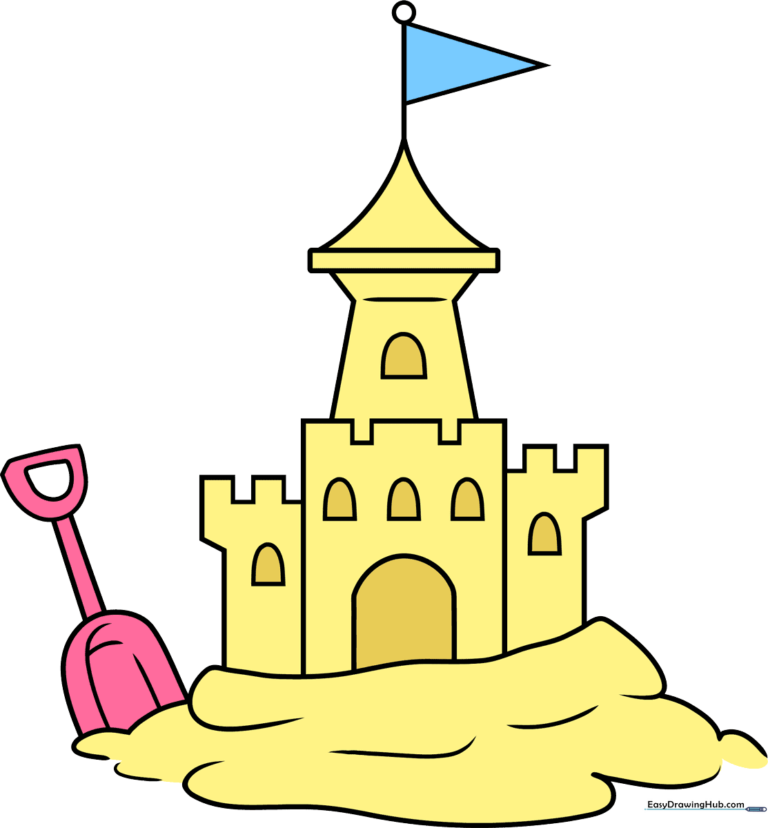
🎯 Final Result
Step-by-Step Instructions
Step 1: Sketching the Foundation

Start by drawing a horizontal curved line that loops back on itself to form the base. Teacher's Tip: Keep your pencil pressure light; this is just the footprint of your castle!
Step 2: Adding Sand Mounds

Continue building the base with additional curved lines to create lumpy, organic shapes. Teacher's Tip: Sand isn't perfectly round, so don't worry about making these lines symmetrical.
Step 3: Expanding the Base

Draw more mounds of sand on the opposite side of the base using irregular curved lines. Teacher's Tip: Overlapping your lines slightly helps create the illusion of depth.
Step 4: Defining the Texture

Use long, sweeping curved lines to finish the bottom edge of the castle. Teacher's Tip: These lines represent where the sand meets the ground, so make them look soft and flowing.
Step 5: Adding Surface Detail

Add small, scattered curved lines across the mounds to create texture. Teacher's Tip: Think of these as little ripples in the sand—don't overthink them!
Step 6: Building the Walls

Draw four vertical, parallel lines to form the main castle walls. Add a rectangular watchtower on top and an arch for the doorway. Teacher's Tip: Use a ruler if you want perfectly straight walls, or go freehand for a more rustic look.
Step 7: The Tall Tower

Draw a tall, tapering tower on top of the castle with a small window. Teacher's Tip: Converging your lines slightly as they go up makes the tower look taller and more majestic.
Step 8: Adding the Flag

Extend a vertical line from the tower and add a small circle and triangle to create a flag. Teacher's Tip: A flag adds a sense of movement—imagine the wind blowing it!
Step 9: Drawing the Shovel

Draw a small shovel next to the castle using a 'U' shape for the bowl and parallel lines for the handle. Teacher's Tip: Keep the shovel small so it doesn't distract from the castle itself.
Step 10: Adding Color

Bring your drawing to life with color! Use sandy yellows, light browns, or even tan. Teacher's Tip: Try using two different shades of brown to create shadows, making your castle look 3D.
More Tutorials


