How to Draw a Salmon: Easy 10-Step Guide for Kids
Ready to dive into the world of fish anatomy? This tutorial is perfect for young artists ages 5 and up. All you need is a pencil, an eraser, and some paper to bring this sleek swimmer to life while practicing your curved line control.
🎯 Final Result

Step-by-Step Instructions
Step 1: Sketching the Body Outline

Lightly outline the serpent-like head and body. Teacher's Tip: Use long, sweeping strokes. Focus on the bulge of the eye ridge and the small dip where the mouth will eventually sit.
Step 2: Defining the Mouth

Draw a long, curved line to form the smiling mouth. Add a tiny curved line at the corner to give it personality. Tip: Keep this line smooth to make the fish look friendly.
Step 3: Adding the Eye
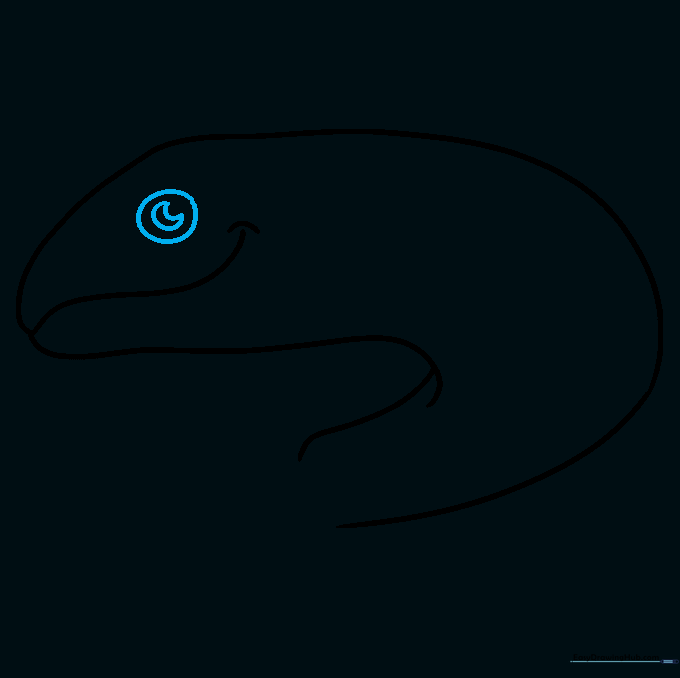
Draw a circle above the mouth for the eye, then add a pupil using two curved lines that form a 'C' shape. Tip: Placing the eye higher up makes the fish look more alert.
Step 4: Sketching the Gills

Sketch rows of curved lines behind the eye to represent the gills. Tip: Keep these lines parallel to each other for a clean, professional look.
Step 5: Drawing the Dorsal Fin
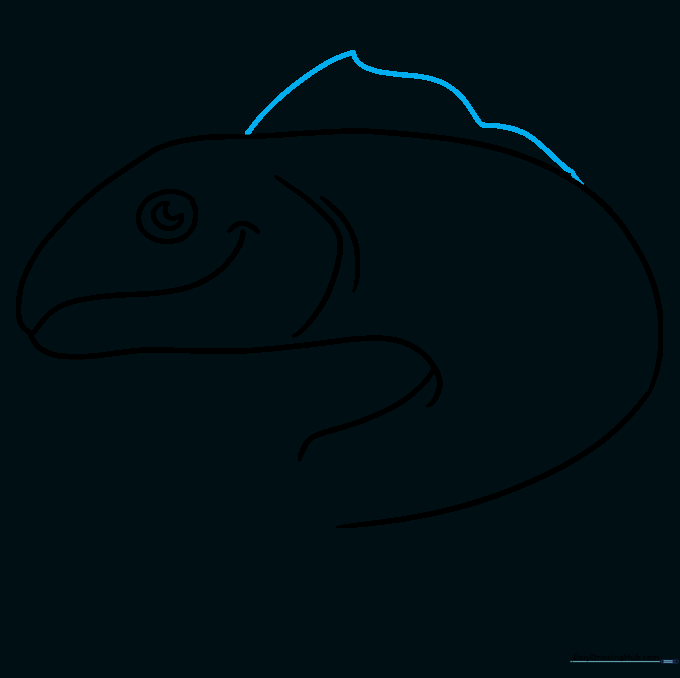
Add the dorsal fin on the back using long, curved lines that meet at a sharp point. Tip: Imagine a shark fin shape, but slightly more rounded at the base.
Step 6: Adding the Pectoral Fin
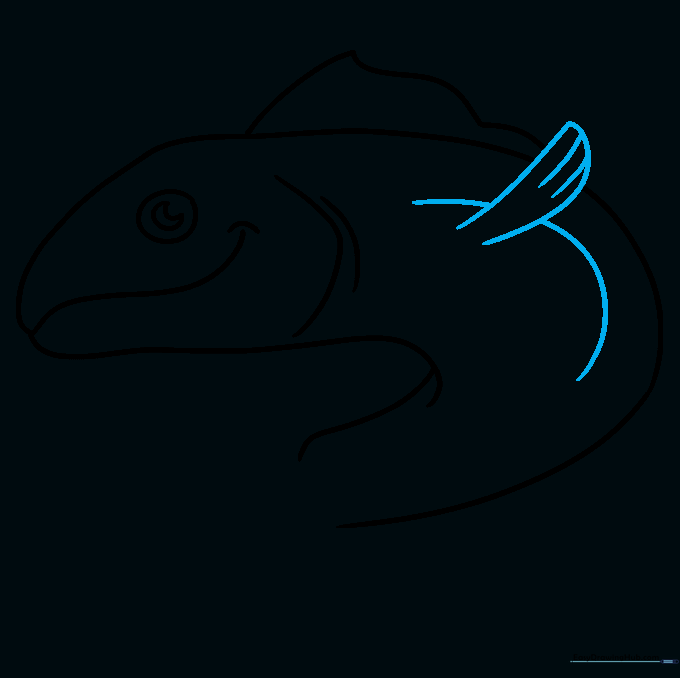
Draw the pectoral fin on the side, erasing any overlapping body lines. Add small curved lines for texture. Tip: Draw a long line down the body to show the fish's side profile.
Step 7: The Opposite Fin
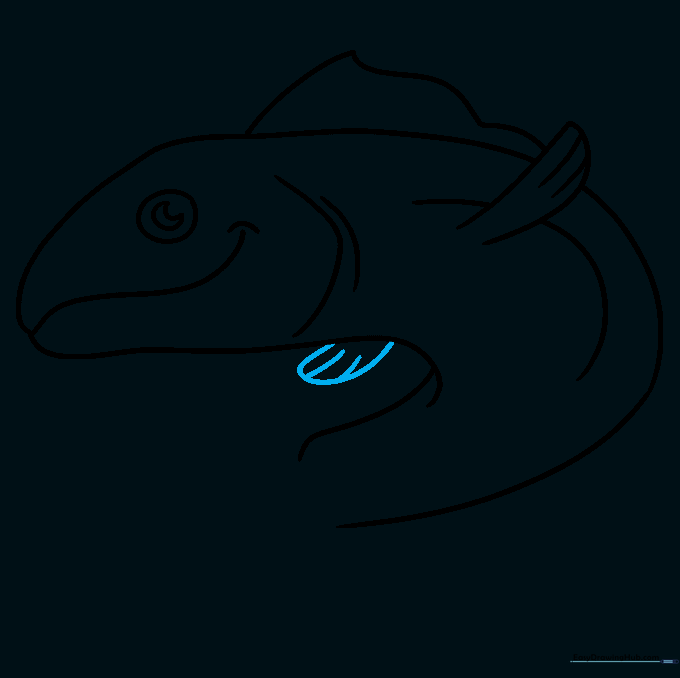
Draw the fin on the far side of the fish to create depth. Use a simple curved shape and add a few lines for texture. Tip: Keep this fin smaller than the first one to show perspective.
Step 8: Anal and Adipose Fins

Draw the anal fin at the base and the small adipose fin on top near the tail. Tip: Use light, quick strokes to add texture lines to these smaller fins.
Step 9: Completing the Tail
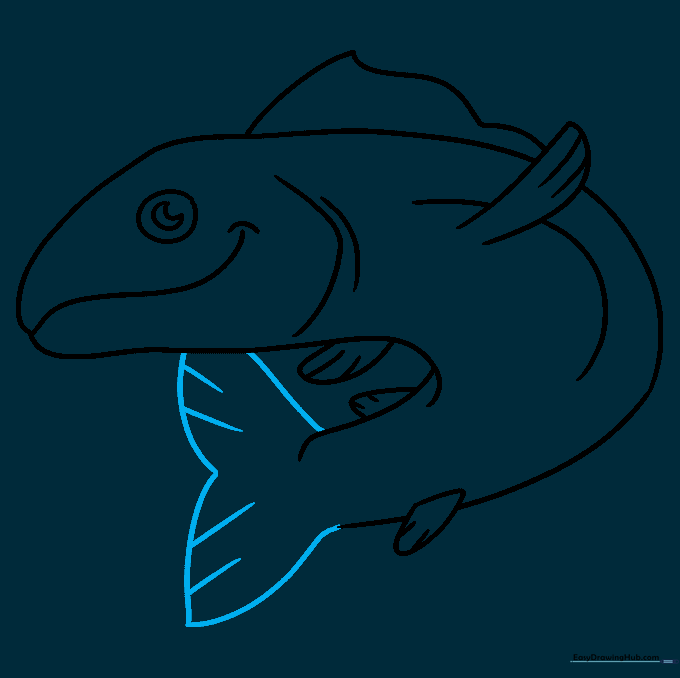
Draw the caudal (tail) fin using a sweeping 'V' shape. Connect it to the body with curved lines. Tip: Make the tail look powerful by adding a few radiating lines for texture.
Step 10: Adding Color

Bring your salmon to life! Use silvery grays for a standard look, or try vibrant reds and browns to depict a sockeye salmon. Tip: Use light pressure with your colored pencils to blend colors smoothly.
More Tutorials


