How to Draw a Sad Girl: Easy Step-by-Step Guide
Capturing emotions in art is a powerful way for young artists to tell a story. This tutorial is designed for ages 8+ to help practice figure drawing and expressive body language. All you need is a pencil, an eraser, and a piece of paper to get started.
🎯 Final Result

Step-by-Step Instructions
Step 1: Sketching the Hairline

Start by drawing the top of the head and flowing hair using long, sweeping curved lines. Tip: Keep your pencil strokes light so you can easily adjust the shape of the locks as they fall over the shoulders.
Step 2: Forming the First Arm
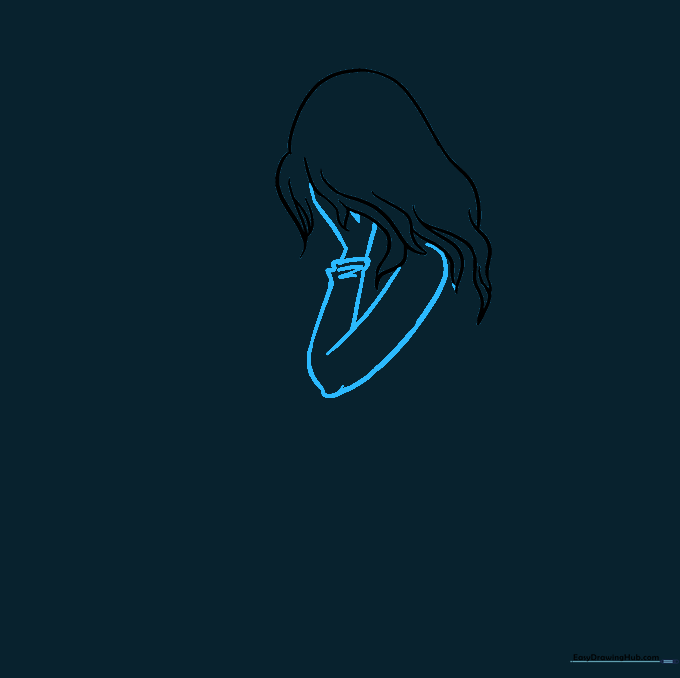
Sketch the arm using parallel lines that meet at a sharp angle for the elbow. Tip: Add small, jagged lines at the sleeve cuff to suggest fabric folds, which adds a sense of realism to the pose.
Step 3: Adding the Second Arm

Draw the second arm tucked behind the first. Tip: Since this arm is partially hidden, keep the lines simpler to create depth and focus the viewer's eye on the main pose.
Step 4: Sketching the Bent Leg
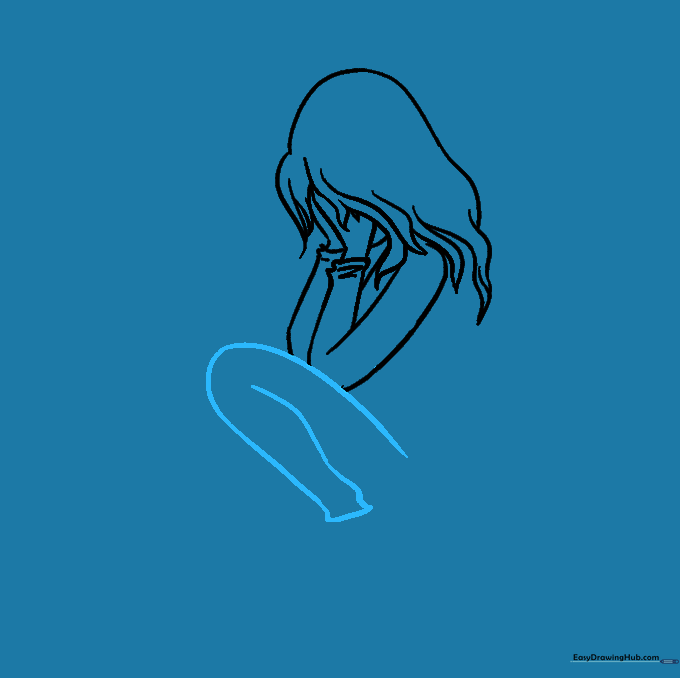
Use a long, fluid curved line to outline the bent leg. Tip: Imagine the leg is tucked close to the body; the curve should look like a soft 'C' shape.
Step 5: Drawing the Torso

Connect the arms and legs by sketching the shirt and pants using smooth, curved lines. Tip: Keep the lines rounded to show the fabric draping over the body.
Step 6: Adding the Second Leg

Complete the lower body by drawing the second leg with a long, sweeping line. Tip: Ensure the leg aligns with the first one to keep the character's proportions balanced.
Step 7: Drawing the First Shoe

Outline the shoe using short, connected curved lines. Tip: Add a horizontal line across the top to separate the shoe from the foot, making it look like a real sneaker.
Step 8: Adding the Second Shoe

Draw the remaining foot and shoe using similar curved lines. Tip: Keep the size consistent with the first shoe to maintain the perspective of the drawing.
Step 9: Setting the Scene
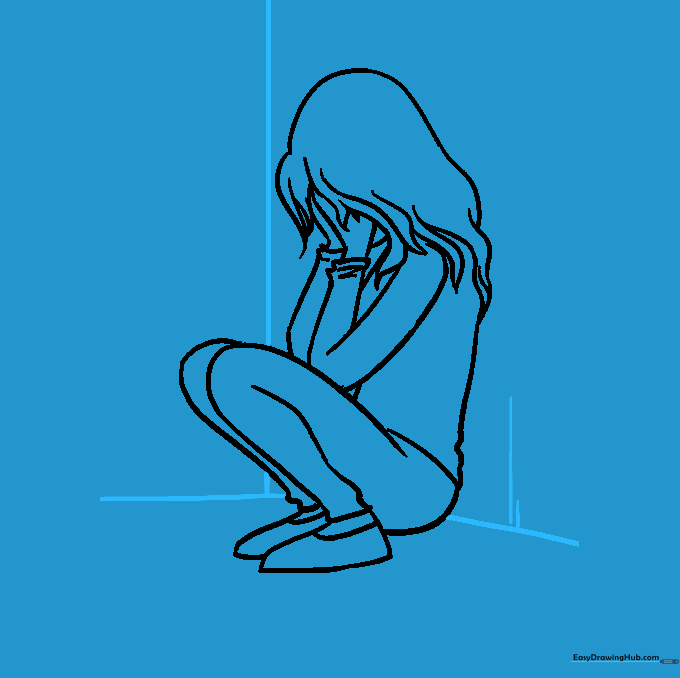
Draw straight lines behind the character to represent the corner of a room. Tip: Using straight lines for the background contrasts with the soft curves of the girl, making the character stand out more.
Step 10: Adding Color
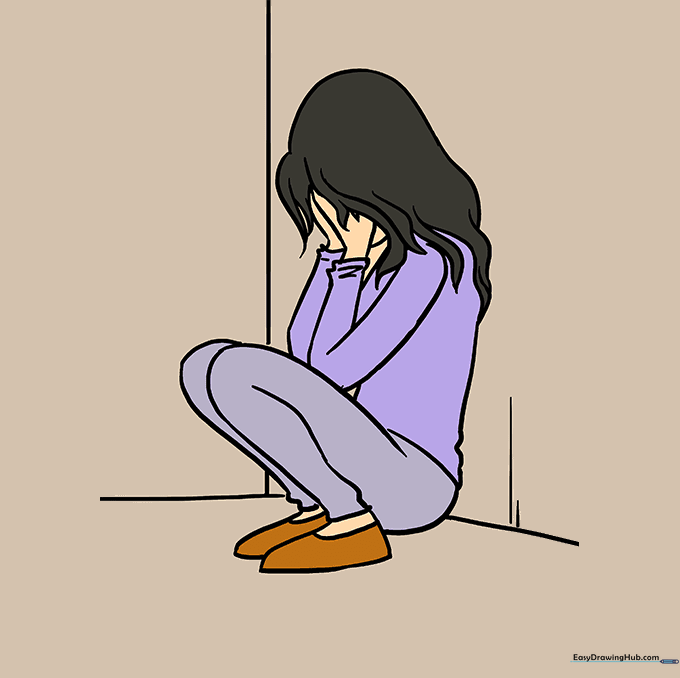
Bring your drawing to life with color! Tip: Use cooler tones like blues or greys to emphasize the mood, or choose your favorite colors to make the character uniquely yours.
More Tutorials