How to Draw a Sad Dog: Easy 10-Step Guide for Beginners
Capture expressive emotions in your art with this step-by-step guide to drawing a sad puppy. Designed for artists ages 5 and up, this project requires only a pencil, paper, and an eraser. Follow along to master the art of drawing expressive facial features and soft, floppy ears.
🎯 Final Result

Step-by-Step Instructions
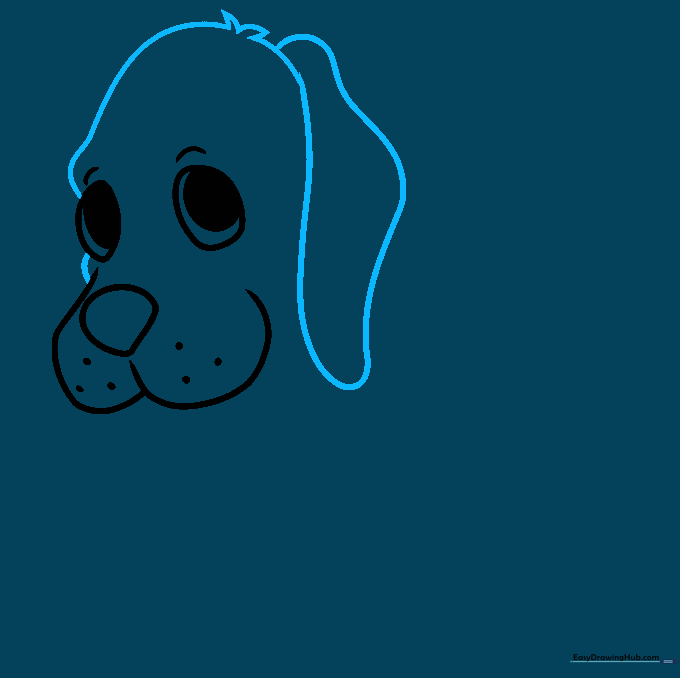
Step 1: Sketching the Expressive Eyes

Start by drawing two irregular, slightly droopy oval shapes for the eyes. Shade in a partial circle inside each to create the pupils. Teacher's Tip: Draw a short, curved line above each eye to give your puppy that classic 'sad' look.
Step 2: Defining the Snout

Sketch a curved 'W' shape for the mouth and enclose a small, irregular nose above it. Add three tiny dots on each side of the snout for whiskers. Teacher's Tip: Keep the nose shape rounded to make the puppy look softer and more approachable.
Step 3: Shaping the Head and Ear
Draw a short line connecting the snout to the eye, then extend a long curve for the forehead. Add a tuft of fur at the top using sharp, zigzag lines, and draw one long, floppy ear. Teacher's Tip: Use long, smooth strokes for the ear to make it look soft and heavy.
Step 4: Adding the Second Ear and Neck
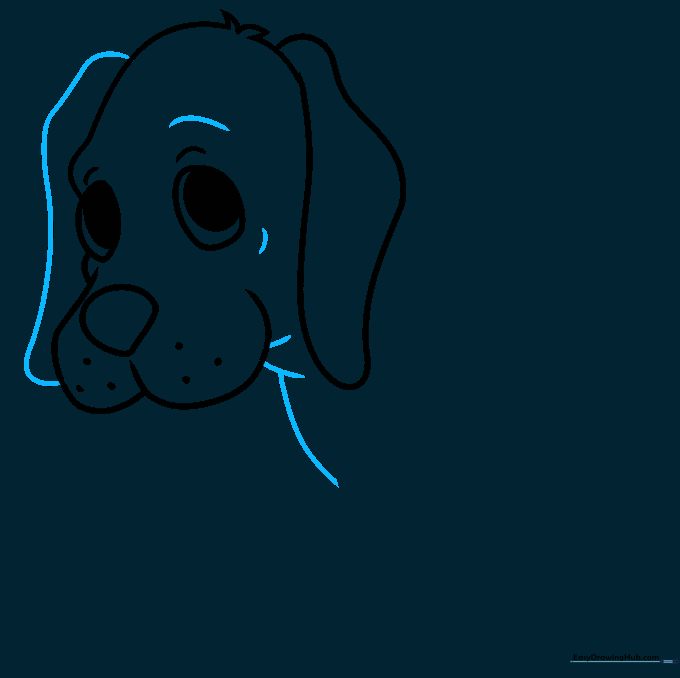
Enclose the second ear on the opposite side. Add a curved brow line above the eye and extra lines around the neck to suggest loose, baggy skin. Teacher's Tip: The extra lines around the neck help emphasize the 'sad' posture.
Step 5: Sketching the Front Leg
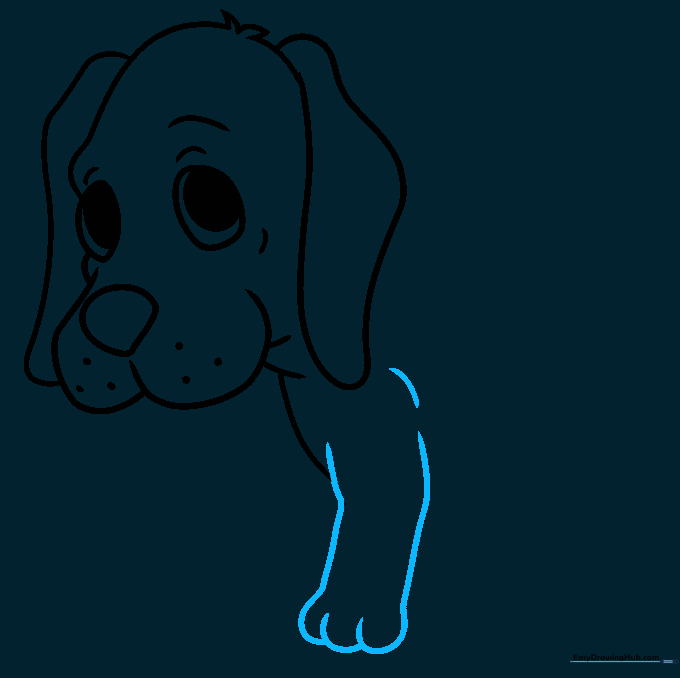
Use a series of overlapping curved lines to form the front leg and paw. Teacher's Tip: Make sure the lines overlap slightly where the toes are to give the paw a realistic, rounded shape.
Step 6: Drawing the Back and Rear Leg

Extend a long curve from the ear to form the back, then loop it back to create the rear leg and paw. Add small curved lines for toe details. Teacher's Tip: A smooth, continuous line for the back will make the puppy look more relaxed.
Step 7: Adding the Second Front Paw
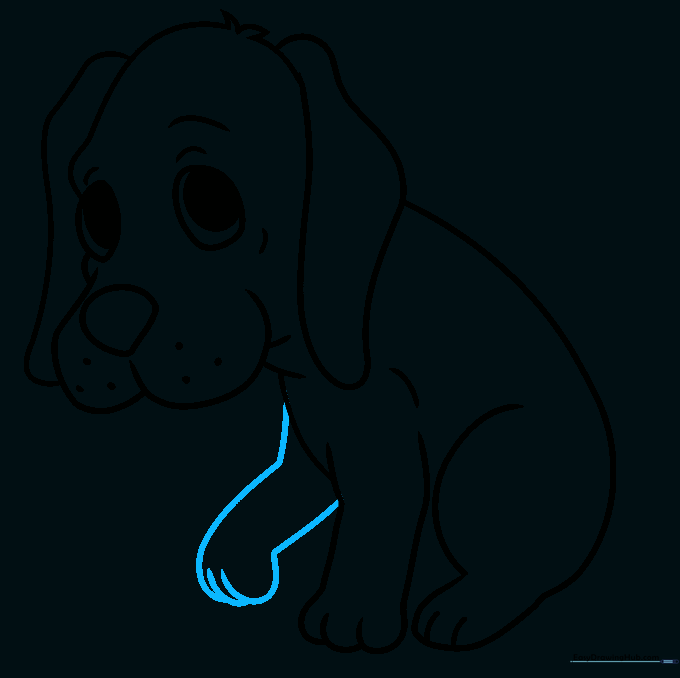
Draw the remaining front paw by extending a curved line and doubling it back. Add small lines for the toes. Teacher's Tip: Keep this paw slightly smaller to show it is further away from the viewer.
Step 8: Finalizing Legs and Tail

Sketch the visible part of the second rear leg and add a simple, curved tail. Teacher's Tip: A low-hanging tail reinforces the 'sad' emotion of the character.
Step 9: Adding Character Spots
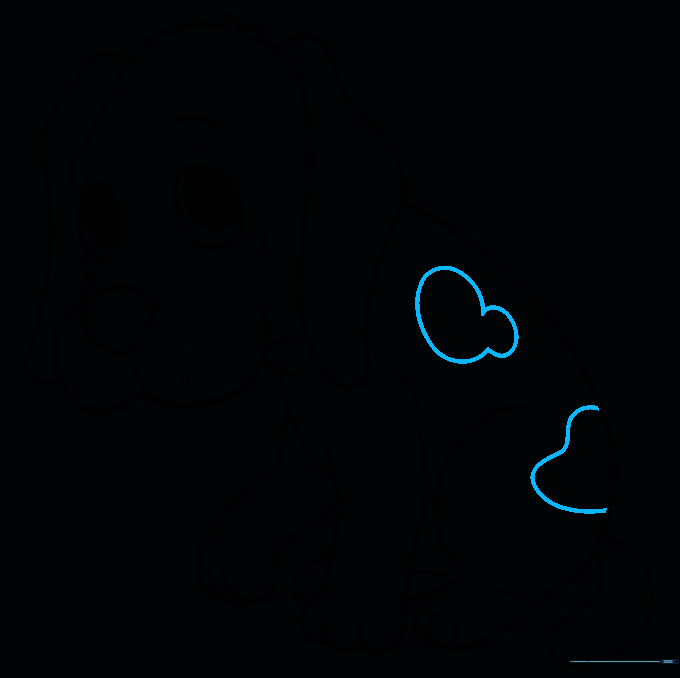
Complete your outline by adding a few irregular spots on the puppy's back. Teacher's Tip: Vary the size of the spots to make the puppy look more natural and unique.
Step 10: Bringing Your Drawing to Life with Color

Time to color! Use warm browns or tans to give your puppy a classic look. Teacher's Tip: Use a darker shade of brown for the spots and ears to add depth and dimension to your drawing.
More Tutorials


