How to Draw a Rose Tattoo: Easy 10-Step Guide
Looking for a cool, stylized project? This rose tattoo drawing guide is perfect for artists ages 8 and up who want to practice bold, clean lines. You only need a pencil, an eraser, and a fine-liner pen to create this classic design. Follow along to master the art of layering petals for a professional look.
🎯 Final Result

Step-by-Step Instructions
Step 1: Sketching the Rose Center

Start by drawing the center of the flower using small, curved lines that meet at sharp points. Teacher's Tip: Keep this shape small and tight; it acts as the 'anchor' for all the petals that will grow around it.
Step 2: Adding the Inner Petals

Draw a pair of 'C' shaped lines around your center piece, connecting them with short, crisp lines. Teacher's Tip: Don't let these petals touch the center piece; leaving a tiny gap makes the flower look more open and realistic.
Step 3: Expanding the Petal Layers

Add another layer of petals by drawing a long, curved line that doubles back on itself. Teacher's Tip: Imagine you are folding a piece of paper; the 'doubling back' creates the illusion of a petal edge.
Step 4: Shaping the Flower Base

Use loose, curved lines to enclose a large irregular shape below your existing petals. This forms the outer 'cup' of the rose. Teacher's Tip: Keep your pencil pressure light here so you can adjust the shape if it looks too lopsided.
Step 5: Defining the Left Petal Edge

Add a series of pointed, curved lines to the left side of the flower to create a ruffled petal edge. Teacher's Tip: Roses aren't perfect circles; adding these little 'wiggles' makes your drawing look organic and natural.
Step 6: Defining the Right Petal Edge

Repeat the process on the right side, adding similar pointed, curved lines. Teacher's Tip: Try to mirror the style of the left side, but don't worry about making it an exact copy—nature is asymmetrical!
Step 7: Drawing Sepals and Stem
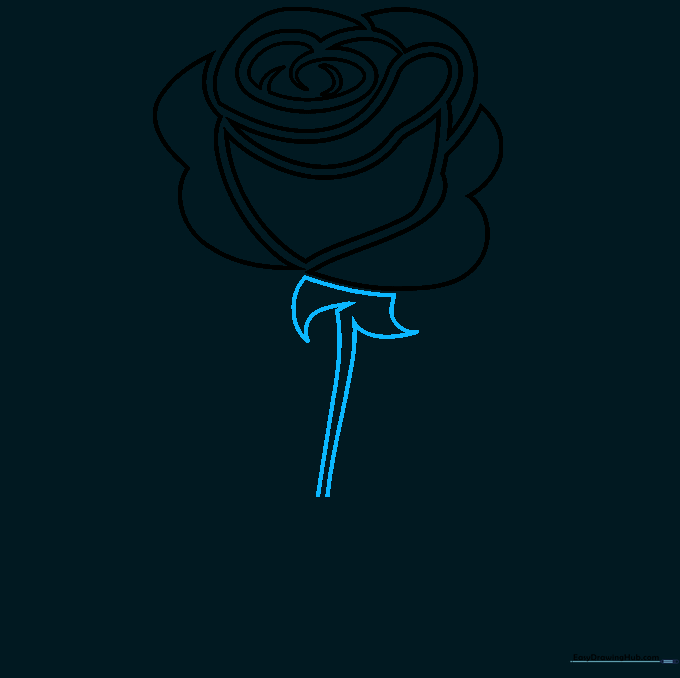
Draw a straight line under the flower, then add triangular shapes beneath it to form the sepals. Extend two curved lines downward to create the stem. Teacher's Tip: The sepals are the 'leaves' that hold the flower head; make them look like little triangles hugging the base.
Step 8: Adding Leaf Veins

Continue the stem lines and add secondary lines branching out to form the veins of your leaves. Teacher's Tip: Keep these vein lines light; they are just guides for where your leaves will eventually be.
Step 9: Completing the Leaves

Use curved lines to enclose the leaves around your vein guides. Teacher's Tip: Add a slight 'sawtooth' edge to the leaves to make them look more realistic and less like simple ovals.
Step 10: Final Inking and Shading

Go over your pencil lines with a fine-liner pen. For that classic tattoo look, use black or brown ink to add shading in the folds of the petals. Teacher's Tip: Start with light shading and build it up slowly—you can always add more ink, but you can't take it away!
More Tutorials


