How to Draw a Rose Bush: Easy 10-Step Guide for Kids
Bring a touch of nature to your sketchbook with this charming rose bush tutorial. Designed for ages 5 and up, this project uses basic shapes to build confidence in young artists. All you need is a pencil, an eraser, and your favorite coloring supplies to create your own floral masterpiece.
🎯 Final Result

Step-by-Step Instructions
Step 1: Sketching the Base Pot

Start by drawing a rounded rectangle for the top of the pot and a larger one beneath it for the base. In the top section, add two overlapping curves to represent the soil. Tip: Keep your lines light and loose—this is just the foundation for your plant!
Step 2: Shaping the Foliage

Use soft, connected curved lines to create the leafy canopy of the bush. Add a small, irregular shape near the top to mark where your first rose petal will bloom. Tip: Don't worry about making the leaves perfect; nature is wonderfully imperfect!
Step 3: Adding Flower Sepals

Draw small, pointed shapes at the base of your petal area to represent the sepals—the tiny green leaves that cradle the flower. Continue adding curved lines to build the petal structure. Tip: Think of these as little 'hugs' for your rose petals.
Step 4: Detailing the Blooms

Add a spiral line in the center of your first rose to show the tight petals. Start a second blossom nearby using the same technique. Tip: A spiral is the secret to making a rose look realistic in a cartoon style!
Step 5: Completing the Second Flower

Finish your second rose by layering more curved lines around the spiral center. Ensure the petals look overlapping and full. Tip: Vary the size of your curves to make the flower look three-dimensional.
Step 6: Adding a Rosebud
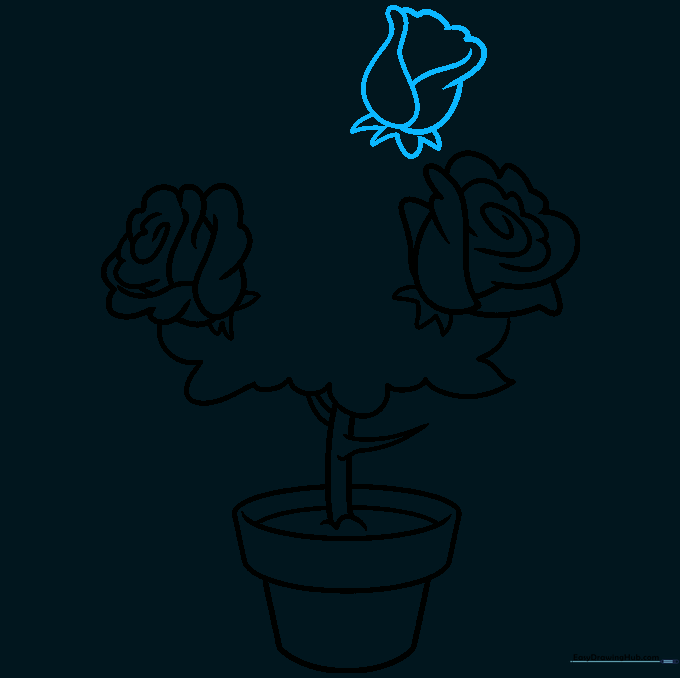
Draw a smaller, unopened bud to add variety to your bush. Use a teardrop-like shape with small sepals at the base. Tip: Buds are great for filling in empty spaces in your drawing.
Step 7: Drawing Leaves
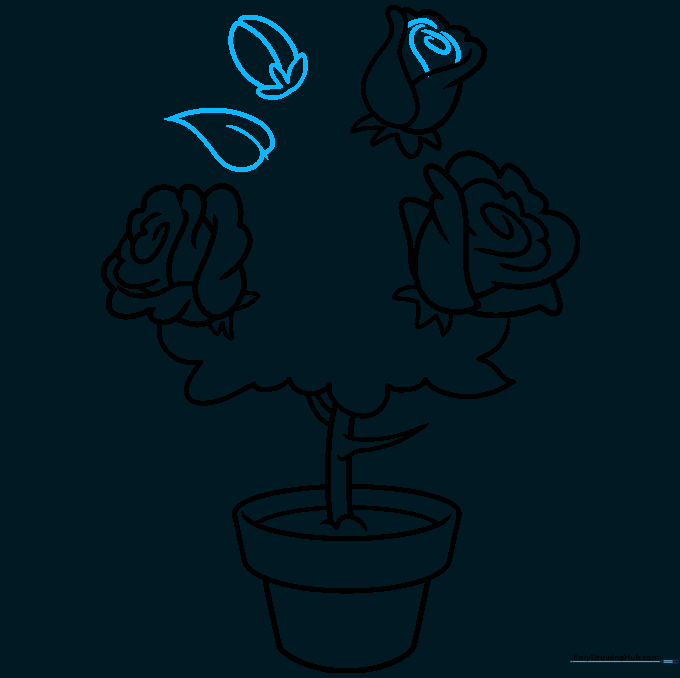
Sketch a leaf by drawing two curved lines that meet at a sharp point. Add a line down the center for the vein. Tip: Try drawing leaves at different angles to make the plant look more realistic.
Step 8: Filling the Bush

Continue adding leaves and connecting the flowers with curved lines to define the overall shape of the bush. Tip: Don't overthink the placement; just fill the space until it looks lush and full.
Step 9: Final Touches

Add a few final leaves, including some that look like they are falling or growing outward. This adds movement to your drawing. Tip: Erase any overlapping lines from the branches to keep your drawing clean.
Step 10: Bring It to Life with Color

Time to color! Use vibrant reds for the roses and deep greens for the leaves. What color will you choose for your pot? Tip: Use a darker shade of green in the shadows of the leaves to make the flowers pop.
More Tutorials


