How to Draw a Rose Bud: Easy 10-Step Guide for Beginners
Looking for a relaxing, screen-free activity? This rose bud tutorial is perfect for artists ages 5 and up. Grab a pencil, an eraser, and some paper to practice creating elegant, organic curves while building your confidence in floral illustration.
🎯 Final Result

Step-by-Step Instructions
Step 1: Sketching the Base Sepals

Start by drawing the sepals—the small leaves protecting the bud. Sketch two curved, teardrop-shaped lines that meet at a point. Teacher's Tip: Keep your pencil pressure light so you can easily adjust the shape if needed.
Step 2: Adding the Second Sepal

Extend another pair of curved lines from the base of your first sepal. Make this one slightly longer and narrower. Tip: Try to make the point sharp to give the bud a realistic, delicate look.
Step 3: Outlining the Bud

Extend a curved line from the side of your first sepal to begin the main bud shape. Add two more lines meeting at a point to form a third sepal. Tip: Think of these as little protective arms hugging the flower.
Step 4: Defining the Opposite Side

Draw a long, graceful curve from the second sepal to define the other side of the bud. Add another small sepal at the bottom. Tip: Keep your lines fluid—nature rarely has perfectly straight edges!
Step 5: Creating the Inner Spiral

Draw a loose 'S' shape down the center of the bud. At the top, add a series of 'U' shaped lines to suggest the tightly packed petals. Tip: This spiral is the secret to making your drawing look like a real rose.
Step 6: Closing the Petal Edges

Add a few more 'U' shaped lines to form the 'lip' of the bud. This helps enclose the flower and gives it a finished, professional look.
Step 7: Adding More Petal Detail

Draw a pair of curved lines at the top of the bud to create an overlapping petal effect. Tip: Overlapping lines are a great way to add depth to your drawing.
Step 8: Refining the Top Petals

Add a small spiral at the top of the first petal and attach a 'U' shaped line. This adds a touch of realism to the center of the bud.
Step 9: Drawing the Receptacle and Stem
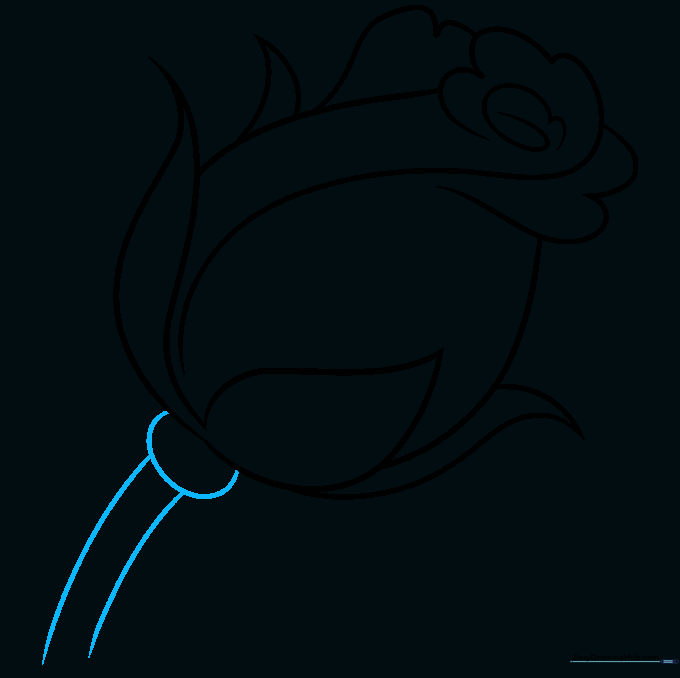
Draw a partial oval beneath the sepals to create the receptacle, then extend two parallel curved lines downward to form the stem. Tip: Make sure your stem lines aren't too straight—a slight curve makes the flower look more natural.
Step 10: Bringing It to Life with Color

Time to color! Use red for classic romance, yellow for friendship, or white for purity. Tip: Try using two shades of your chosen color—a darker shade in the crevices and a lighter one on the tips—to add 3D depth to your drawing.
More Tutorials


