How to Draw a Bedroom: Easy Step-by-Step Guide for Kids
Ready to design your dream space? This tutorial is perfect for young artists ages 7+ looking to practice perspective and interior design. Grab a pencil, an eraser, and a piece of paper to follow along as we build a bedroom scene from the ground up.
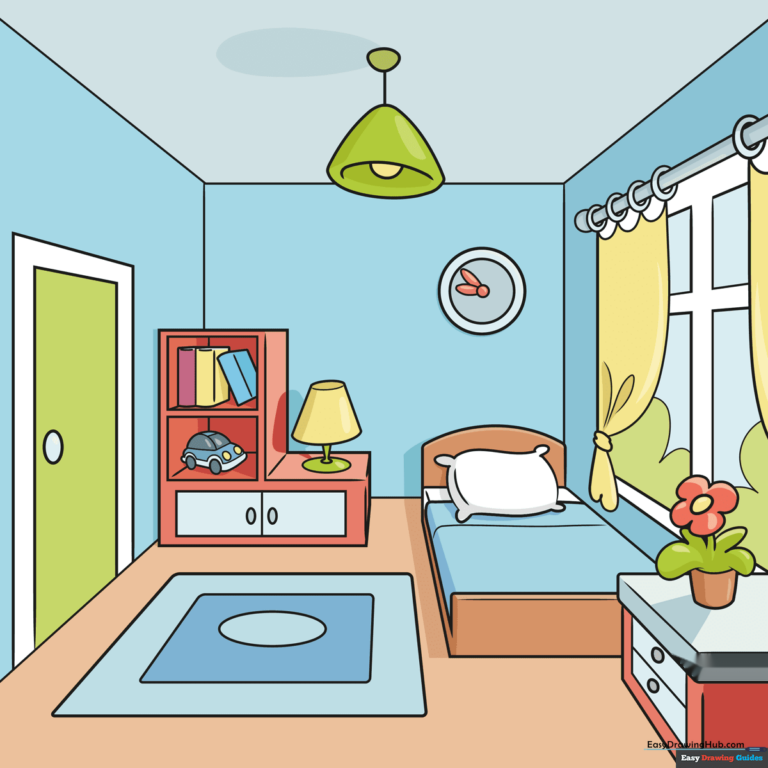
🎯 Final Result
Step-by-Step Instructions
Step 1: Sketching the Bookshelf

Start by drawing an 'L' shape to form the side and base of your bookshelf. Add a second 'L' inside to create depth, then connect the corners with straight lines. Tip: Keep your lines light and loose—if you make a mistake, it’s much easier to erase without leaving marks on your paper.
Step 2: Adding the Bed and Lamp
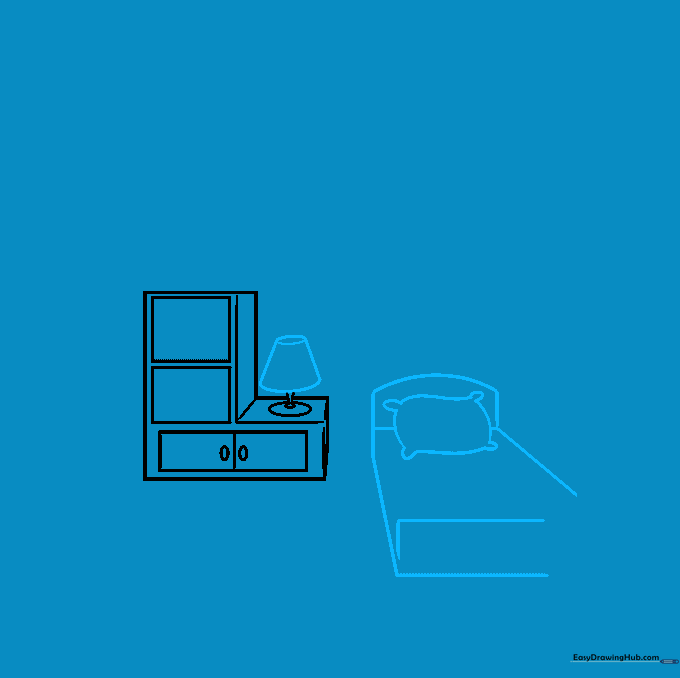
Draw a narrow, curved parallelogram for the lampshade and an oval for the base. Next, sketch the bed using a rectangle for the mattress and a curved line for the headboard. Tip: When drawing the pillow, add small teardrop shapes at the corners to give it a soft, plush look.
Step 3: Creating Room Perspective
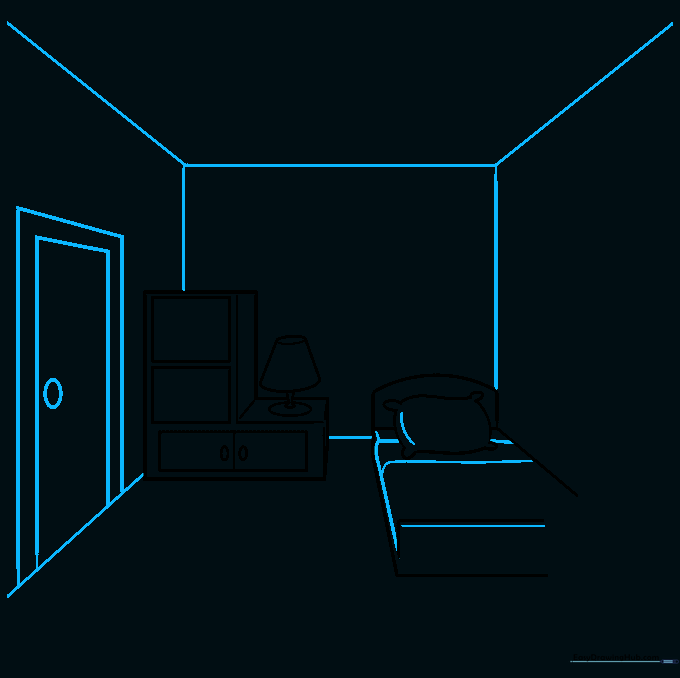
Outline the back wall as a square, then draw diagonal lines from the corners to create the floor and ceiling. This creates the 'perspective' effect. Add a trapezoid on the wall to represent a door frame. Tip: Use a ruler if you struggle with straight lines, but don't worry if they aren't perfect—it adds character!
Step 4: Adding a Bedside Table
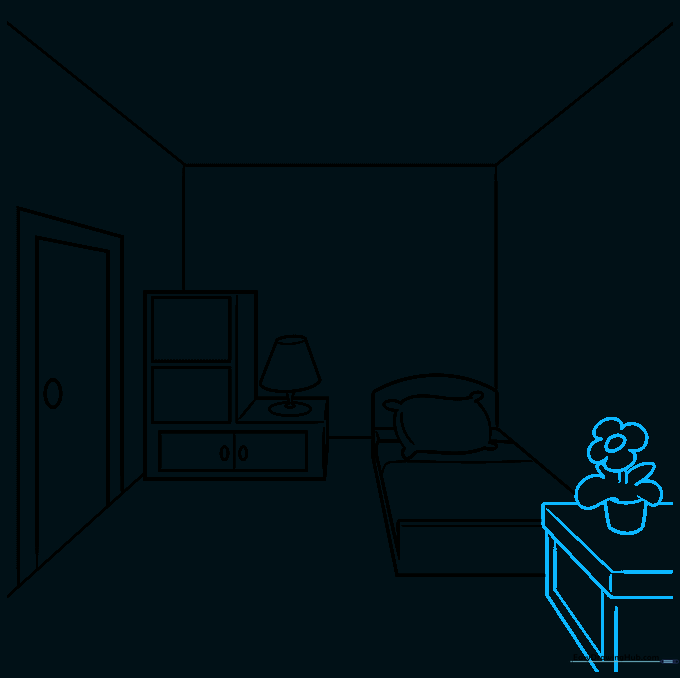
Draw a small rectangular desk near the bed. On top, sketch a potted flower using simple curved lines for the leaves and a circle for the bloom. Tip: Draw the pot slightly wider at the top than the bottom to make it look 3D.
Step 5: Details and Curtains
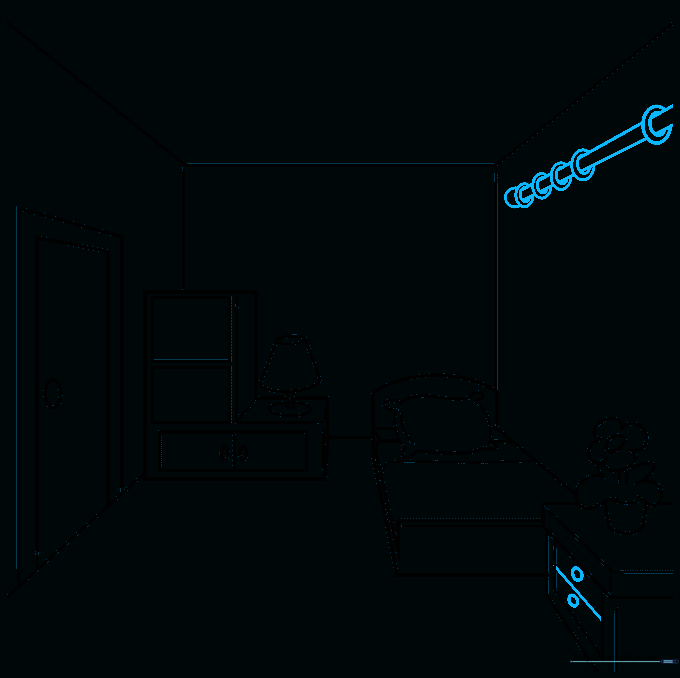
Add two small circles to the desk for drawer knobs. Above the window area, draw a straight line for the curtain rod with small 'C' shaped hooks. Tip: Draw the rod slightly longer than the window frame to make the room look larger.
Step 6: Drawing Curtains
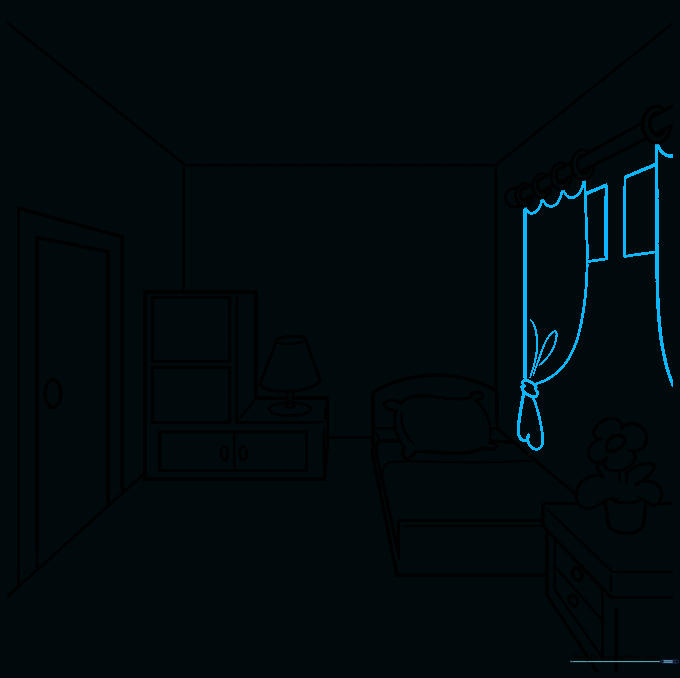
Use long, sweeping curved lines to draw the curtains hanging from the rod. Add a tie-back on one side to show the fabric is pulled open. Tip: Add a few vertical wavy lines on the curtains to represent folds in the fabric.
Step 7: Window View and Clock
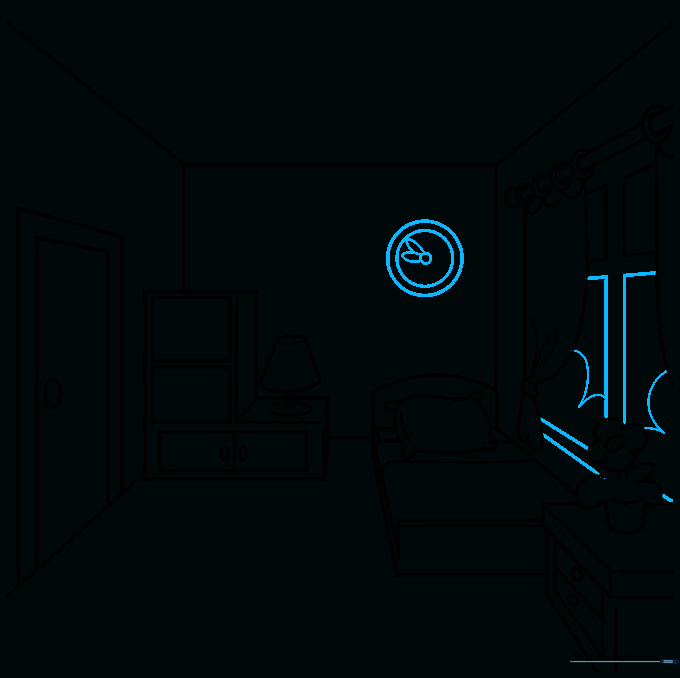
Fill in the window panes with squares and draw some 'U' shapes outside to represent bushes. On the wall, draw a circular clock with two small ovals for hands. Tip: Make the clock hands point to a specific time to give your room personality!
Step 8: Ceiling Light and Rug
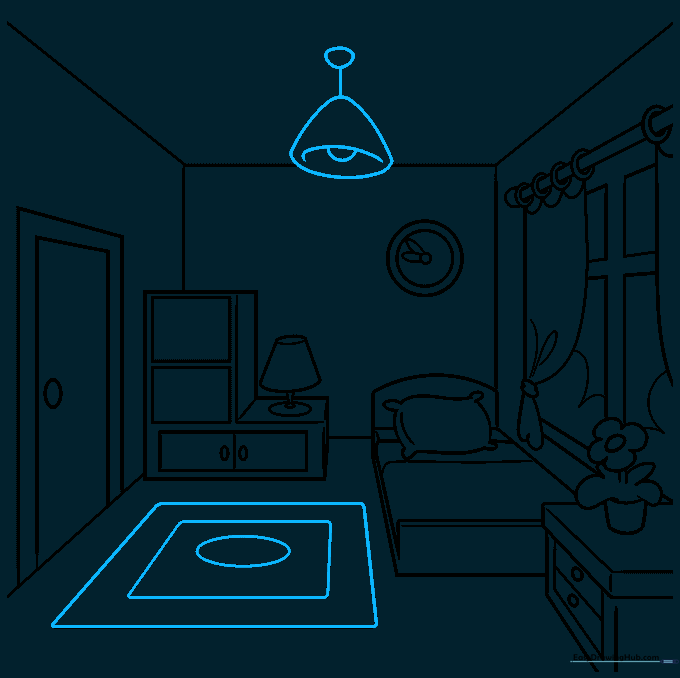
Draw a hanging light fixture from the ceiling using irregular shapes. Add a rectangular rug on the floor with an oval pattern inside. Tip: A rug helps ground the furniture in the room, making the drawing look more realistic.
Step 9: Final Touches
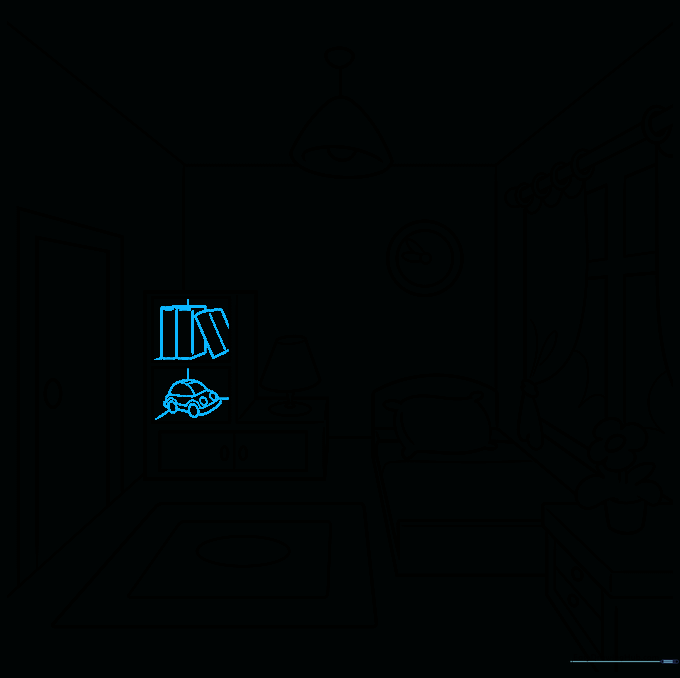
Add small details like books on the shelf and a toy car to make the room feel lived-in. Use simple rectangles for the books and circles for the car wheels. Tip: Don't over-clutter; a few well-placed items make the room look tidy and cozy.
Step 10: Color Your Masterpiece
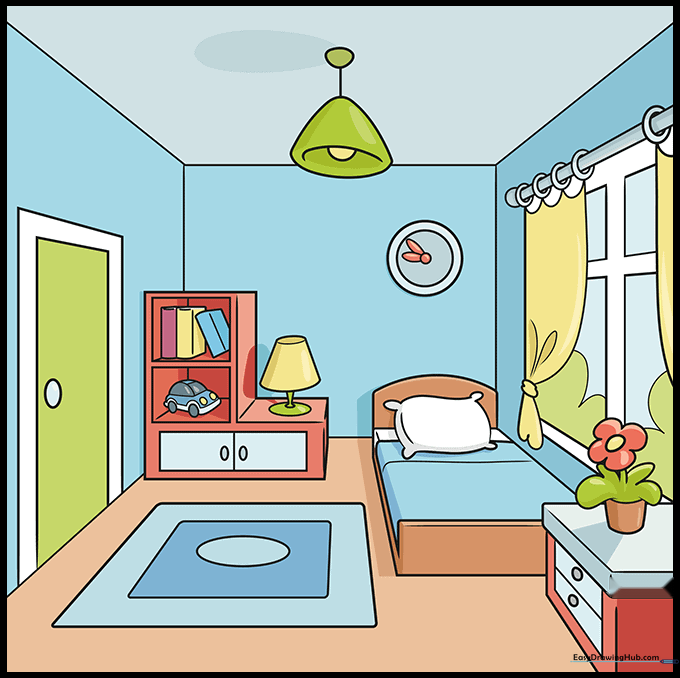
Time to bring your room to life! Use your favorite colors to fill in the walls, bedspread, and rug. Tip: Try using a warm color palette for a cozy feel or cool blues for a calming bedroom vibe.
More Tutorials


