How to Draw a Roman Soldier: Easy 10-Step Guide
Bring history to life with this step-by-step Roman soldier drawing tutorial, designed for young artists ages 8 and up. You will need a pencil, eraser, and paper to master the iconic armor and gear of an ancient legionary. Follow these clear instructions to build your character from the helmet down to the sandals.
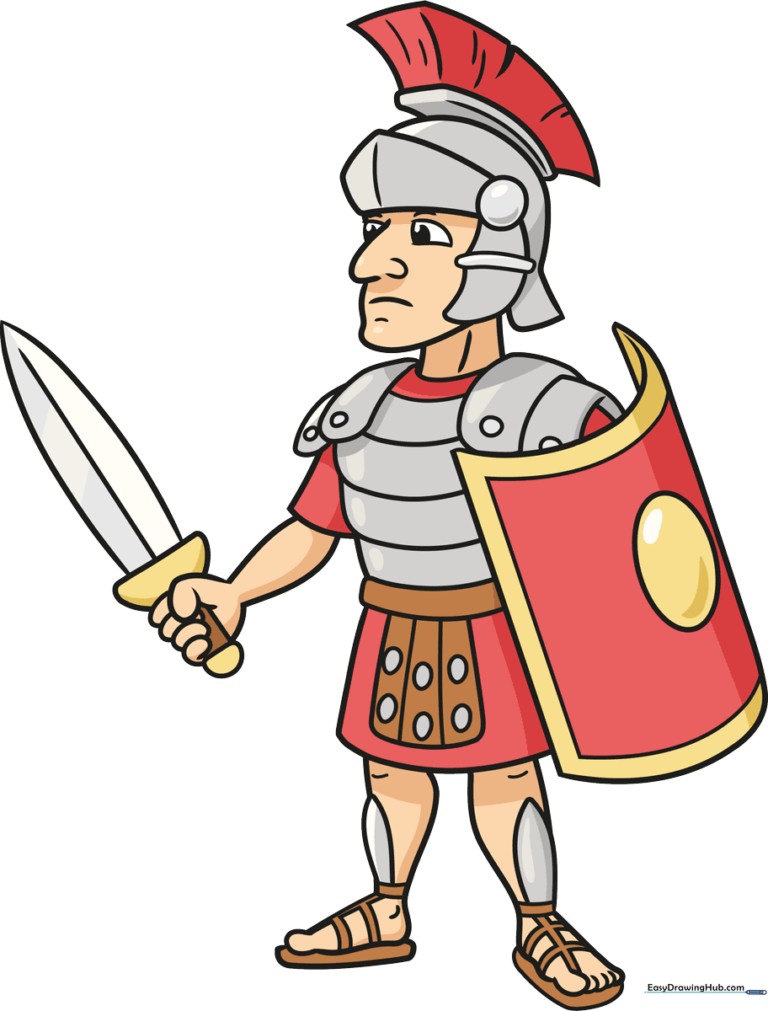
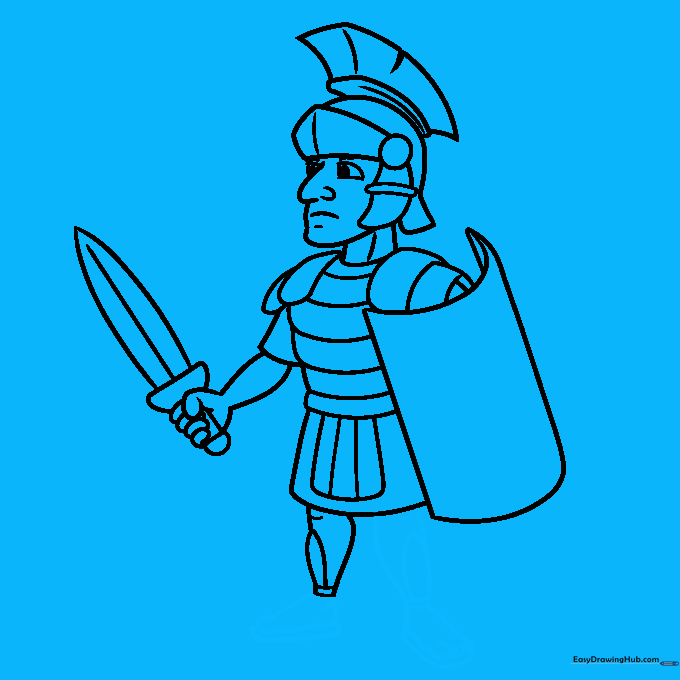
🎯 Final Result
Step-by-Step Instructions
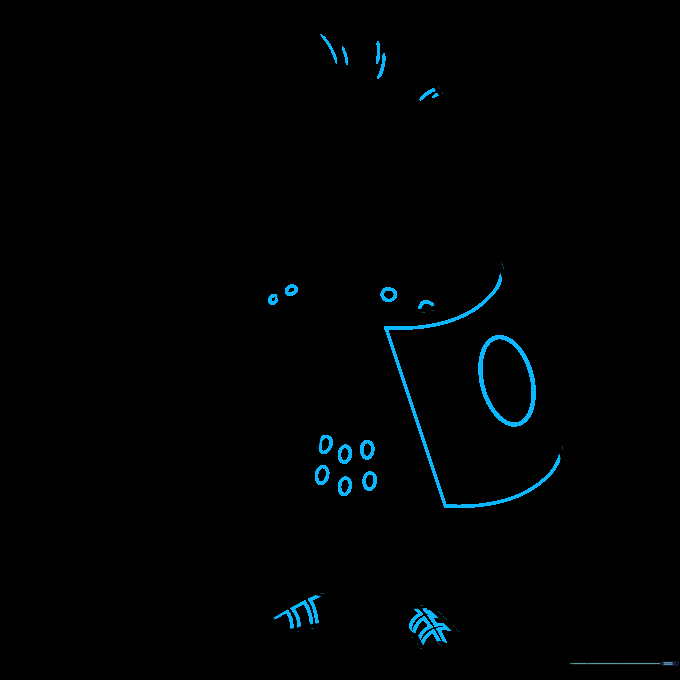
Step 1: Sketching the Face

Start by lightly sketching the profile of the face. Focus on the curve of the nose and the chin. Teacher's Tip: Keep your pencil strokes soft and feathery; this makes it much easier to refine the features later without leaving deep indentations on the paper.
Step 2: Constructing the Helmet

Draw the protective helmet around the head. Include the circular hinge and the faceplate. Teacher's Tip: Use a curved line across the faceplate to create a 3D effect, making the metal look rounded rather than flat.
Step 3: Adding the Crest and Neck

Add the iconic crest to the top of the helmet and define the neck. Teacher's Tip: When drawing the plume, use a 'V' shape to suggest texture—this makes the crest look like it's made of real horsehair.
Step 4: Armor and Shield
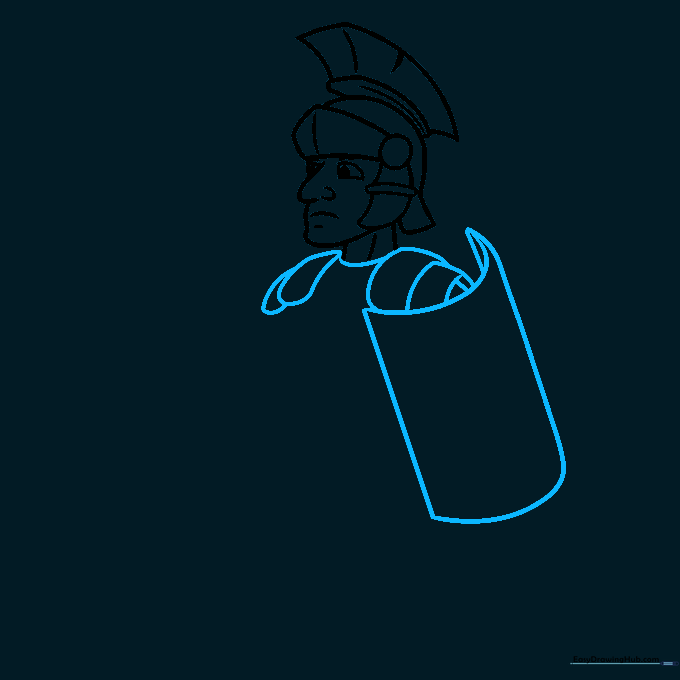
Sketch the shoulder armor and the large rectangular shield. Teacher's Tip: Imagine the shield is a curved piece of wood; adding a slight curve at the corner helps the viewer see the shield's depth.
Step 5: Chest Armor and Arm
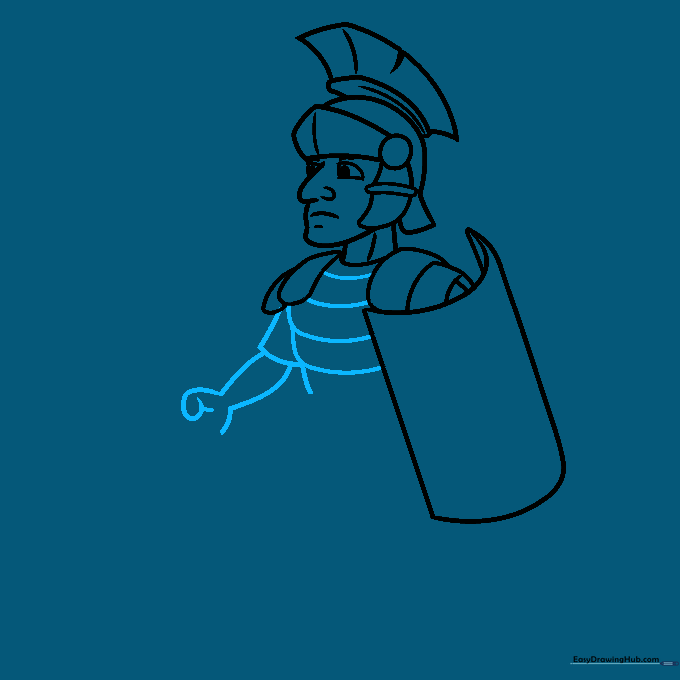
Draw the chest plates and the arm holding the shield. Teacher's Tip: Use overlapping curved lines for the armor to show how the metal plates layered over each other for protection.
Step 6: Drawing the Sword
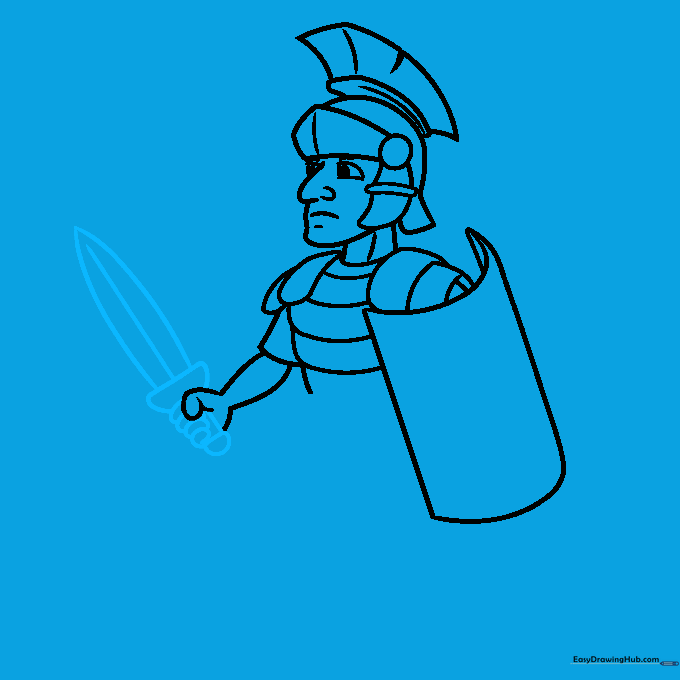
Draw the hand gripping the hilt of the sword. Teacher's Tip: Keep the sword blade straight by using a ruler if you're having trouble, but try freehanding it first to build your steady-hand muscle memory.
Step 7: Lower Body Armor

Add the skirt-like armor and knee pads. Teacher's Tip: The vertical lines on the skirt represent the leather strips; keep them evenly spaced to make the armor look uniform.
Step 8: Legs and Sandals
Draw the legs and the intricate sandals. Teacher's Tip: Focus on the shape of the feet—they don't need to be perfect, just ensure they look sturdy enough to support the soldier's armor.
Step 9: Final Details
Add the final touches: rivets on the armor and laces on the sandals. Teacher's Tip: Small details like rivets make the drawing look authentic. Take your time with these small circles.
Step 10: Coloring Your Soldier
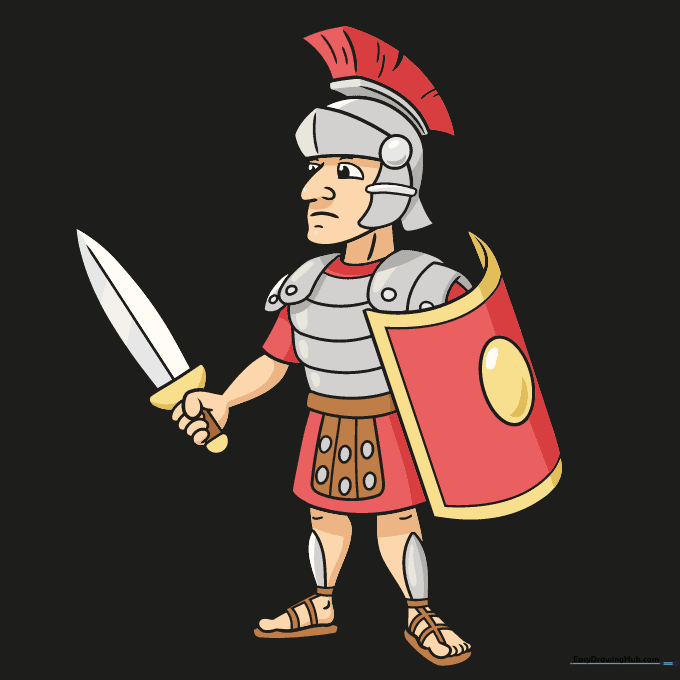
Bring your soldier to life with color! Use deep reds for the crest and metallic grays or silvers for the armor. Teacher's Tip: Use a darker gray to shade the edges of the armor to give it a polished, metallic shine.
More Tutorials